🚀 What is LocalGPT?
LocalGPT is a fully private, on-premise Document Intelligence platform. Ask questions, summarise, and uncover insights from your files with state-of-the-art AI—no data ever leaves your machine.
More than a traditional RAG (Retrieval-Augmented Generation) tool, LocalGPT features a hybrid search engine that fuses dense vector search with LanceDB's native full-text search, arbitrated by a calibrated cross-encoder reranker. A smart router picks between RAG and direct LLM answering for every query, while contextual enrichment and sentence-level Context Pruning surface only the most relevant content. Optional passes — Late Chunking, an independent answer verification step, and experimental multi-vector (late-interaction) retrieval — can be switched on per config; the defaults ship with exactly the components that earned their place in measured evaluations (see eval/decisions/).
The architecture is modular and lightweight—enable only the components you need. The RAG core is plain Python built on the standard library's HTTP server, with no web framework and no agent framework in the way.
▶️ Video
Watch this video to get started with LocalGPT.
✨ Features
- Utmost Privacy: Your data remains on your computer, ensuring 100% security.
- Versatile Model Support: Swap generation models freely via Ollama.
- Diverse Embeddings: HuggingFace embedding models (harrier-oss-v1, the Qwen3-Embedding family) or any Ollama embedding tag.
- Reuse Your LLM: Once downloaded, reuse your LLM without the need for repeated downloads.
- API: A REST gateway on port 8000 and the RAG API on port 8001 for building your own applications.
- CUDA, MPS & CPU: Embedding and reranking pick CUDA, then Apple MPS, then CPU automatically.
📖 Document Processing
- Formats: PDF, DOCX, HTML/HTM, Markdown, and TXT, parsed by Docling
- OCR fallback: PDFs with no text layer are re-run through Docling's OCR pipeline; the engine is chosen from whatever is installed (OcrMac on macOS, then EasyOCR, RapidOCR, tesserocr, or the
tesseract CLI)
- Contextual Enrichment: Chunk-level context generated by a small LLM, inspired by Contextual Retrieval
- Late Chunking (off by default): A second, document-level embedding pass stored in a companion
<table>_lc table. The 2026-08-18 component ablation measured its removal at the noise floor on single-turn quality while it doubles the vectors written per index, so it now ships disabled; one flag (retrieval.latechunk.enabled) re-enables both the index-time build and the query-time leg — multi-turn conversations with drifting phrasing are where it earns its cost
- Document Overviews: A short per-document summary written to
index_store/overviews/<id>.jsonl and used by the router
🤖 AI-Powered Chat
- Natural Language Queries: Ask questions in plain English
- Source Attribution: Answers come back with the chunks they were grounded in
- Smart Routing: Chooses between RAG and a direct LLM answer per query
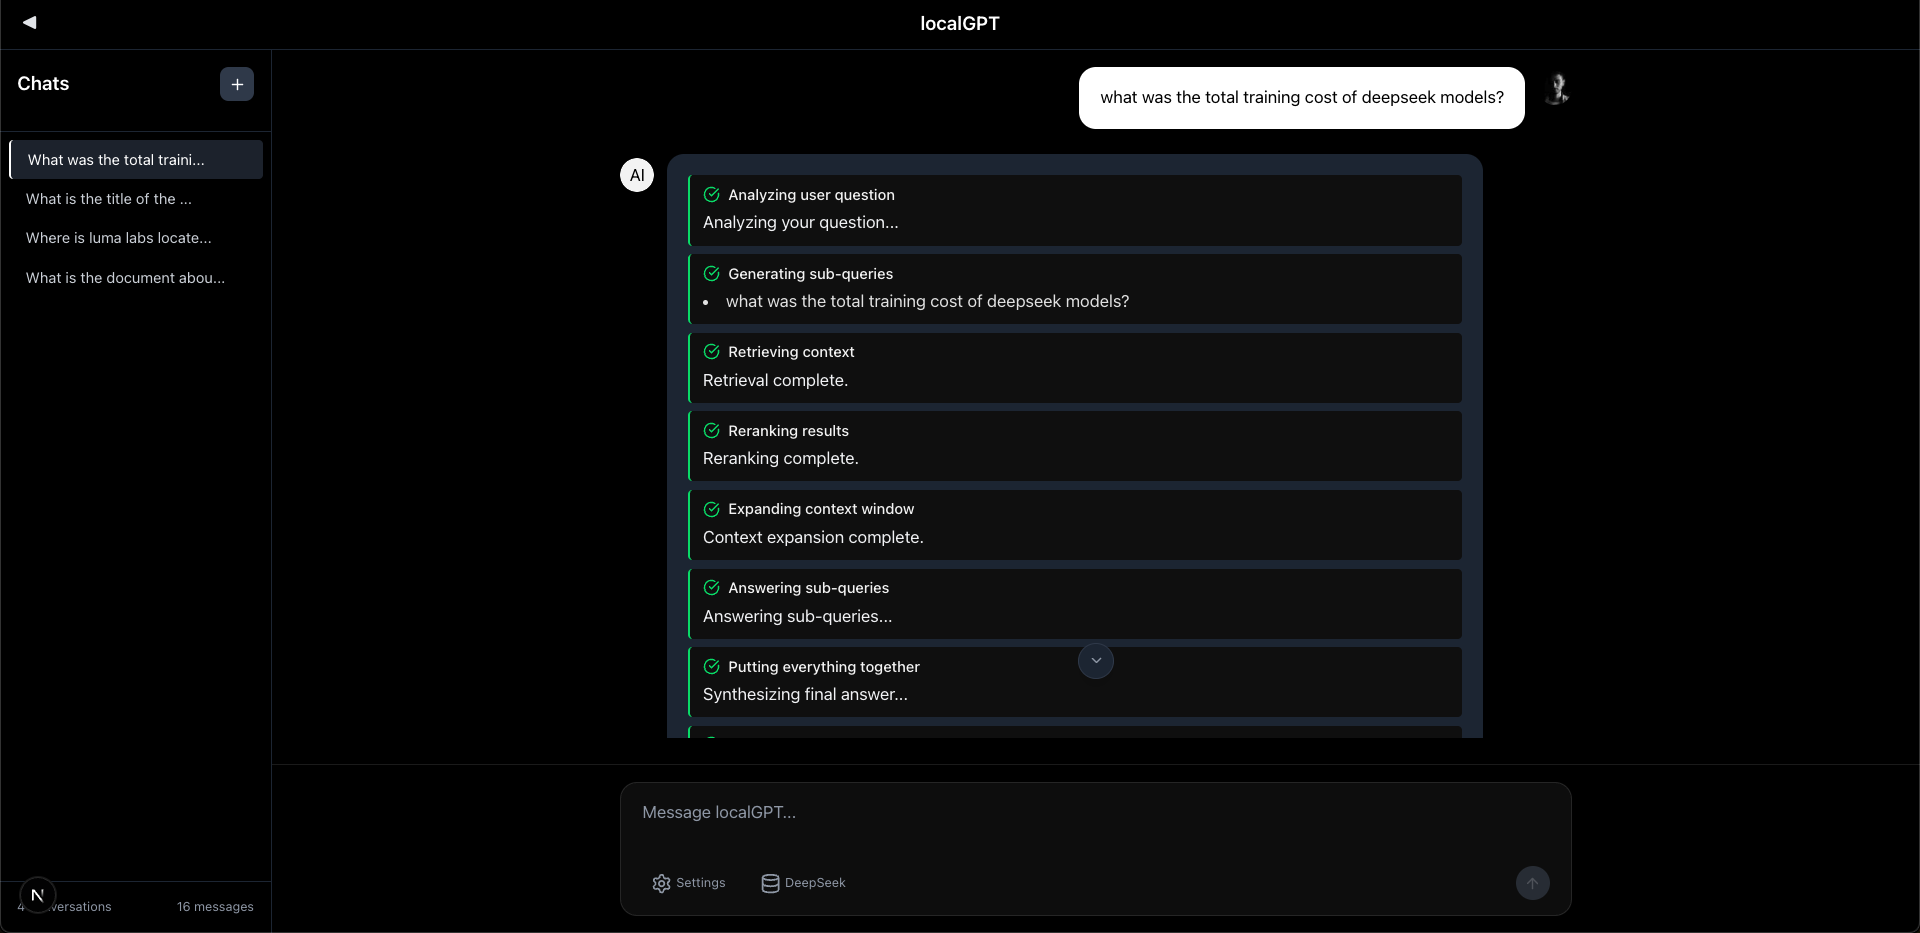
- Query Decomposition: Splits complex questions into sub-questions, retrieves per sub-question, then pools the candidates for one rerank and one synthesis pass (per-sub-answer composition is available as an option)
- Reciprocal Rank Fusion: Vector and full-text hits are fused with RRF — no weights to tune
- Reranking: A cross-encoder pass over the fused candidate set, on by default with calibrated score-based selection (
eval/DECISIONS.md)
- Sentence Pruning: Optional Provence pruning drops irrelevant sentences from each chunk
- Semantic Caching: TTL cache with a 0.98 similarity threshold, scoped to the session
- Answer Verification (off by default): A second pass that appends
[Confidence: N%] to the answer. Ablation measured zero verdict flips from disabling it — it annotates rather than changes answers — so it ships disabled; re-enable with verification.enabled
🛠️ Developer-Friendly
- RESTful APIs: Every UI action is a documented HTTP call
- Streaming phases: Server-Sent Events expose each pipeline stage as it runs
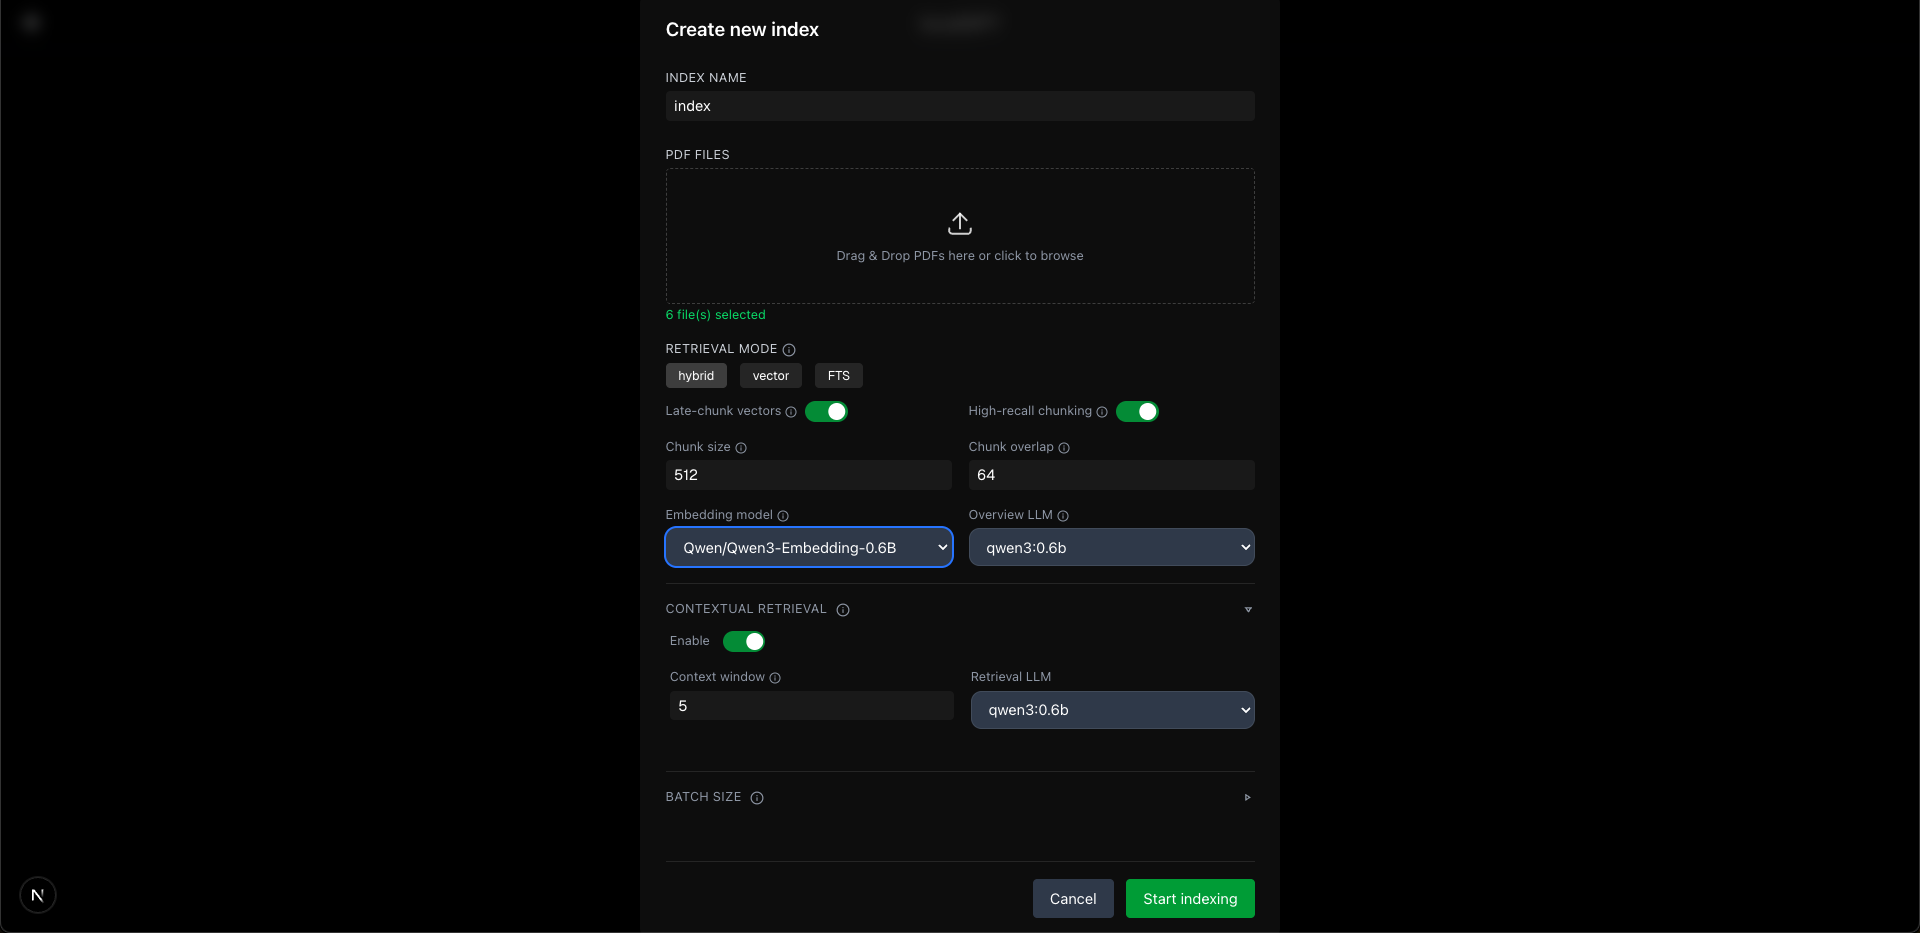
- Flexible Configuration: Models, chunk size, retrieval mode and toggles per request
- One master config:
rag_system/main.py holds every default, overridable by environment variable
🎨 Modern Interface
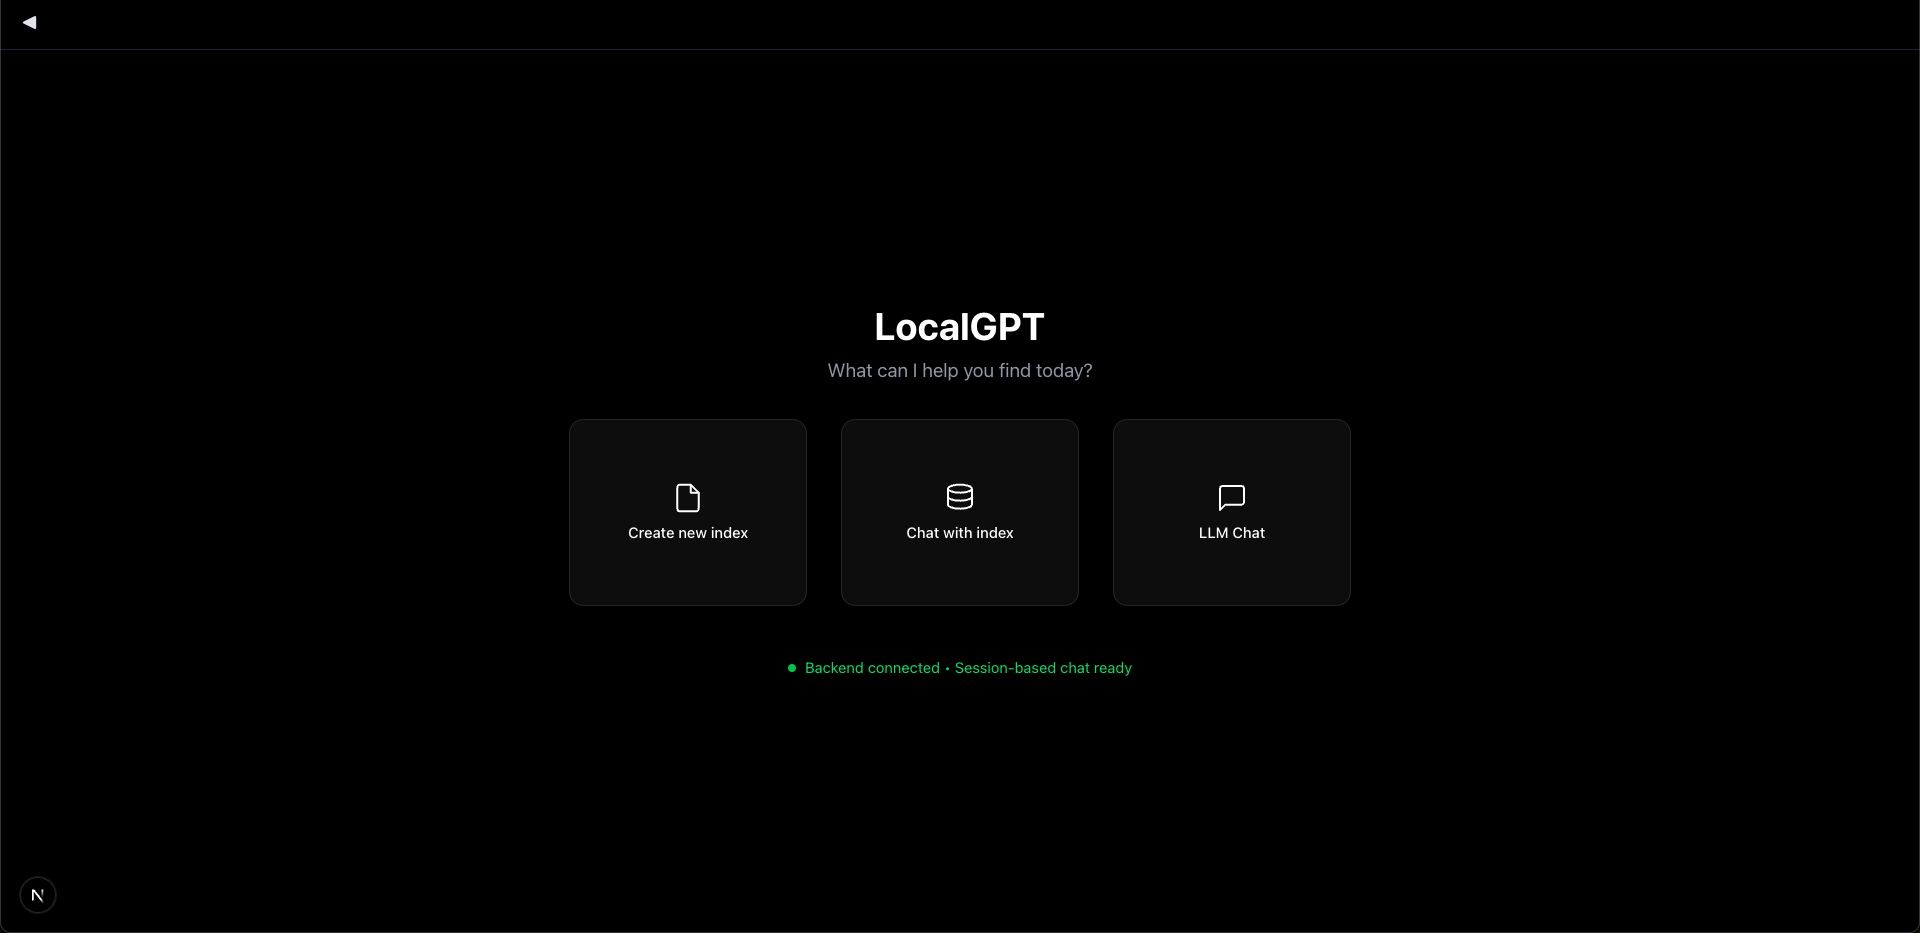
- Intuitive Web UI: Clean, responsive design
- Session Management: Organize conversations by topic
- Index Management: Easy document collection management
- Live Progress: Retrieval, reranking and synthesis stages stream into the chat as they happen
🚀 Quick Start
Prerequisites
- Python 3.10+ (3.11 recommended — the Docker images use
python:3.11-slim)
- Node.js 20+ and npm
- Docker (optional, for containerized deployment)
- 8GB+ RAM (16GB+ recommended)
- Ollama (required for both deployment approaches)
Option 1: Docker Deployment
# Clone the repository
git clone https://github.com/PromtEngineer/localGPT.git
cd localGPT

# Install Ollama locally (recommended even for Docker)
curl -fsSL https://ollama.ai/install.sh | sh
ollama pull qwen3.5:9b
ollama pull qwen3.5:4b

# Start Ollama
ollama serve

# Start with Docker (in a new terminal)
./start-docker.sh

# Access the application
open http://localhost:3000
If you would rather not install Ollama on the host, run it as a container instead:
./start-docker.sh container
# then pull the models inside the container
docker compose --profile with-ollama exec ollama ollama pull qwen3.5:9b
docker compose --profile with-ollama exec ollama ollama pull qwen3.5:4b
./start-docker.sh (with no argument) uses local Ollama. If nothing is listening on
port 11434 it offers to switch to the containerized Ollama; add -y (or set
NONINTERACTIVE=1) to take that fallback without a prompt in scripts and CI.
Docker Management Commands:
# Check container status
docker compose ps

# View logs
docker compose logs -f

# Stop containers
./start-docker.sh stop
Option 2: Direct Development (Recommended for Development)
# Clone the repository
git clone https://github.com/PromtEngineer/localGPT.git
cd localGPT

# Install Python dependencies
pip install -r requirements.txt

# Key dependencies installed:
# - torch==2.4.1, transformers==4.51.0 (embedding + reranker models)
# - lancedb (vector store and full-text search)
# - rerankers (cross-encoder reranking)
# - docling (document parsing)

# Install Node.js dependencies
npm install

# Install and start Ollama
curl -fsSL https://ollama.ai/install.sh | sh
ollama pull qwen3.5:9b
ollama pull qwen3.5:4b
ollama serve

# Start the system (in a new terminal)
python run_system.py

# Access the application
open http://localhost:3000
System Management:
# Check system health (loads the models and runs a sample query)
python system_health_check.py

# Real HTTP health checks against each service; exits non-zero if one is unhealthy
python run_system.py --health

# Start in production mode (runs `npm run build` before `next start`)
python run_system.py --mode prod

# Skip frontend (Ollama + RAG API + backend only)
python run_system.py --no-frontend

# Tail logs/*.log from another shell
python run_system.py --logs-only

# Stop everything recorded in logs/run_system.pid
python run_system.py --stop
# Or press Ctrl+C in the terminal running python run_system.py
Service Architecture:
The run_system.py launcher manages four services and writes their PIDs to logs/run_system.pid:
- Ollama Server (port 11434): model serving — reused if already running
- RAG API Server (port 8001): indexing, retrieval and the agent loop
- Backend Server (port 8000): sessions, indexes, uploads, chat history
- Frontend Server (port 3000): Next.js web interface (optional — skipped if
npm is missing)
On startup the launcher checks that qwen3.5:9b and qwen3.5:4b are present and
runs ollama pull for anything missing.
Option 3: Manual Component Startup
# Terminal 1: Start Ollama
ollama serve

# Terminal 2: Start RAG API
python -m rag_system.api_server
# equivalently: python -m rag_system.main api --port 8001

# Terminal 3: Start Backend
python backend/server.py

# Terminal 4: Start Frontend
npm run dev

# Access at http://localhost:3000
Run every command from the repository root. Relative paths (backend/chat_data.db,
lancedb/, index_store/, shared_uploads/) resolve against the current working
directory, so cd backend && python server.py would create a second database at
backend/backend/chat_data.db.
Detailed Installation
1. Install System Dependencies
Ubuntu/Debian:
sudo apt update
sudo apt install python3.11 python3-pip nodejs npm docker.io docker-compose-plugin
macOS:
brew install [email protected] node docker
Windows:
# Install Python 3.10+, Node.js 20+, and Docker Desktop
# Then use PowerShell or WSL2
2. Install AI Models
Only the two Ollama models need an explicit pull. The embedding model
(microsoft/harrier-oss-v1-0.6b, 1.2 GB) is downloaded from HuggingFace the
first time it is used; the reranker (~7.5 GB) is loaded lazily — downloaded
on the first reranked query.
# Install Ollama
curl -fsSL https://ollama.ai/install.sh | sh

# Pull the default models
ollama pull qwen3.5:9b          # answer generation
ollama pull qwen3.5:4b          # routing, triage, enrichment, verification
Every setting has a working default, so LocalGPT runs with no .env at all.
To override one, create a .env in the repository root (rag_system/main.py
calls load_dotenv() at import, before its config constants are evaluated; the
factory calls it again defensively). .env.example lists the same variables
with their code defaults.
| Variable |
Default |
Read by |
OLLAMA_HOST |
http://localhost:11434 |
rag_system/main.py, backend/ollama_client.py |
RAG_API_URL |
http://localhost:8001 |
backend/server.py (builds /chat and /index) |
NEXT_PUBLIC_API_URL |
http://localhost:8000 |
src/lib/api.ts — inlined at npm run build |
NEXT_PUBLIC_RAG_API_URL |
http://localhost:8001 |
src/lib/api.ts — inlined at npm run build |
DB_PATH |
backend/chat_data.db |
backend/database.py |
LANCEDB_PATH |
storage.lancedb_uri (./lancedb) |
rag_system/main.py (pipeline profiles), backend/database.py, system_health_check.py |
GENERATION_MODEL |
qwen3.5:9b |
rag_system/main.py, backend/server.py, run_system.py |
ENRICHMENT_MODEL |
qwen3.5:4b |
rag_system/main.py, backend/server.py, run_system.py |
EMBEDDING_MODEL |
microsoft/harrier-oss-v1-0.6b |
rag_system/main.py |
RERANKER_MODEL |
Qwen/Qwen3-Reranker-4B (loaded lazily on the first reranked query) |
rag_system/main.py |
RAG_CONFIG_MODE |
default |
rag_system/api_server.py (default or fast) |
RAG_API_TIMEOUT |
600 |
backend/server.py (seconds to wait for a chat answer) |
RAG_API_INDEX_TIMEOUT |
3600 |
backend/server.py (seconds to wait for an indexing run) |
LLM_BACKEND |
ollama |
rag_system/main.py (ollama or watsonx) |
HF_TOKEN |
unset |
HuggingFace, for gated model downloads |
NEXT_PUBLIC_* values are baked into the frontend bundle by next build.
Changing them requires a rebuild (npm run build, or docker compose build frontend).
Changing EMBEDDING_MODEL invalidates existing indexes. Vector width is read
from the loaded model, and appending vectors of a different width to an existing
LanceDB table raises an error telling you to rebuild. Re-create your indexes after
switching embedding models.
4. Initialize the System
# Run system health check
python system_health_check.py

# Initialize the SQLite database
python -c "from backend.database import ChatDatabase; ChatDatabase().init_database()"

# Test the RAG imports
python -c "from rag_system.factory import get_agent; print('✅ Installation successful!')"

# Validate the running services
python run_system.py --health
🎯 Getting Started
1. Create Your First Index
An index is a collection of processed documents that you can chat with.
Using the Web Interface:
- Open http://localhost:3000
- Click "Create New Index"
- Upload your documents (PDF, DOCX, TXT, MD, HTML)
- Configure processing options
- Click "Build Index"
Using the CLI:
# Index a single file or a whole directory with the 'default' profile
python -m rag_system.main index ./my_documents

# Use the speed-optimised profile instead
python -m rag_system.main index ./my_documents --mode fast

# Ask one question and print the JSON result
python -m rag_system.main chat "What are the key findings?"
index walks a directory for .pdf, .docx, .html, .htm, .md and .txt
files. It writes into the profile's storage.text_table_name (text_pages_v4),
which is not the per-index table the web UI creates.
Using the interactive script (creates a UI-visible index):
# Guided prompts: name, documents, chunk size, models
python create_index_script.py

# Non-interactive, from a JSON file
python create_index_script.py --create-sample    # writes index_config.sample.json
python create_index_script.py --batch index_config.sample.json
Using the HTTP API:
# Create index
curl -X POST http://localhost:8000/indexes \
  -H "Content-Type: application/json" \
  -d '{"name": "My Index", "description": "My documents"}'

# Upload documents (form field name must be "files")
curl -X POST http://localhost:8000/indexes/INDEX_ID/upload \
  -F "[email protected]"

# Build index
curl -X POST http://localhost:8000/indexes/INDEX_ID/build \
  -H "Content-Type: application/json" \
  -d '{"chunk_size": 512, "enable_enrich": true, "enable_latechunk": true}'
2. Start Chatting
Once your index is built:
- Create a Chat Session: Click "New Chat" or use an existing session
- Select Your Index: Choose which document collection to query
- Ask Questions: Type natural language questions about your documents
- Get Answers: Receive AI-generated responses with source citations
3. Advanced Features
Per-session and per-request model choice
# The session's default generation model
curl -X POST http://localhost:8000/sessions \
  -H "Content-Type: application/json" \
  -d '{"title": "High Quality Session", "model": "qwen3.6:27b"}'

# Override it for one message
curl -X POST http://localhost:8000/sessions/SESSION_ID/messages \
  -H "Content-Type: application/json" \
  -d '{"message": "Summarise section 3", "model": "qwen3.5:4b"}'
The embedding model is a property of the index, not the session — choose it when
you build the index.
API Integration
import requests

# Talk to the RAG API directly
response = requests.post('http://localhost:8001/chat', json={
    'query': 'What are the key findings in the research papers?',
    'session_id': 'your-session-id',
    'retrieval_mode': 'hybrid',
    'retrieval_k': 20,
})

print(response.json()['answer'])
🔧 Configuration
All defaults live in rag_system/main.py. Every model name there can be
overridden with the environment variables listed above.
Model Configuration
| Role |
Default |
Documented options |
| Generation (answers) |
qwen3.5:9b |
qwen3.6:27b (high-end, ~17GB), qwen3.5:4b (light) |
| Enrichment / utility (routing, triage, decomposition, verification) |
qwen3.5:4b |
qwen3.5:2b (light) |
| Embedding |
microsoft/harrier-oss-v1-0.6b (MIT, 1024 dims) |
Qwen/Qwen3-Embedding-4B (2560 dims, 32K context, for multilingual / long-context corpora), Qwen/Qwen3-Embedding-0.6B (1024 dims) |
| Reranker (on by default) |
Qwen/Qwen3-Reranker-4B |
BAAI/bge-reranker-v2-m3 (low latency), answerdotai/answerai-colbert-small-v1, Qwen/Qwen3-Reranker-0.6B |
# rag_system/main.py
OLLAMA_CONFIG = {
    "host": os.getenv("OLLAMA_HOST", "http://localhost:11434"),
    "generation_model": os.getenv("GENERATION_MODEL", "qwen3.5:9b"),
    "enrichment_model": os.getenv("ENRICHMENT_MODEL", "qwen3.5:4b"),
}

EXTERNAL_MODELS = {
    "embedding_model": os.getenv("EMBEDDING_MODEL", "microsoft/harrier-oss-v1-0.6b"),
    "reranker_model": os.getenv("RERANKER_MODEL", "Qwen/Qwen3-Reranker-4B"),
}
Embedding dimensions are never hardcoded — they are measured from the vectors the
loaded model produces. If the reranker fails to load, the pipeline logs a warning
and continues without reranking rather than falling back to another model.
Vision / multimodal models are not part of the pipeline. PDF parsing and OCR are
handled by Docling. Models such as GLM-OCR or Qwen3-VL could be added as a
pre-processing step, but they are not integrated today.
Pipeline Configuration
PIPELINE_CONFIGS has exactly two profiles. Select one with RAG_CONFIG_MODE
(RAG API) or --mode (CLI).
Default Pipeline (Production-Ready)
"default": {
    "description": "Production-ready pipeline with hybrid search, query decomposition, and verification",
    "storage": {
        "lancedb_uri": "./lancedb",
        "text_table_name": "text_pages_v4"
    },
    "retrieval": {
        "search_type": "hybrid",
        # Off since the 2026-08-18 component ablation; one flag covers the
        # index-time build and the query-time leg.
        "latechunk": {"enabled": False},
        "dense": {"enabled": True},
        "retry": {"enabled": True, "min_top_score": 0.12, "max_attempts": 1},
        # Phase-4 features, all off u









 LocalGPT is a fully private, on-premise document intelligence platform: chat with, summarise and query your own documents using LLMs that run locally, so no data ever leaves your machine.