

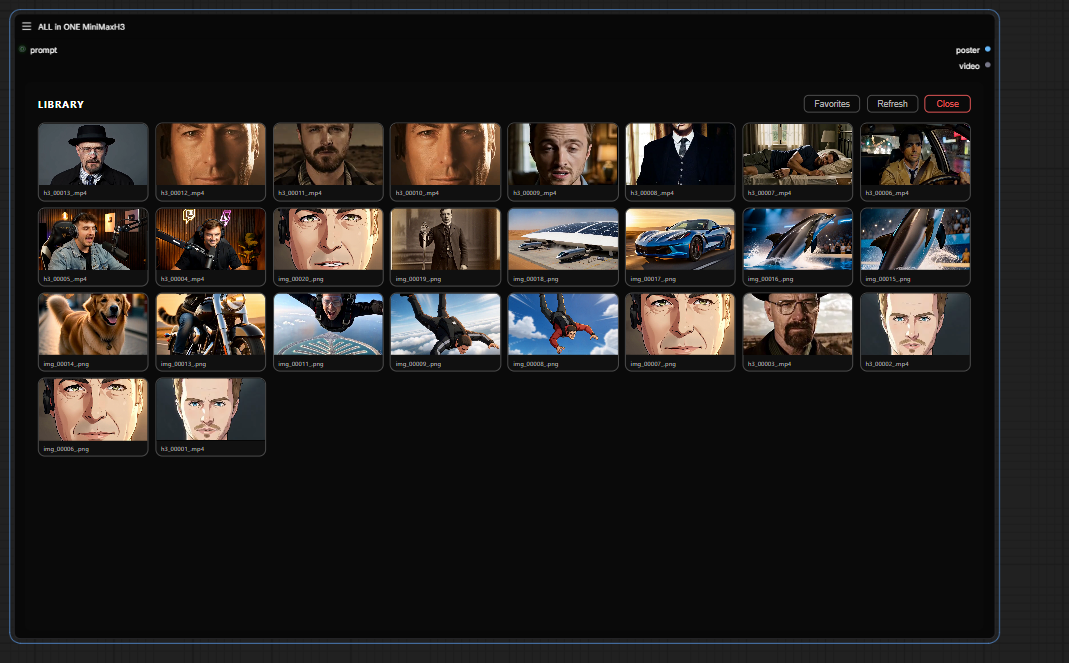
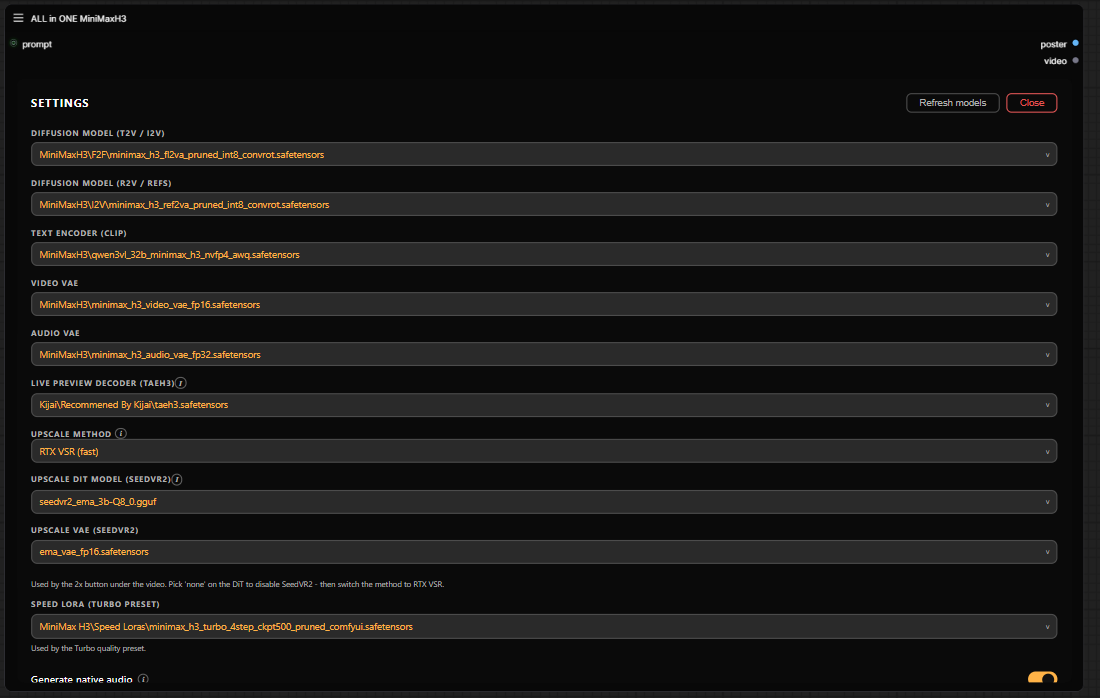

这是什么?
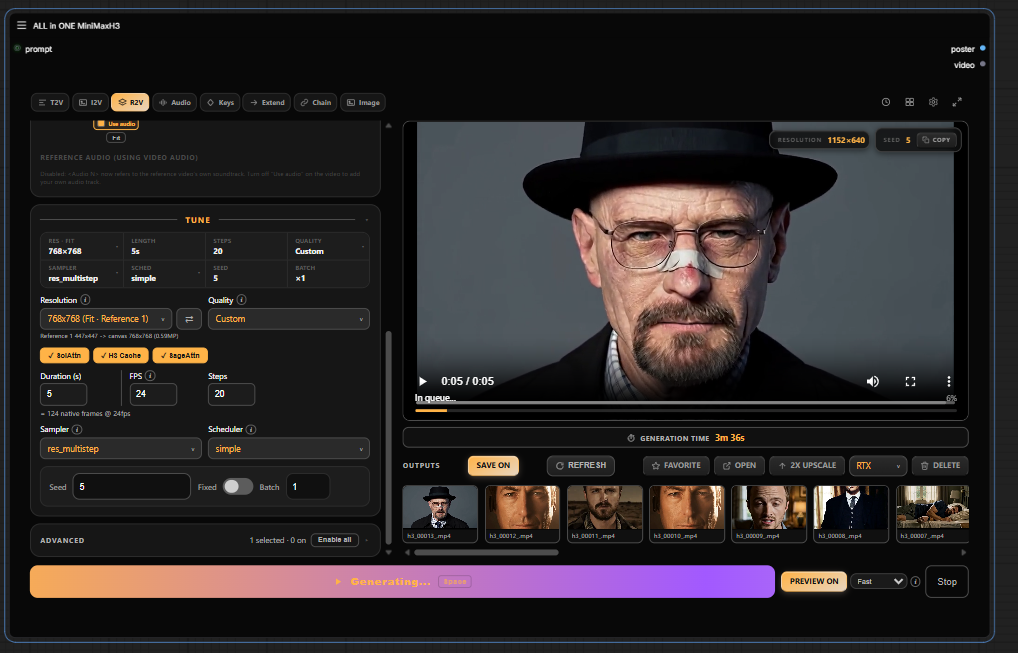
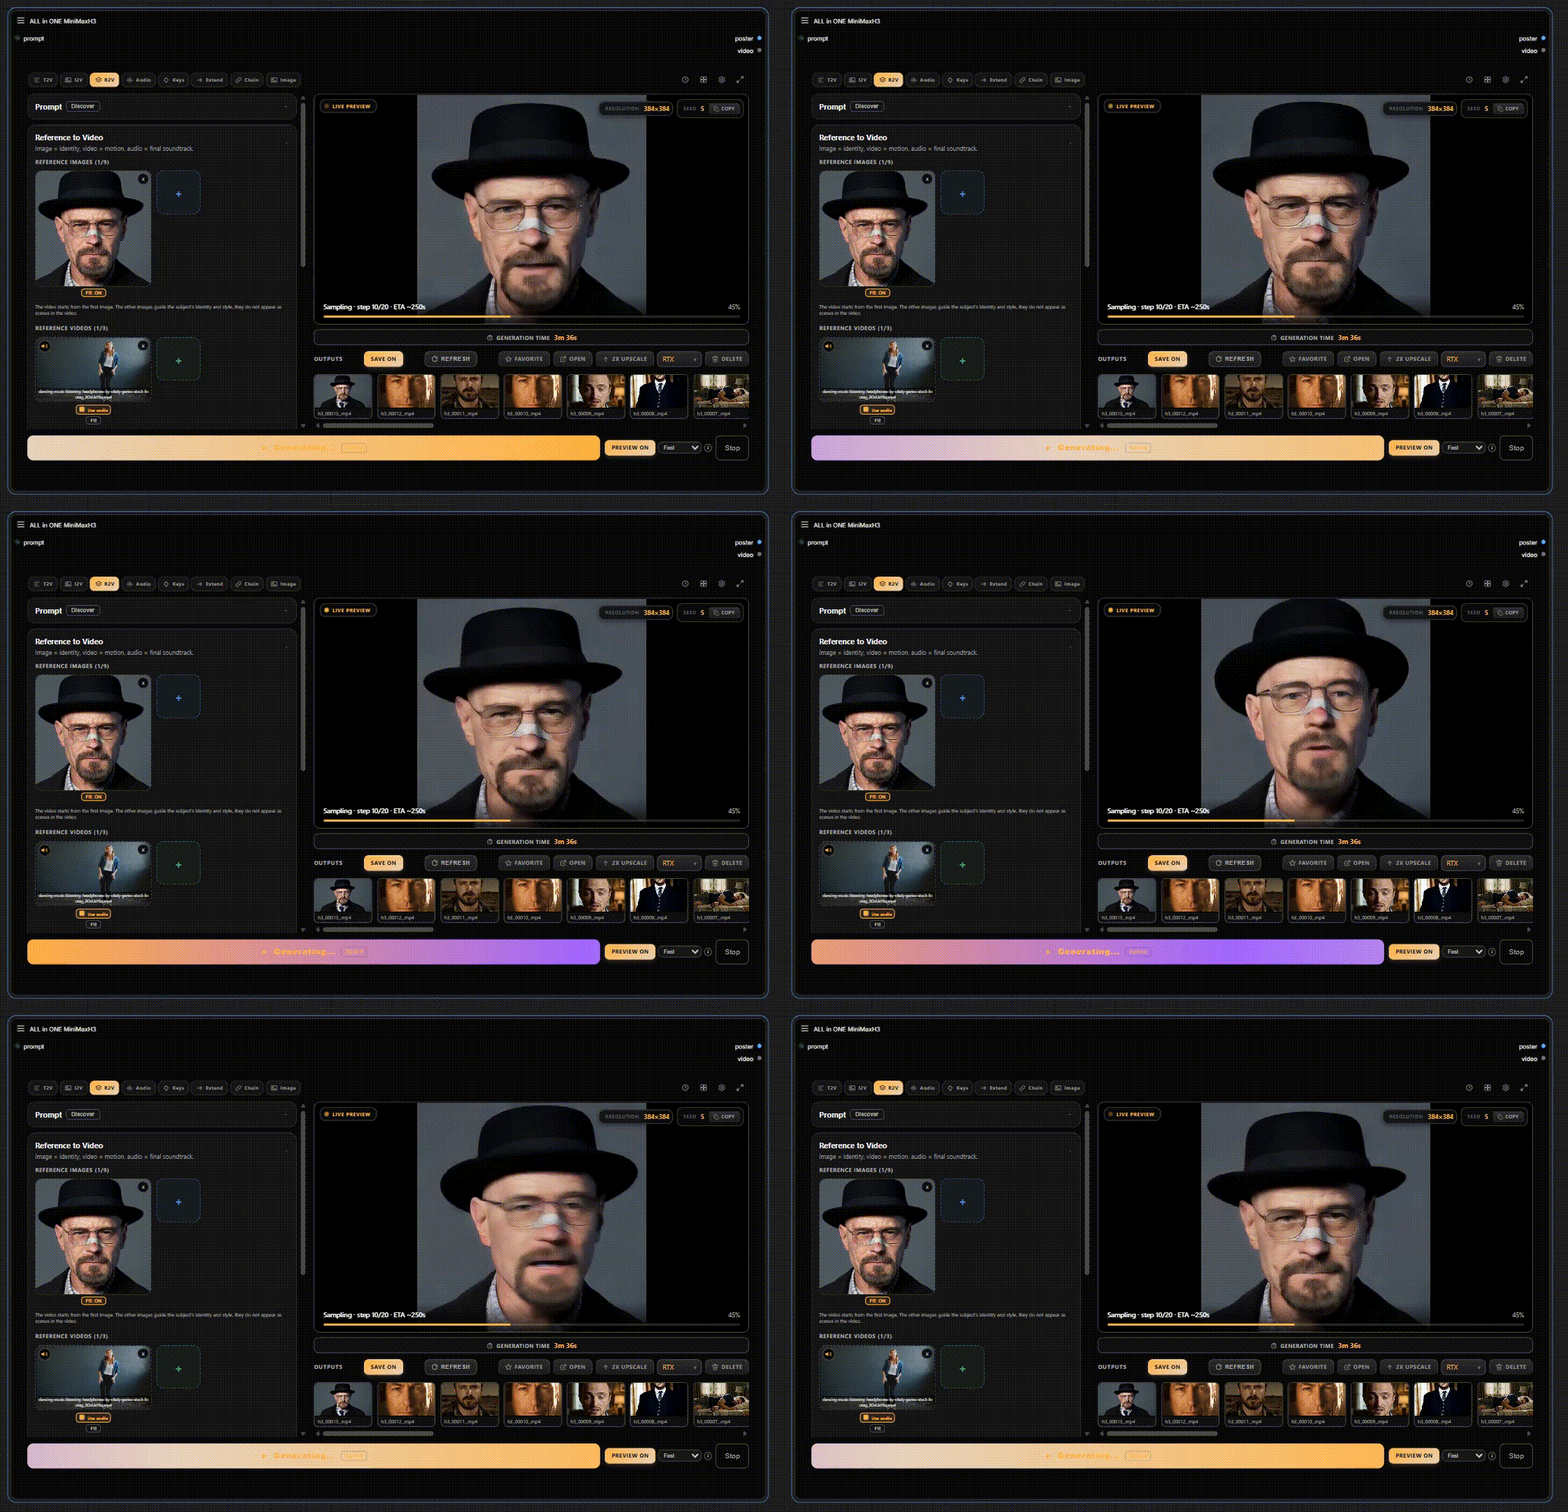
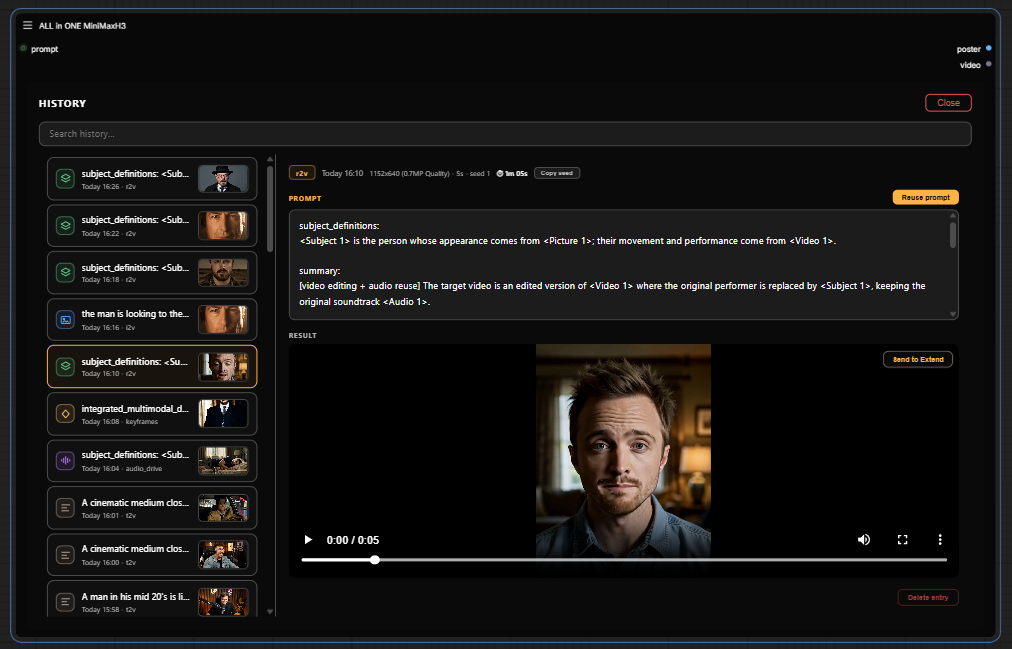
 一个 ComfyUI 自定义节点,把整个 MiniMax H3 视频流程打包进同一个节点——选好模式,填入提示词或参考素材,点生成就行。
一个 ComfyUI 自定义节点,把整个 MiniMax H3 视频流程打包进同一个节点——选好模式,填入提示词或参考素材,点生成就行。那它是一个独立的软件,还是装在 ComfyUI 里面的东西?它装在 ComfyUI 里面——是一个自定义节点,不是独立程序。安装后它会以 'ALL in ONE MiniMaxH3' 节点的形式出现在画布上。
它装在 ComfyUI 里面——是一个自定义节点,不是独立程序。安装后它会以 'ALL in ONE MiniMaxH3' 节点的形式出现在画布上。我怎么把它装进 ComfyUI?安装好这个节点包后重启 ComfyUI,然后在画布上双击并搜索 'ALL in ONE MiniMaxH3'——全部安装步骤就这些。
安装好这个节点包后重启 ComfyUI,然后在画布上双击并搜索 'ALL in ONE MiniMaxH3'——全部安装步骤就这些。在原版 ComfyUI 上就能用吗,还是需要额外的模型和节点包?T2V、I2V 和 R2V 只靠 ComfyUI 核心就能运行;其他所有模型和可选节点包都列在 requirements/REQUIREMENTS.md 里。可选的 SLA Draft 预设需要 ComfyUI-PlagueKind-Nodes 节点包。
T2V、I2V 和 R2V 只靠 ComfyUI 核心就能运行;其他所有模型和可选节点包都列在 requirements/REQUIREMENTS.md 里。可选的 SLA Draft 预设需要 ComfyUI-PlagueKind-Nodes 节点包。有什么容易出问题的地方吗?它还是测试版,而且作者只针对一套固定的组合做测试——特定的 ComfyUI 版本、节点 commit 和模型文件,全都列在 COMPATIBILITY.md 里。如果更新后渲染失败,先从那里查起。
它还是测试版,而且作者只针对一套固定的组合做测试——特定的 ComfyUI 版本、节点 commit 和模型文件,全都列在 COMPATIBILITY.md 里。如果更新后渲染失败,先从那里查起。在 Windows、macOS 和 Linux 上运行效果一样吗?一样——它是 ComfyUI 里的自定义节点,不是针对某个操作系统的程序,所以 ComfyUI 能跑的地方它就能跑。
一样——它是 ComfyUI 里的自定义节点,不是针对某个操作系统的程序,所以 ComfyUI 能跑的地方它就能跑。它会调用 MiniMax 的云端,还是模型在本地运行?在你本地的 ComfyUI 里运行——模型是你自己准备好的文件(见 requirements/REQUIREMENTS.md),而且 T2V、I2V 和 R2V 只靠 ComfyUI 核心就能跑。不涉及任何 API key。
在你本地的 ComfyUI 里运行——模型是你自己准备好的文件(见 requirements/REQUIREMENTS.md),而且 T2V、I2V 和 R2V 只靠 ComfyUI 核心就能跑。不涉及任何 API key。我的显卡带得动吗?没有给出具体的显卡要求——唯一和硬件相关的功能是 Upscale 模式,它对接 RTX/Seed2VR Video Super Resolution。
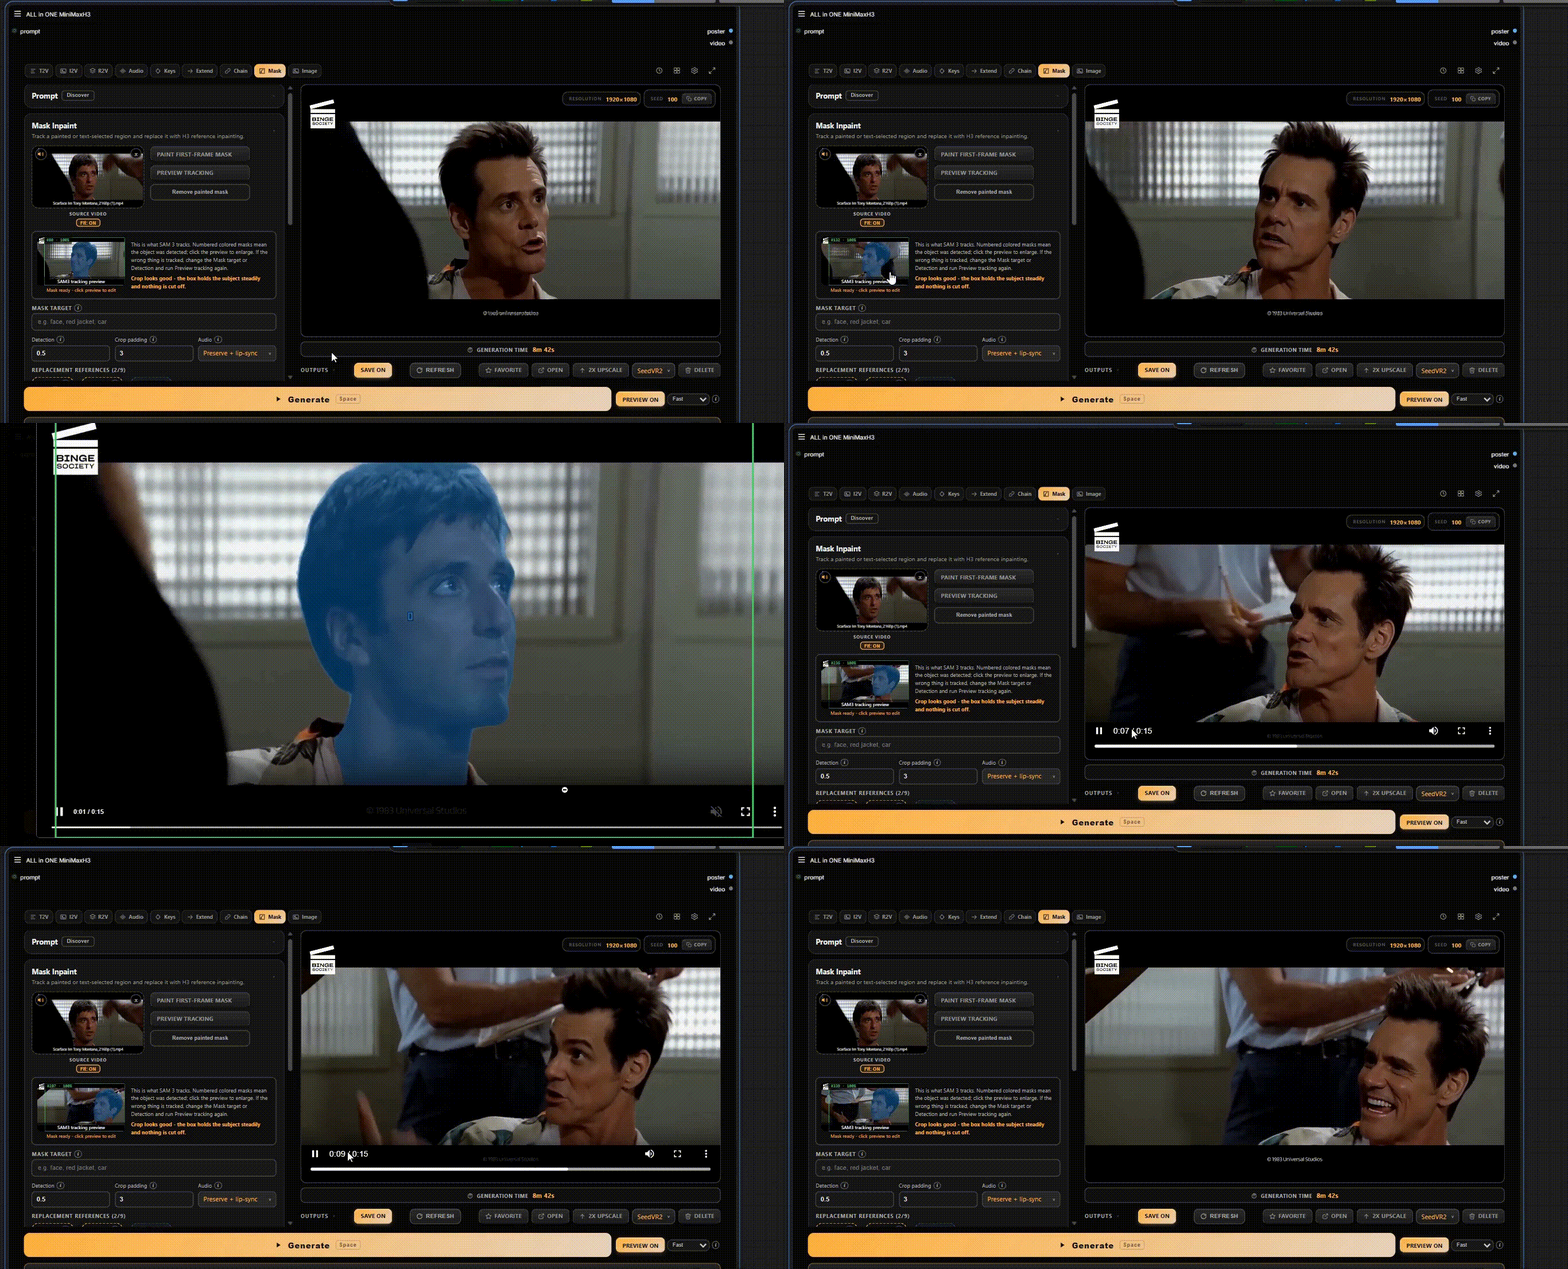
没有给出具体的显卡要求——唯一和硬件相关的功能是 Upscale 模式,它对接 RTX/Seed2VR Video Super Resolution。这一个节点能覆盖哪些模式?十一种:Image(文生图、图片编辑、最多 9 张参考图)、带原生音频的 T2V、可选尾帧渐变过渡的 I2V、由参考图、视频或音频驱动的 R2V、6 格或 4 格布局的角色三视图(Character Sheet)、Audio Drive 口型同步、Keyframes、Extend、通过 Motion Context 串联且无需重新编码的 Chain、带区域追踪的 Mask,以及一个 Upscale 接口。
十一种:Image(文生图、图片编辑、最多 9 张参考图)、带原生音频的 T2V、可选尾帧渐变过渡的 I2V、由参考图、视频或音频驱动的 R2V、6 格或 4 格布局的角色三视图(Character Sheet)、Audio Drive 口型同步、Keyframes、Extend、通过 Motion Context 串联且无需重新编码的 Chain、带区域追踪的 Mask,以及一个 Upscale 接口。Compare & Stitch 是做什么的?选 2-4 个输出结果,既可以同步并排观看对比(Compare),也可以导出一条并排拼接的视频(Stitch),帧率 24 fps,可以逐条裁剪、调整间距和边框颜色,输出 h264 或 h265 的 mp4。音频取自第一条视频;需要 ComfyUI VideoHelperSuite。
选 2-4 个输出结果,既可以同步并排观看对比(Compare),也可以导出一条并排拼接的视频(Stitch),帧率 24 fps,可以逐条裁剪、调整间距和边框颜色,输出 h264 或 h265 的 mp4。音频取自第一条视频;需要 ComfyUI VideoHelperSuite。在 Mask 模式下,我能涂出一块区域再用文字描述它吗?不能——手涂和文字描述是两条独立的路径。作者发现手动重绘和文字提示混用效果不好,所以每个遮罩只能选一种方式。
不能——手涂和文字描述是两条独立的路径。作者发现手动重绘和文字提示混用效果不好,所以每个遮罩只能选一种方式。为什么做成一个节点,而不是常见的流程图工作流?作者表示'单节点'的思路借鉴了 Jan 的 one-node-flux-2-klein 和 one-node-gemma-4——目的就是省去把十几个自定义节点包拼在一起时那种改图的麻烦。
作者表示'单节点'的思路借鉴了 Jan 的 one-node-flux-2-klein 和 one-node-gemma-4——目的就是省去把十几个自定义节点包拼在一起时那种改图的麻烦。What are similar projects?ComfyUI-MiniMaxH3-TimelineDirector, ComfyUI-MiniMax-H3-LongMedia, CodeVideoModel, ComfyUI-H3-FaceRefine, artcraft, ComfyUI, WanGP, storycast
ComfyUI-MiniMaxH3-TimelineDirector, ComfyUI-MiniMax-H3-LongMedia, CodeVideoModel, ComfyUI-H3-FaceRefine, artcraft, ComfyUI, WanGP, storycastWhich topics is it in?lipsync, minimax-h3, minimax, inpainting, upscaling, ai-video, image-to-video, comfyui, audio-generation, text-to-video, image-editing, text-to-image
lipsync, minimax-h3, minimax, inpainting, upscaling, ai-video, image-to-video, comfyui, audio-generation, text-to-video, image-editing, text-to-image