StreamDiffusion
English | 日本語 | 한국어
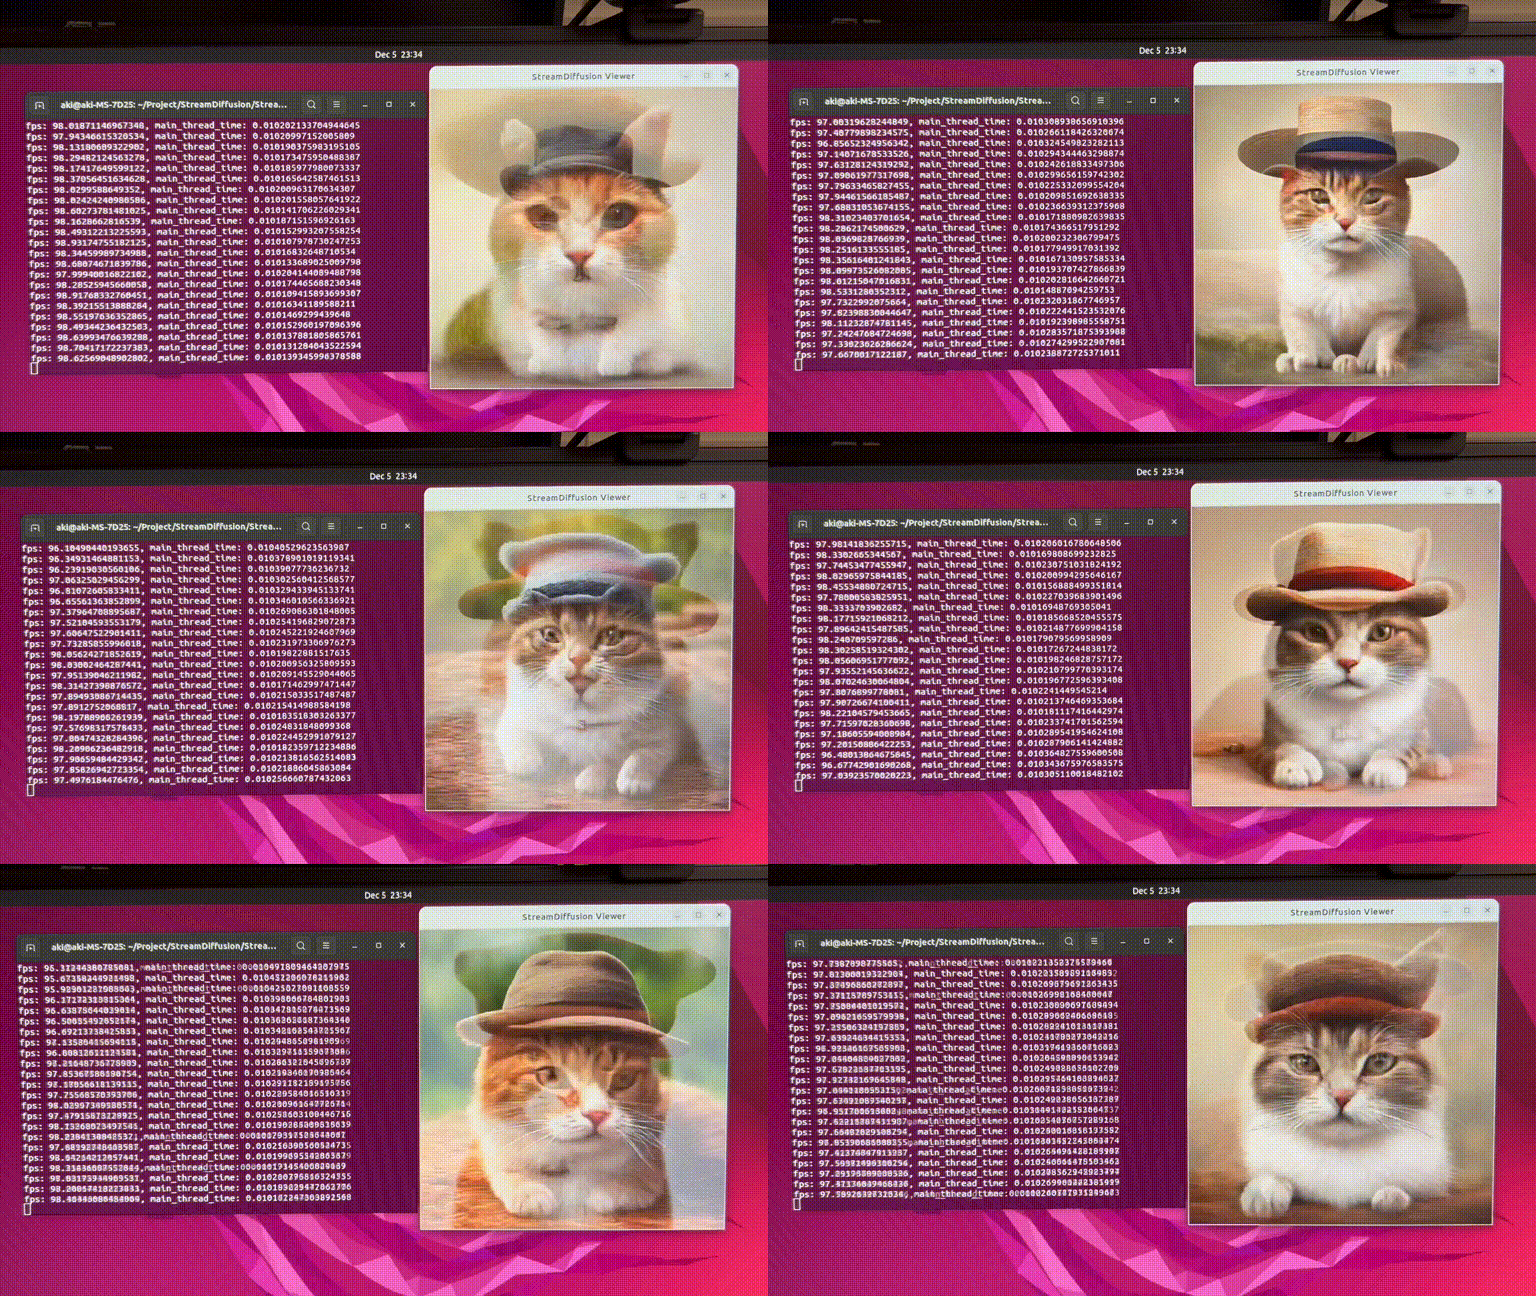
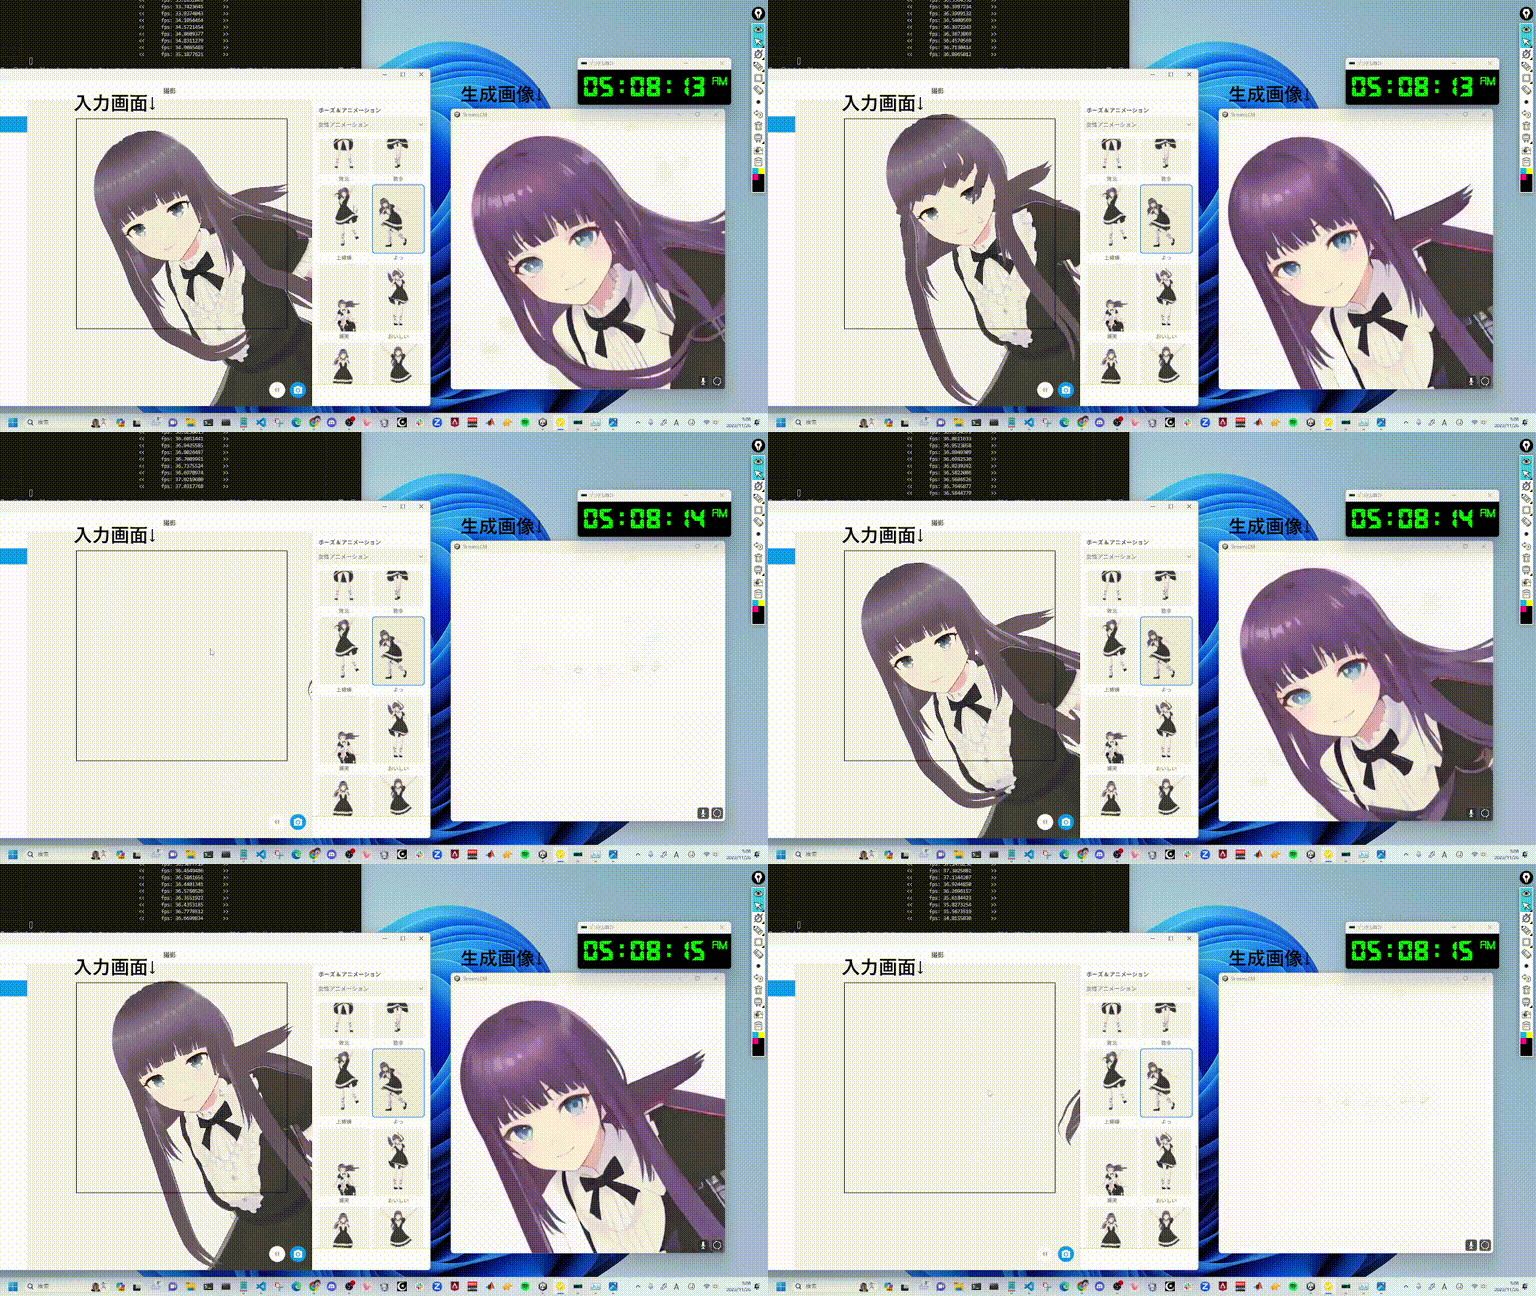
StreamDiffusion: A Pipeline-Level Solution for Real-Time Interactive Generation
Authors: Akio Kodaira*, Chenfeng Xu*, Toshiki Hazama*, Takanori Yoshimoto, Kohei Ohno, Shogo Mitsuhori, Soichi Sugano, Hanying Cho, Zhijian Liu, Masayoshi Tomizuka, Kurt Keutzer
StreamDiffusion is an innovative diffusion pipeline designed for real-time interactive generation. It introduces significant performance enhancements to current diffusion-based image generation techniques.


We sincerely thank Taku Fujimoto and Radamés Ajna and Hugging Face team for their invaluable feedback, courteous support, and insightful discussions.
Key Features
Stream Batch
- Streamlined data processing through efficient batch operations.
Residual Classifier-Free Guidance - Learn More
- Improved guidance mechanism that minimizes computational redundancy.
Stochastic Similarity Filter - Learn More
- Improves GPU utilization efficiency through advanced filtering techniques.
IO Queues
- Efficiently manages input and output operations for smoother execution.
Pre-Computation for KV-Caches
- Optimizes caching strategies for accelerated processing.
Model Acceleration Tools
- Utilizes various tools for model optimization and performance boost.
When images are produced using our proposed StreamDiffusion pipeline in an environment with GPU: RTX 4090, CPU: Core i9-13900K, and OS: Ubuntu 22.04.3 LTS.
| model |
Denoising Step |
fps on Txt2Img |
fps on Img2Img |
| SD-turbo |
1 |
106.16 |
93.897 |
LCM-LoRA
+
KohakuV2 |
4 |
38.023 |
37.133 |
Feel free to explore each feature by following the provided links to learn more about StreamDiffusion's capabilities. If you find it helpful, please consider citing our work:
@article{kodaira2023streamdiffusion,
      title={StreamDiffusion: A Pipeline-level Solution for Real-time Interactive Generation},
      author={Akio Kodaira and Chenfeng Xu and Toshiki Hazama and Takanori Yoshimoto and Kohei Ohno and Shogo Mitsuhori and Soichi Sugano and Hanying Cho and Zhijian Liu and Kurt Keutzer},
      year={2023},
      eprint={2312.12491},
      archivePrefix={arXiv},
      primaryClass={cs.CV}
}
Installation
Step0: clone this repository
git clone https://github.com/cumulo-autumn/StreamDiffusion.git
Step1: Make Environment
You can install StreamDiffusion via pip, conda, or Docker(explanation below).
conda create -n streamdiffusion python=3.10
conda activate streamdiffusion
OR
python -m venv .venv
# Windows
.\.venv\Scripts\activate
# Linux
source .venv/bin/activate
Step2: Install PyTorch
Select the appropriate version for your system.
CUDA 11.8
pip3 install torch==2.1.0 torchvision==0.16.0 xformers --index-url https://download.pytorch.org/whl/cu118
CUDA 12.1
pip3 install torch==2.1.0 torchvision==0.16.0 xformers --index-url https://download.pytorch.org/whl/cu121
details: https://pytorch.org/
Step3: Install StreamDiffusion
For User
Install StreamDiffusion
#for Latest Version (recommended)
pip install git+https://github.com/cumulo-autumn/StreamDiffusion.git@main#egg=streamdiffusion[tensorrt]


#or


#for Stable Version
pip install streamdiffusion[tensorrt]
Install TensorRT extension
python -m streamdiffusion.tools.install-tensorrt
(Only for Windows) You may need to install pywin32 additionally, if you installed Stable Version(pip install streamdiffusion[tensorrt]).
pip install --force-reinstall pywin32
For Developer
python setup.py develop easy_install streamdiffusion[tensorrt]
python -m streamdiffusion.tools.install-tensorrt
Docker Installation (TensorRT Ready)
git clone https://github.com/cumulo-autumn/StreamDiffusion.git
cd StreamDiffusion
docker build -t stream-diffusion:latest -f Dockerfile .
docker run --gpus all -it -v $(pwd):/home/ubuntu/streamdiffusion stream-diffusion:latest
Quick Start
You can try StreamDiffusion in examples directory.
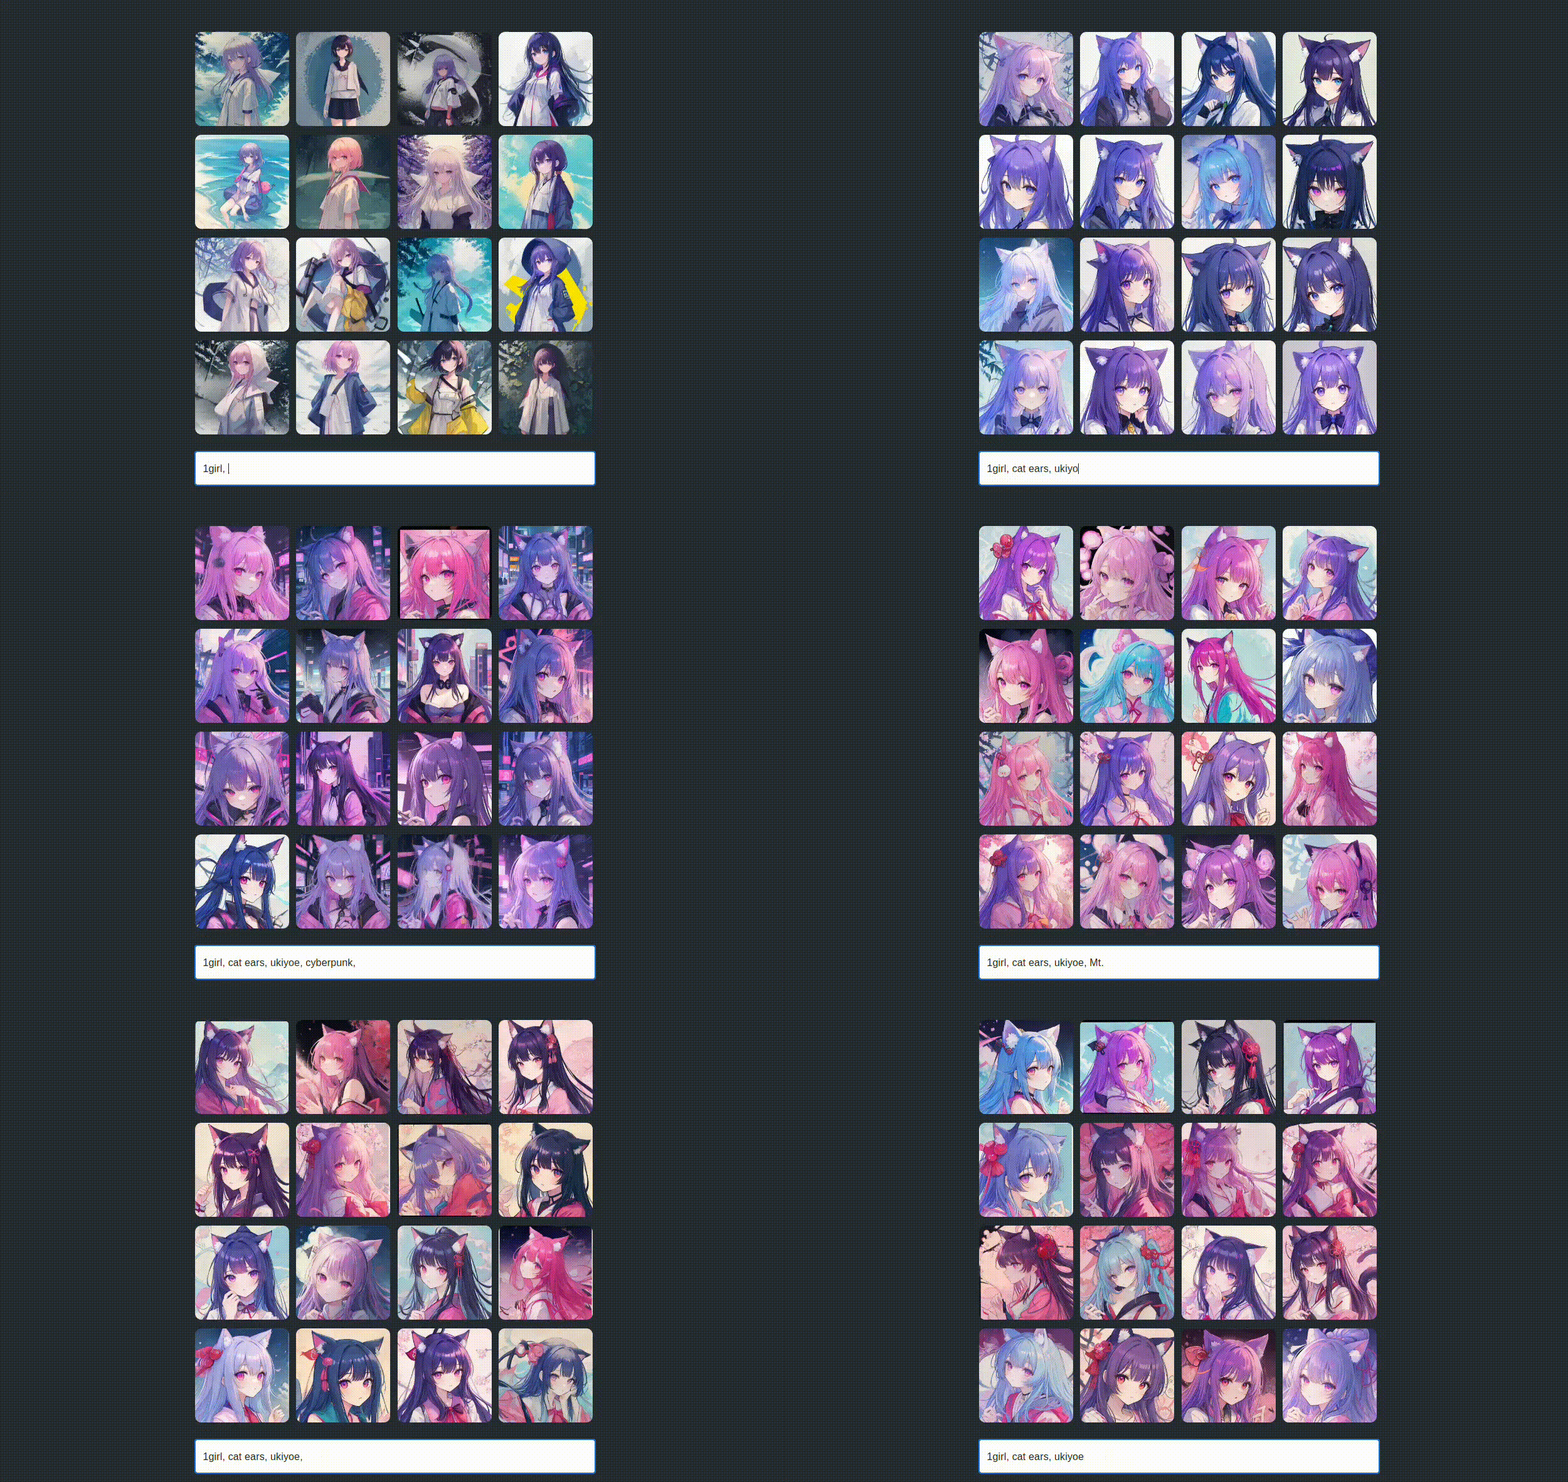
Real-Time Txt2Img Demo
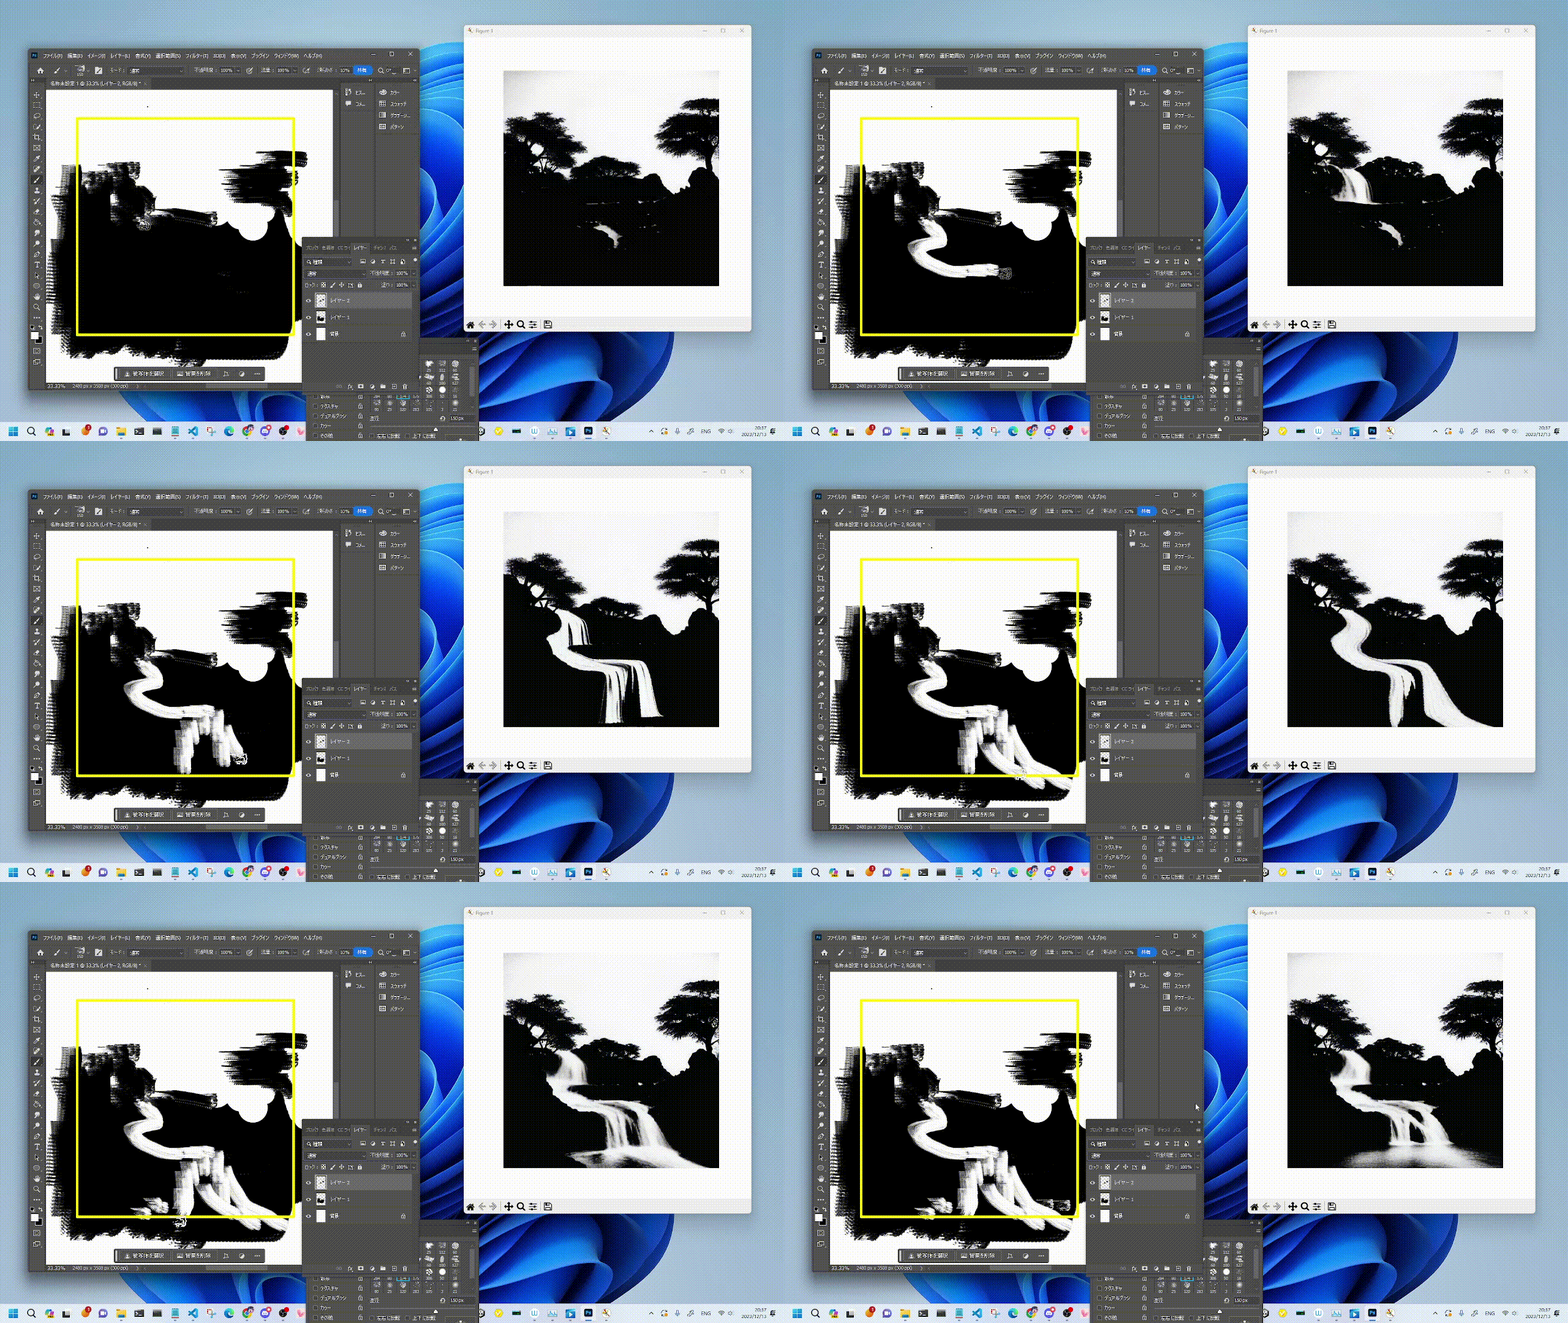
There is an interactive txt2img demo in demo/realtime-txt2img directory!
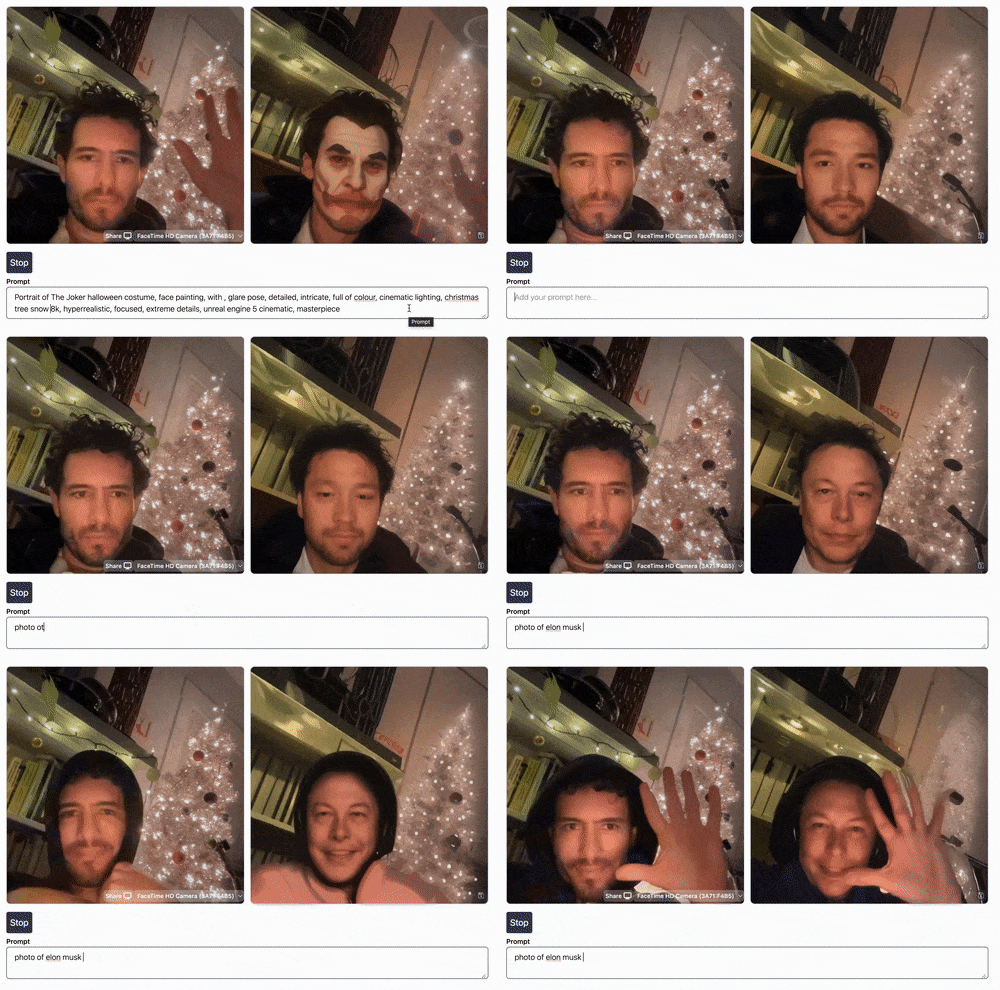
Real-Time Img2Img Demo
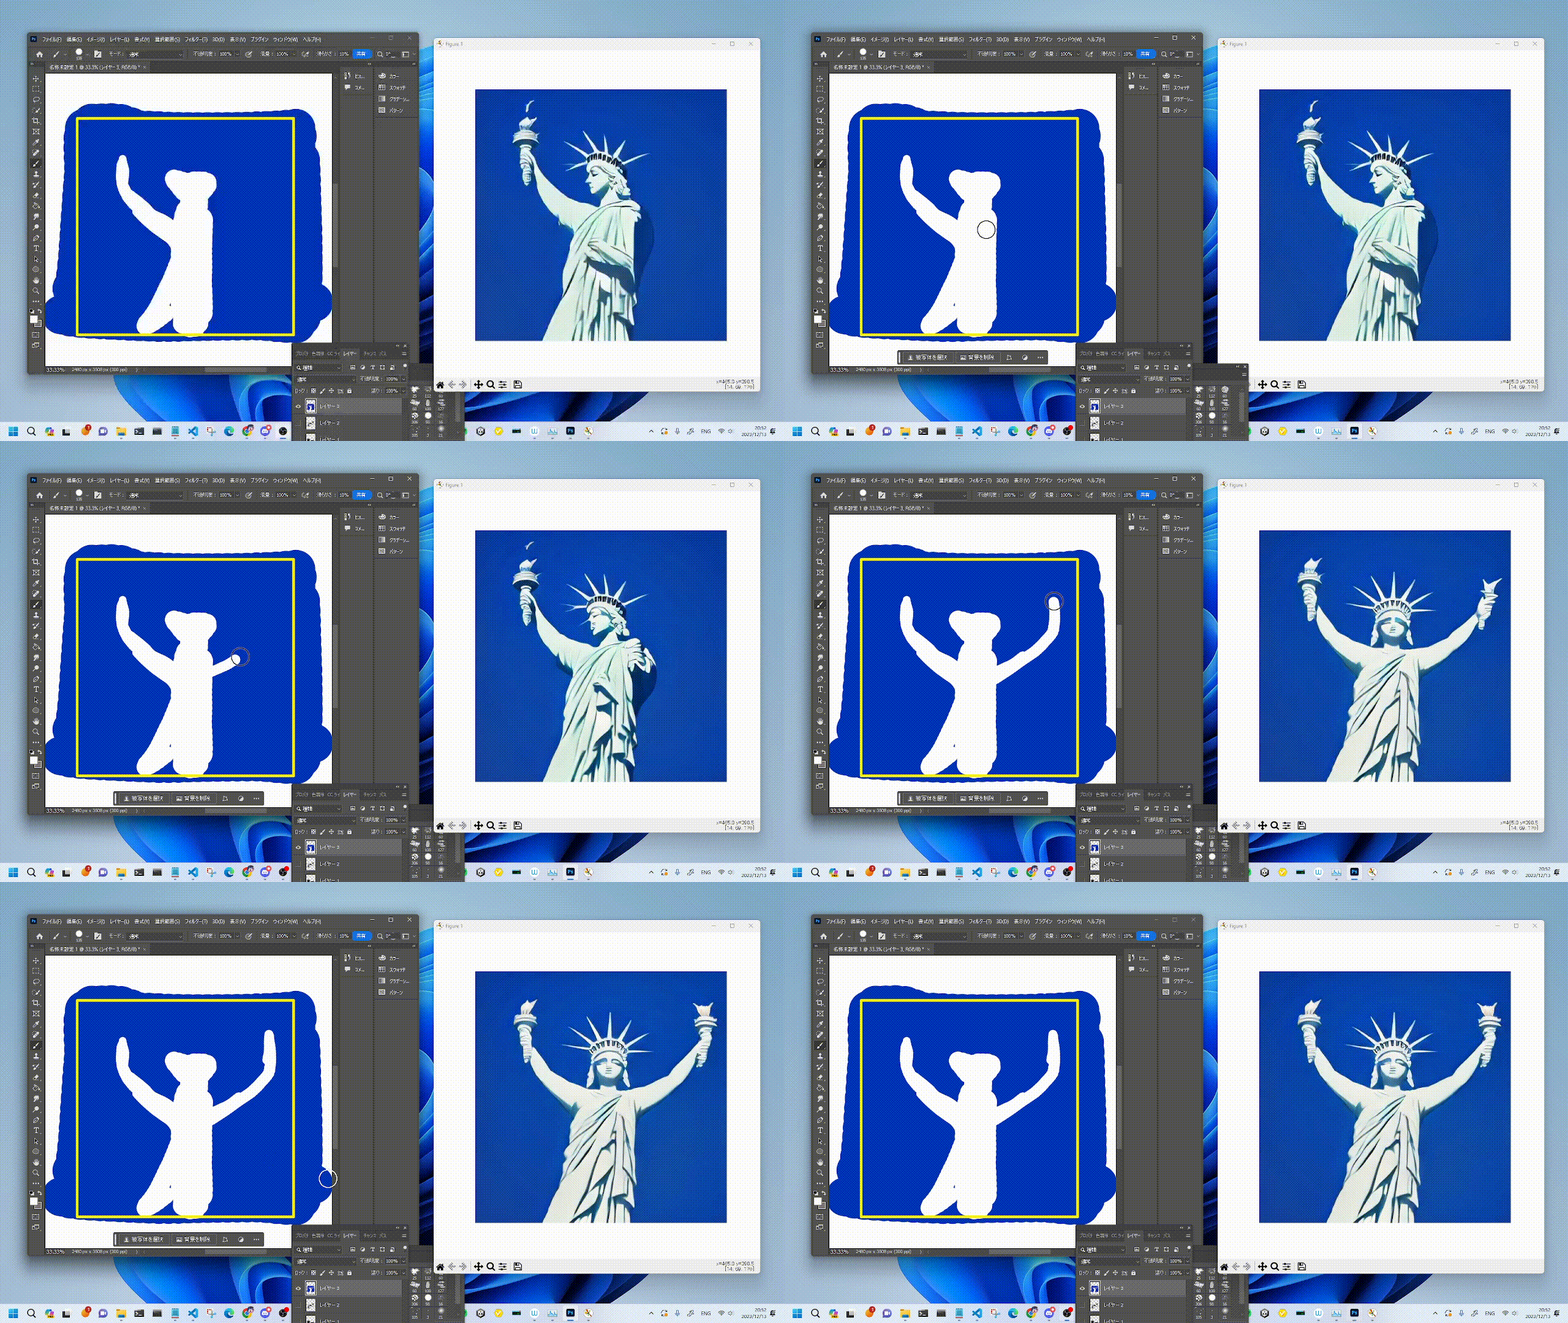
There is a real time img2img demo with a live webcam feed or screen capture on a web browser in demo/realtime-img2img directory!
Usage Example
We provide a simple example of how to use StreamDiffusion. For more detailed examples, please refer to examples directory.
Image-to-Image
import torch
from diffusers import AutoencoderTiny, StableDiffusionPipeline
from diffusers.utils import load_image

from streamdiffusion import StreamDiffusion
from streamdiffusion.image_utils import postprocess_image

# You can load any models using diffuser's StableDiffusionPipeline
pipe = StableDiffusionPipeline.from_pretrained("KBlueLeaf/kohaku-v2.1").to(
    device=torch.device("cuda"),
    dtype=torch.float16,
)

# Wrap the pipeline in StreamDiffusion
stream = StreamDiffusion(
    pipe,
    t_index_list=[32, 45],
    torch_dtype=torch.float16,
)

# If the loaded model is not LCM, merge LCM
stream.load_lcm_lora()
stream.fuse_lora()
# Use Tiny VAE for further acceleration
stream.vae = AutoencoderTiny.from_pretrained("madebyollin/taesd").to(device=pipe.device, dtype=pipe.dtype)
# Enable acceleration
pipe.enable_xformers_memory_efficient_attention()


prompt = "1girl with dog hair, thick frame glasses"
# Prepare the stream
stream.prepare(prompt)

# Prepare image
init_image = load_image("assets/img2img_example.png").resize((512, 512))

# Warmup >= len(t_index_list) x frame_buffer_size
for _ in range(2):
    stream(init_image)

# Run the stream infinitely
while True:
    x_output = stream(init_image)
    postprocess_image(x_output, output_type="pil")[0].show()
    input_response = input("Press Enter to continue or type 'stop' to exit: ")
    if input_response == "stop":
        break
Text-to-Image
import torch
from diffusers import AutoencoderTiny, StableDiffusionPipeline

from streamdiffusion import StreamDiffusion
from streamdiffusion.image_utils import postprocess_image

# You can load any models using diffuser's StableDiffusionPipeline
pipe = StableDiffusionPipeline.from_pretrained("KBlueLeaf/kohaku-v2.1").to(
    device=torch.device("cuda"),
    dtype=torch.float16,
)

# Wrap the pipeline in StreamDiffusion
# Requires more long steps (len(t_index_list)) in text2image
# You recommend to use cfg_type="none" when text2image
stream = StreamDiffusion(
    pipe,
    t_index_list=[0, 16, 32, 45],
    torch_dtype=torch.float16,
    cfg_type="none",
)

# If the loaded model is not LCM, merge LCM
stream.load_lcm_lora()
stream.fuse_lora()
# Use Tiny VAE for further acceleration
stream.vae = AutoencoderTiny.from_pretrained("madebyollin/taesd").to(device=pipe.device, dtype=pipe.dtype)
# Enable acceleration
pipe.enable_xformers_memory_efficient_attention()


prompt = "1girl with dog hair, thick frame glasses"
# Prepare the stream
stream.prepare(prompt)

# Warmup >= len(t_index_list) x frame_buffer_size
for _ in range(4):
    stream()

# Run the stream infinitely
while True:
    x_output = stream.txt2img()
    postprocess_image(x_output, output_type="pil")[0].show()
    input_response = input("Press Enter to continue or type 'stop' to exit: ")
    if input_response == "stop":
        break
You can make it faster by using SD-Turbo.
Faster generation
Replace the following code in the above example.
pipe.enable_xformers_memory_efficient_attention()
To
from streamdiffusion.acceleration.tensorrt import accelerate_with_tensorrt

stream = accelerate_with_tensorrt(
    stream, "engines", max_batch_size=2,
)
It requires TensorRT extension and time to build the engine, but it will be faster than the above example.
Optionals
Stochastic Similarity Filter
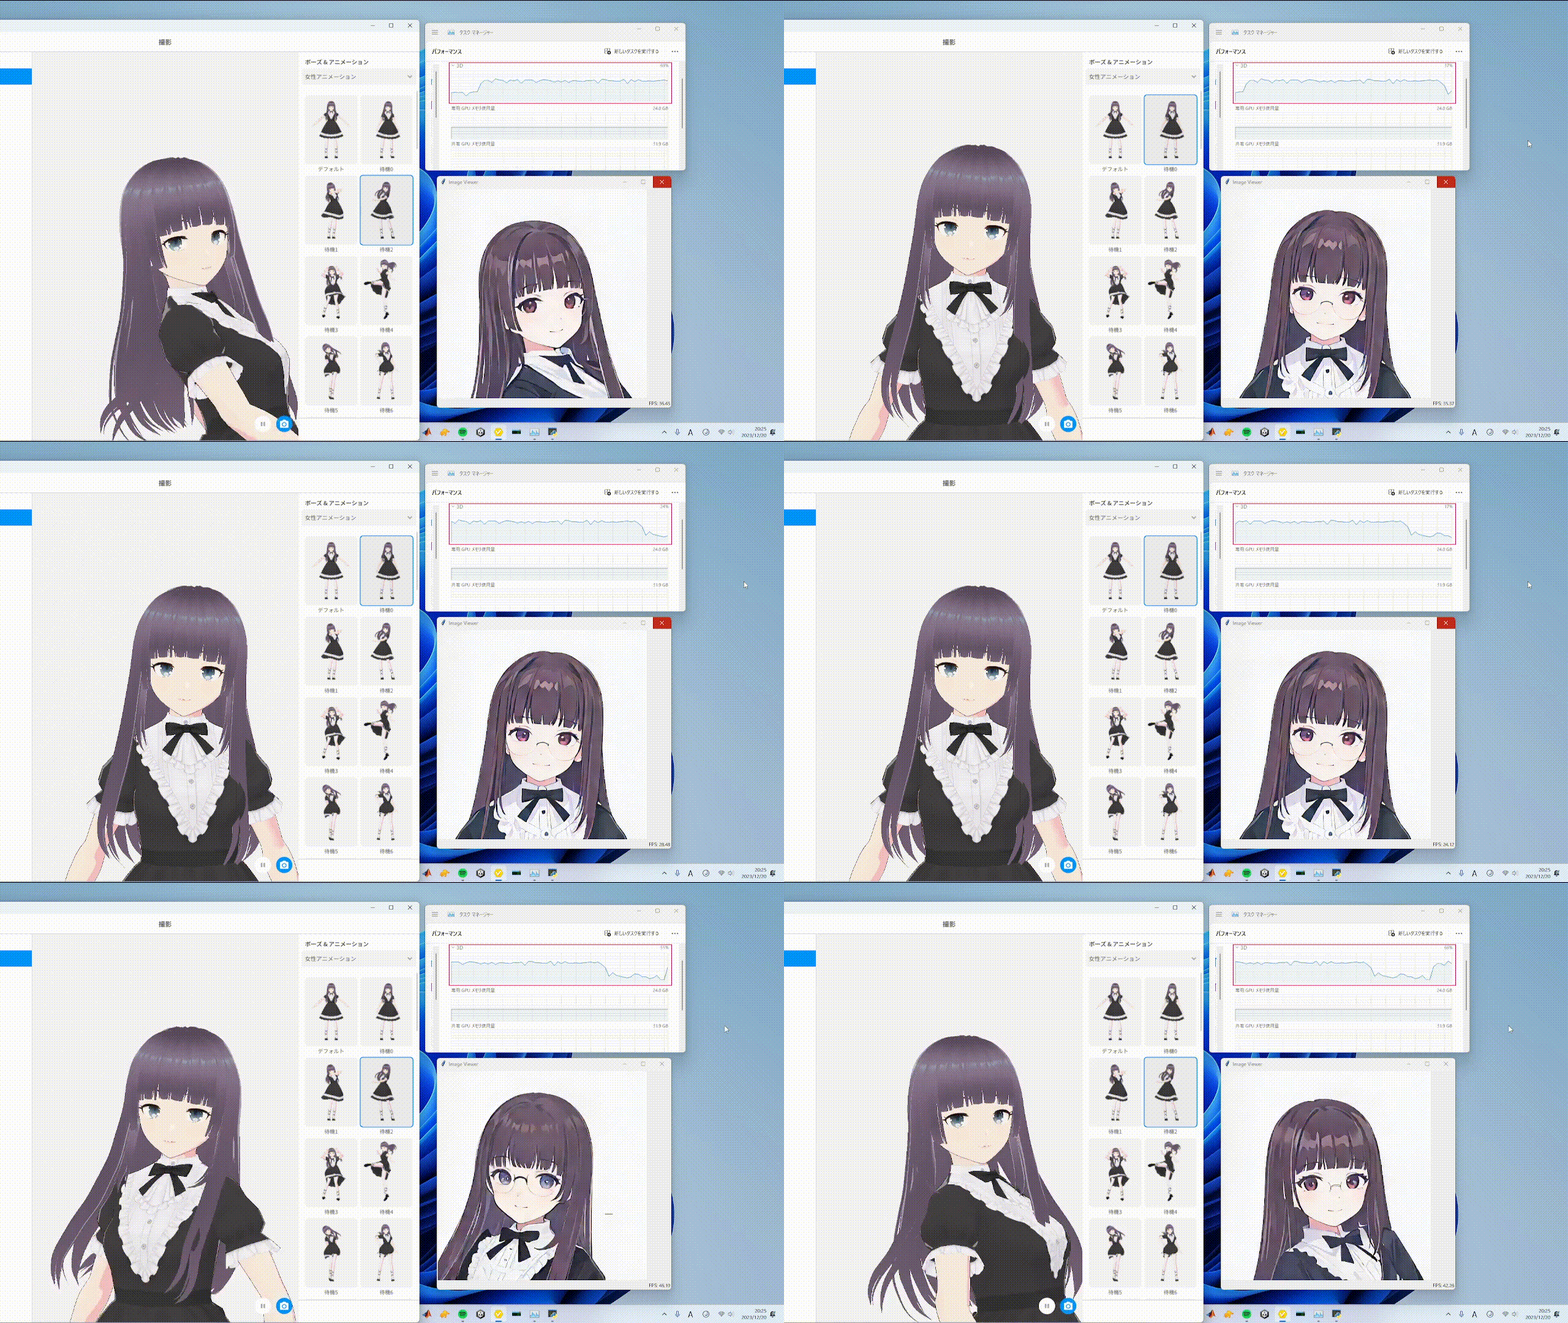
Stochastic Similarity Filter reduces processing during video input by minimizing conversion operations when there is little change from the previous frame, thereby alleviating GPU processing load, as shown by the red frame in the above GIF. The usage is as follows:
stream = StreamDiffusion(
    pipe,
    [32, 45],
    torch_dtype=torch.float16,
)
stream.enable_similar_image_filter(
    similar_image_filter_threshold,
    similar_image_filter_max_skip_frame,
)
There are the following parameters that can be set as arguments in the function:
similar_image_filter_threshold
- The threshold for similarity between the previous frame and the current frame before the processing is paused.
similar_image_filter_max_skip_frame
- The maximum interval during the pause before resuming the conversion.
Residual CFG (RCFG)
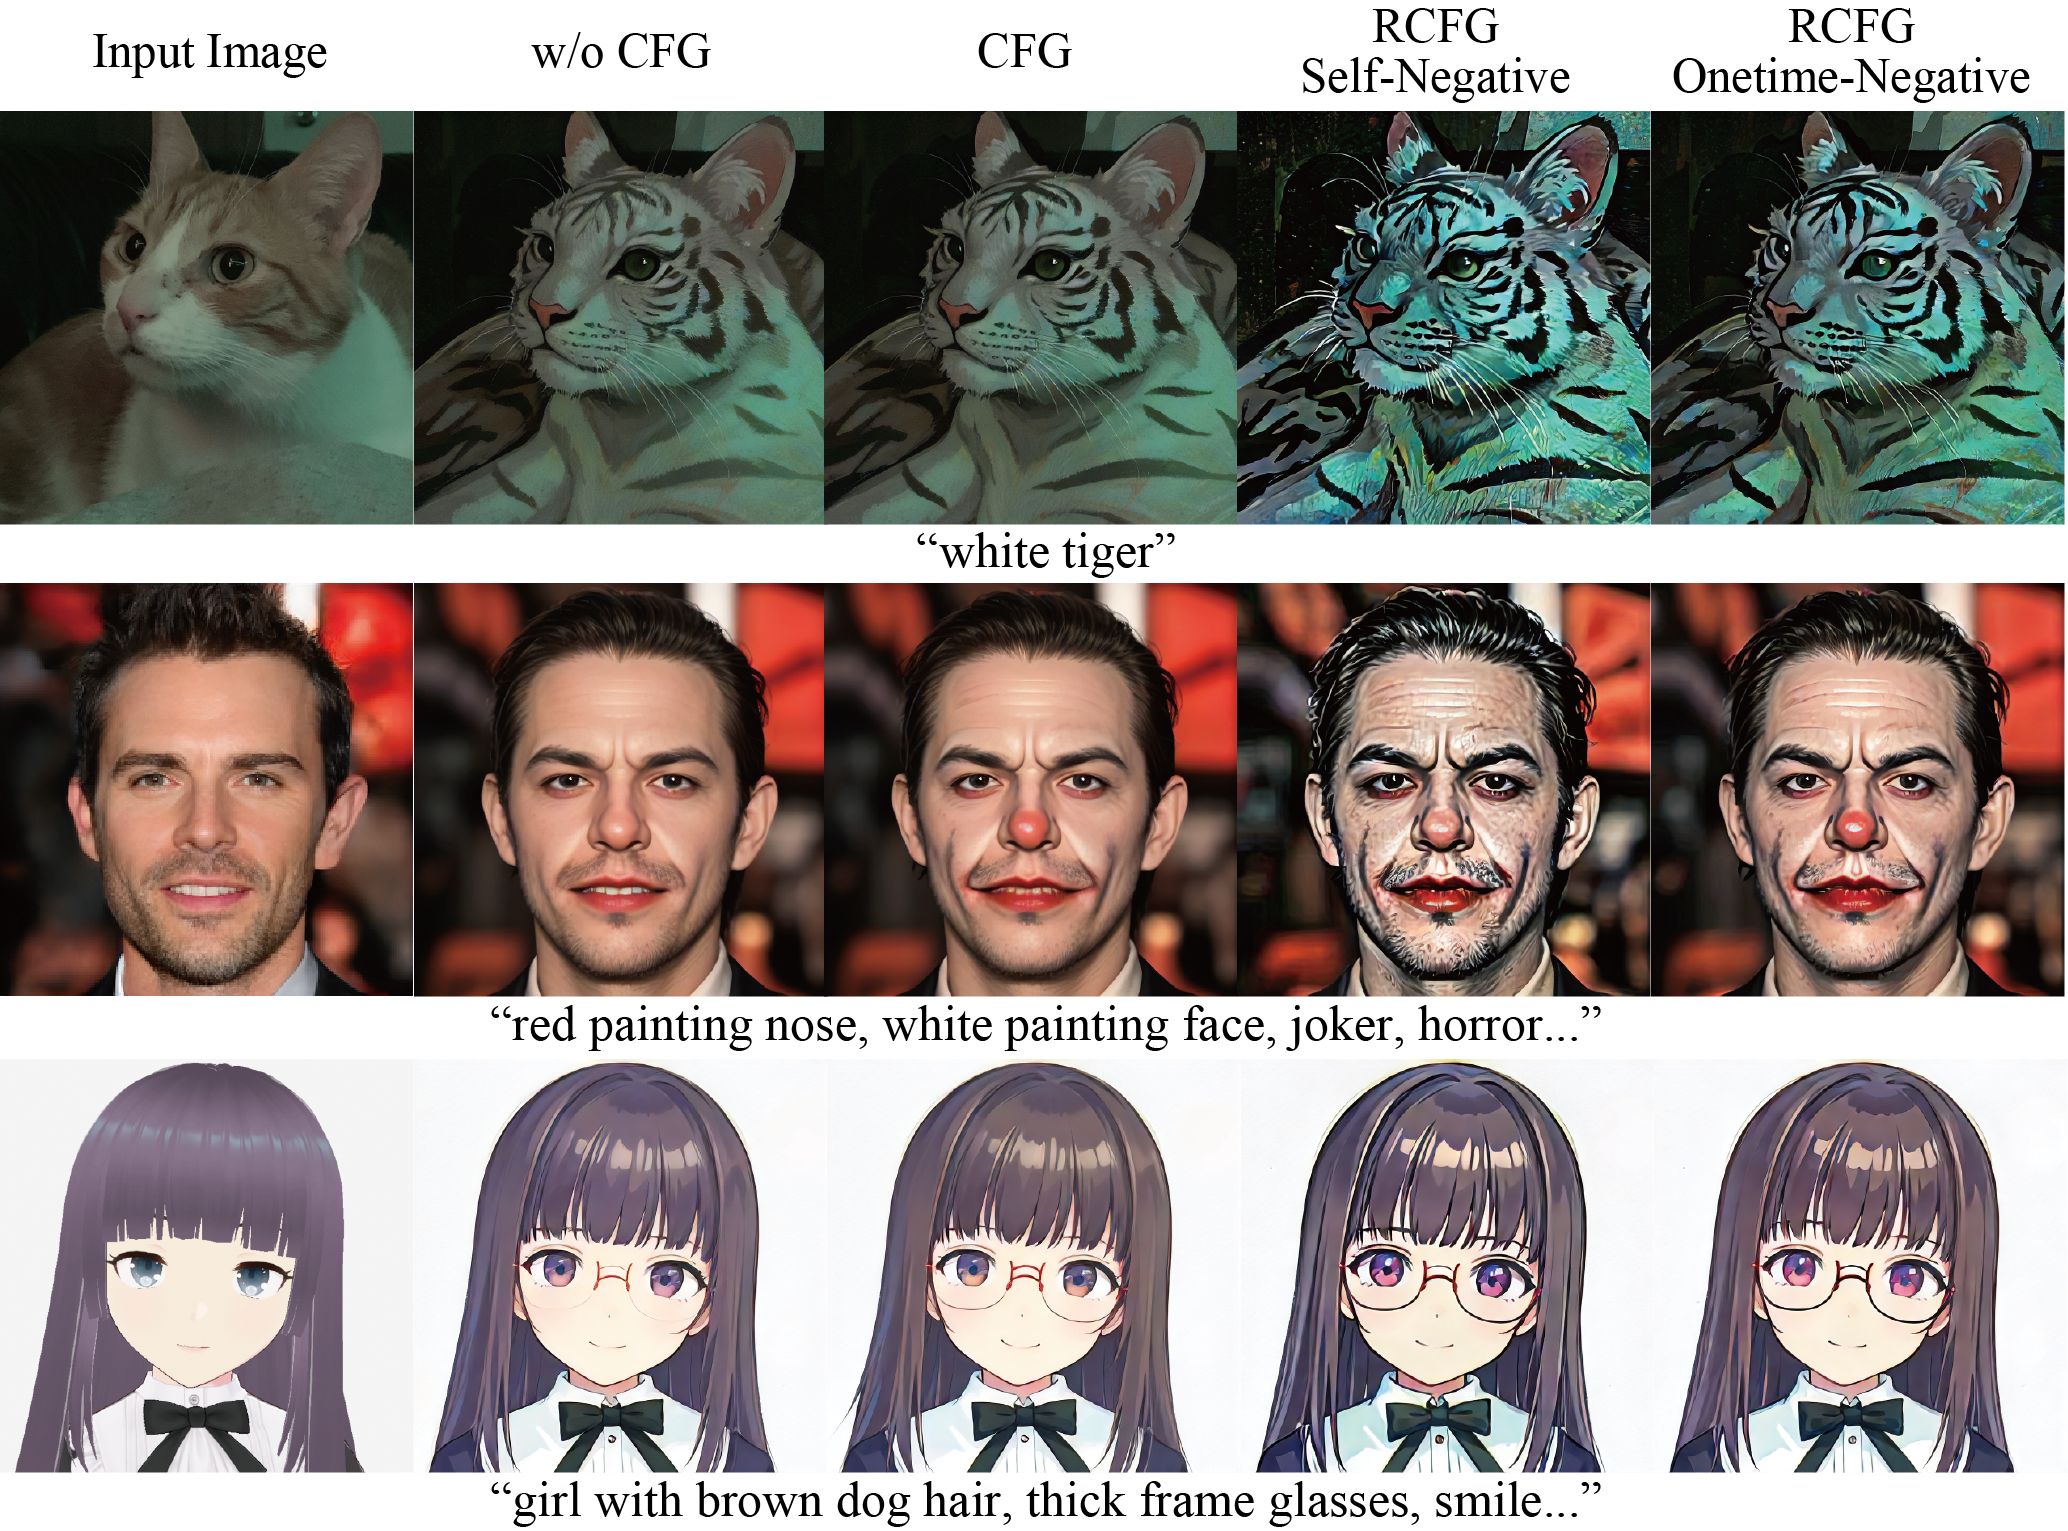
RCFG is a method for approximately realizing CFG with competitive computational complexity compared to cases where CFG is not used. It can be specified through the cfg_type argument in the StreamDiffusion. There are two types of RCFG: one with no specified items for negative prompts RCFG Self-Negative and one where negative prompts can be specified RCFG Onetime-Negative. In terms of computational complexity, denoting the complexity without CFG as N and the complexity with a regular CFG as 2N, RCFG Self-Negative can be computed in N steps, while RCFG Onetime-Negative can be computed in N+1 steps.
The usage is as follows:
# w/0 CFG
cfg_type = "none"
# CFG
cfg_type = "full"
# RCFG Self-Negative
cfg_type = "self"
# RCFG Onetime-Negative
cfg_type = "initialize"
stream = StreamDiffusion(
    pipe,
    [32, 45],
    torch_dtype=torch.float16,
    cfg_type=cfg_type,
)
stream.prepare(
    prompt="1girl, purple hair",
    guidance_scale=guidance_scale,
    delta=delta,
)
The delta has a moderating effect on the effectiveness of RCFG.
Development Team
Aki,
Ararat,
Chenfeng Xu,
ddPn08,
kizamimi,
ramune,
teftef,
Tonimono,
Verb,
(*alphabetical order)
Acknowledgements
The video and image demos in this GitHub repository were generated using LCM-LoRA + KohakuV2 and SD-Turbo.
Special thanks to LCM-LoRA authors for providing the LCM-LoRA and Kohaku BlueLeaf (@KBlueleaf) for providing the KohakuV2 model and ,to Stability AI for SD-Turbo.
KohakuV2 Models can be downloaded from Civitai and Hugging Face.
SD-Turbo is also available on Hugging Face Space.
Contributors

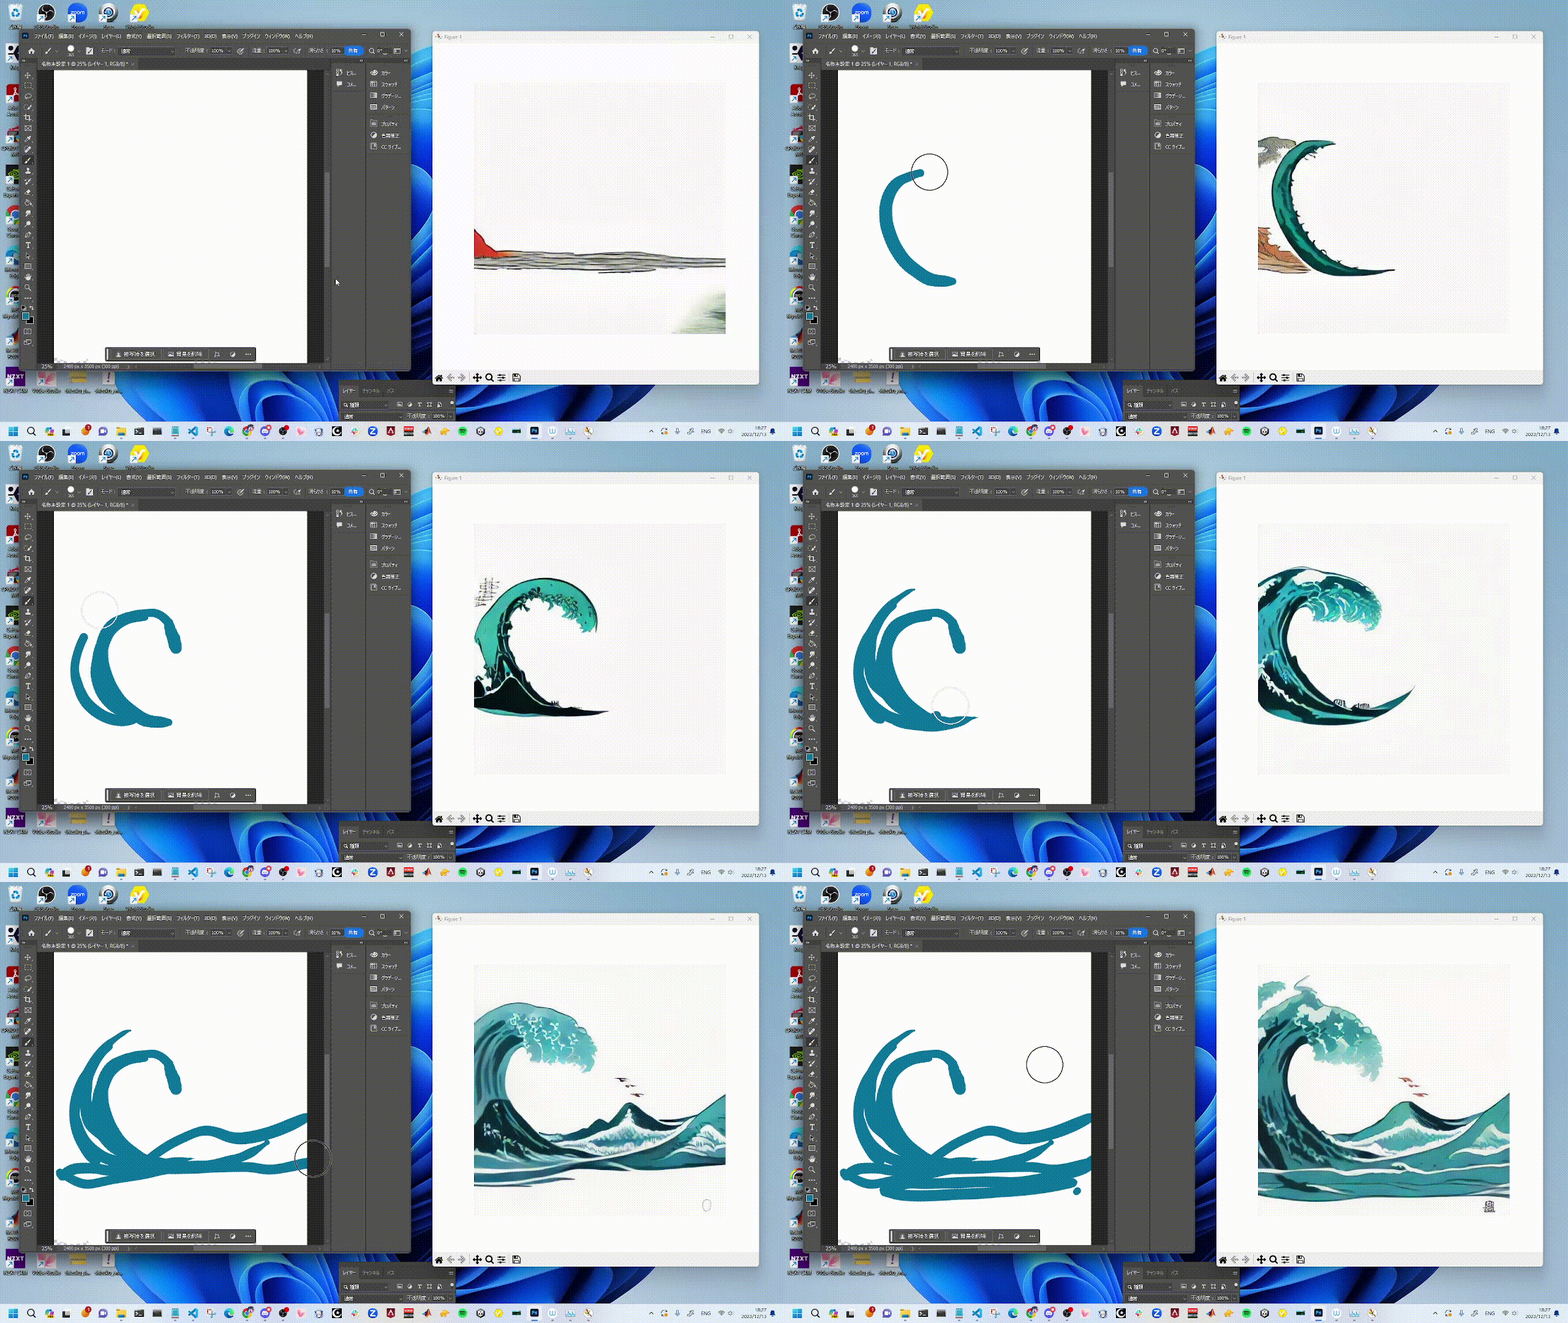
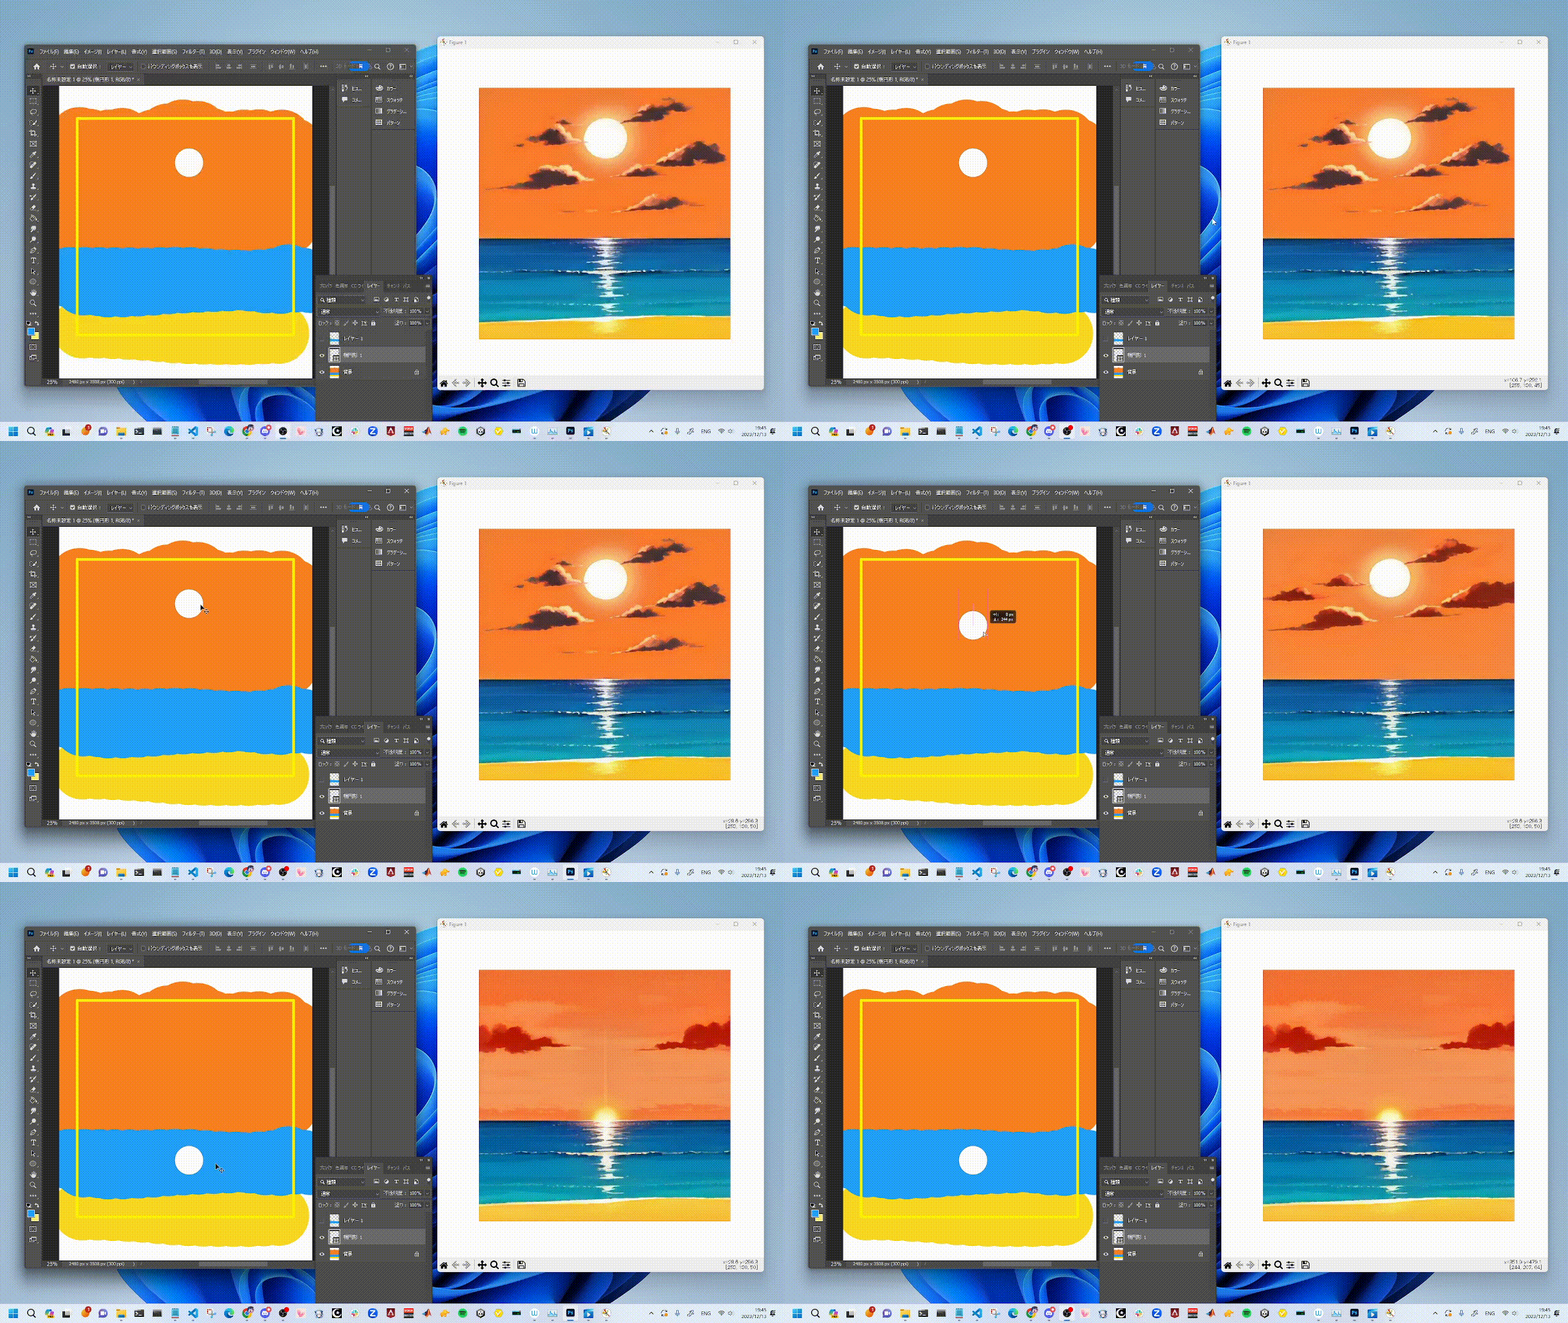

 StreamDiffusion 是一个流水线级别的库,用于实时、交互式的扩散模型图像生成。你可以用文字提示词,或者用实时摄像头、屏幕画面作为输入,以较高的帧率生成图像。