Manga/Image Translator (English Readme)
Last Updated: 2025/05/10





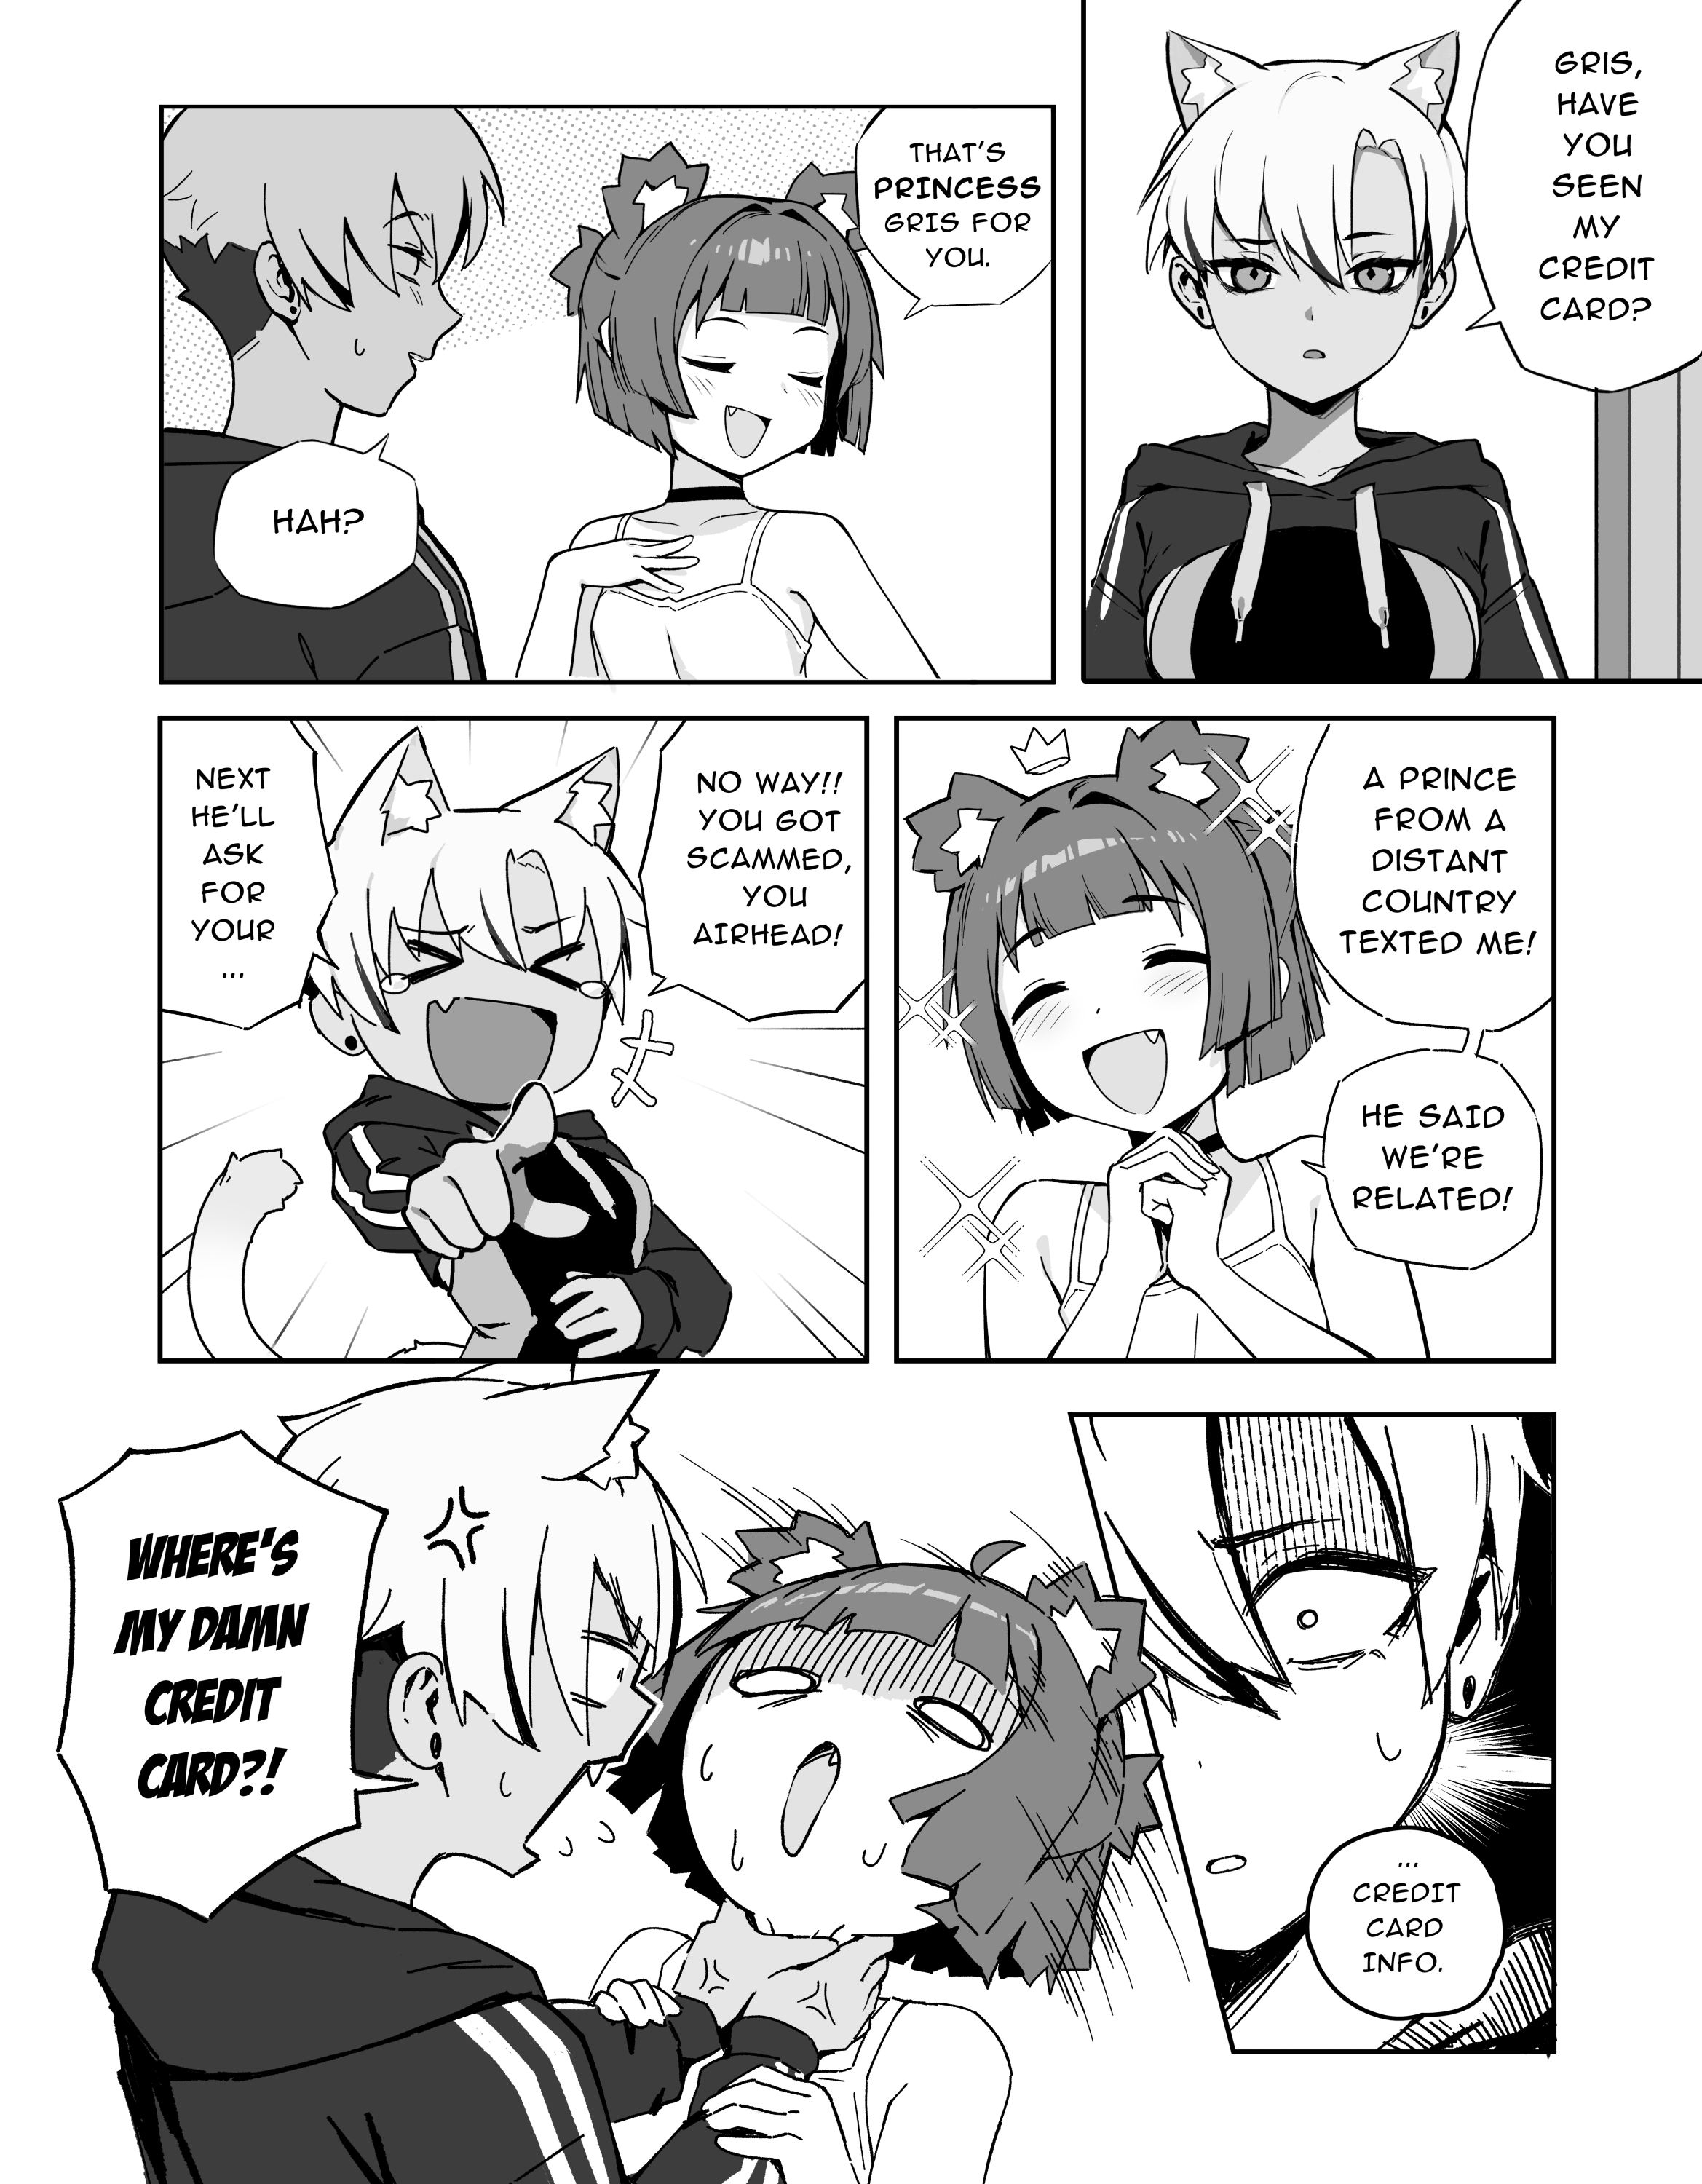
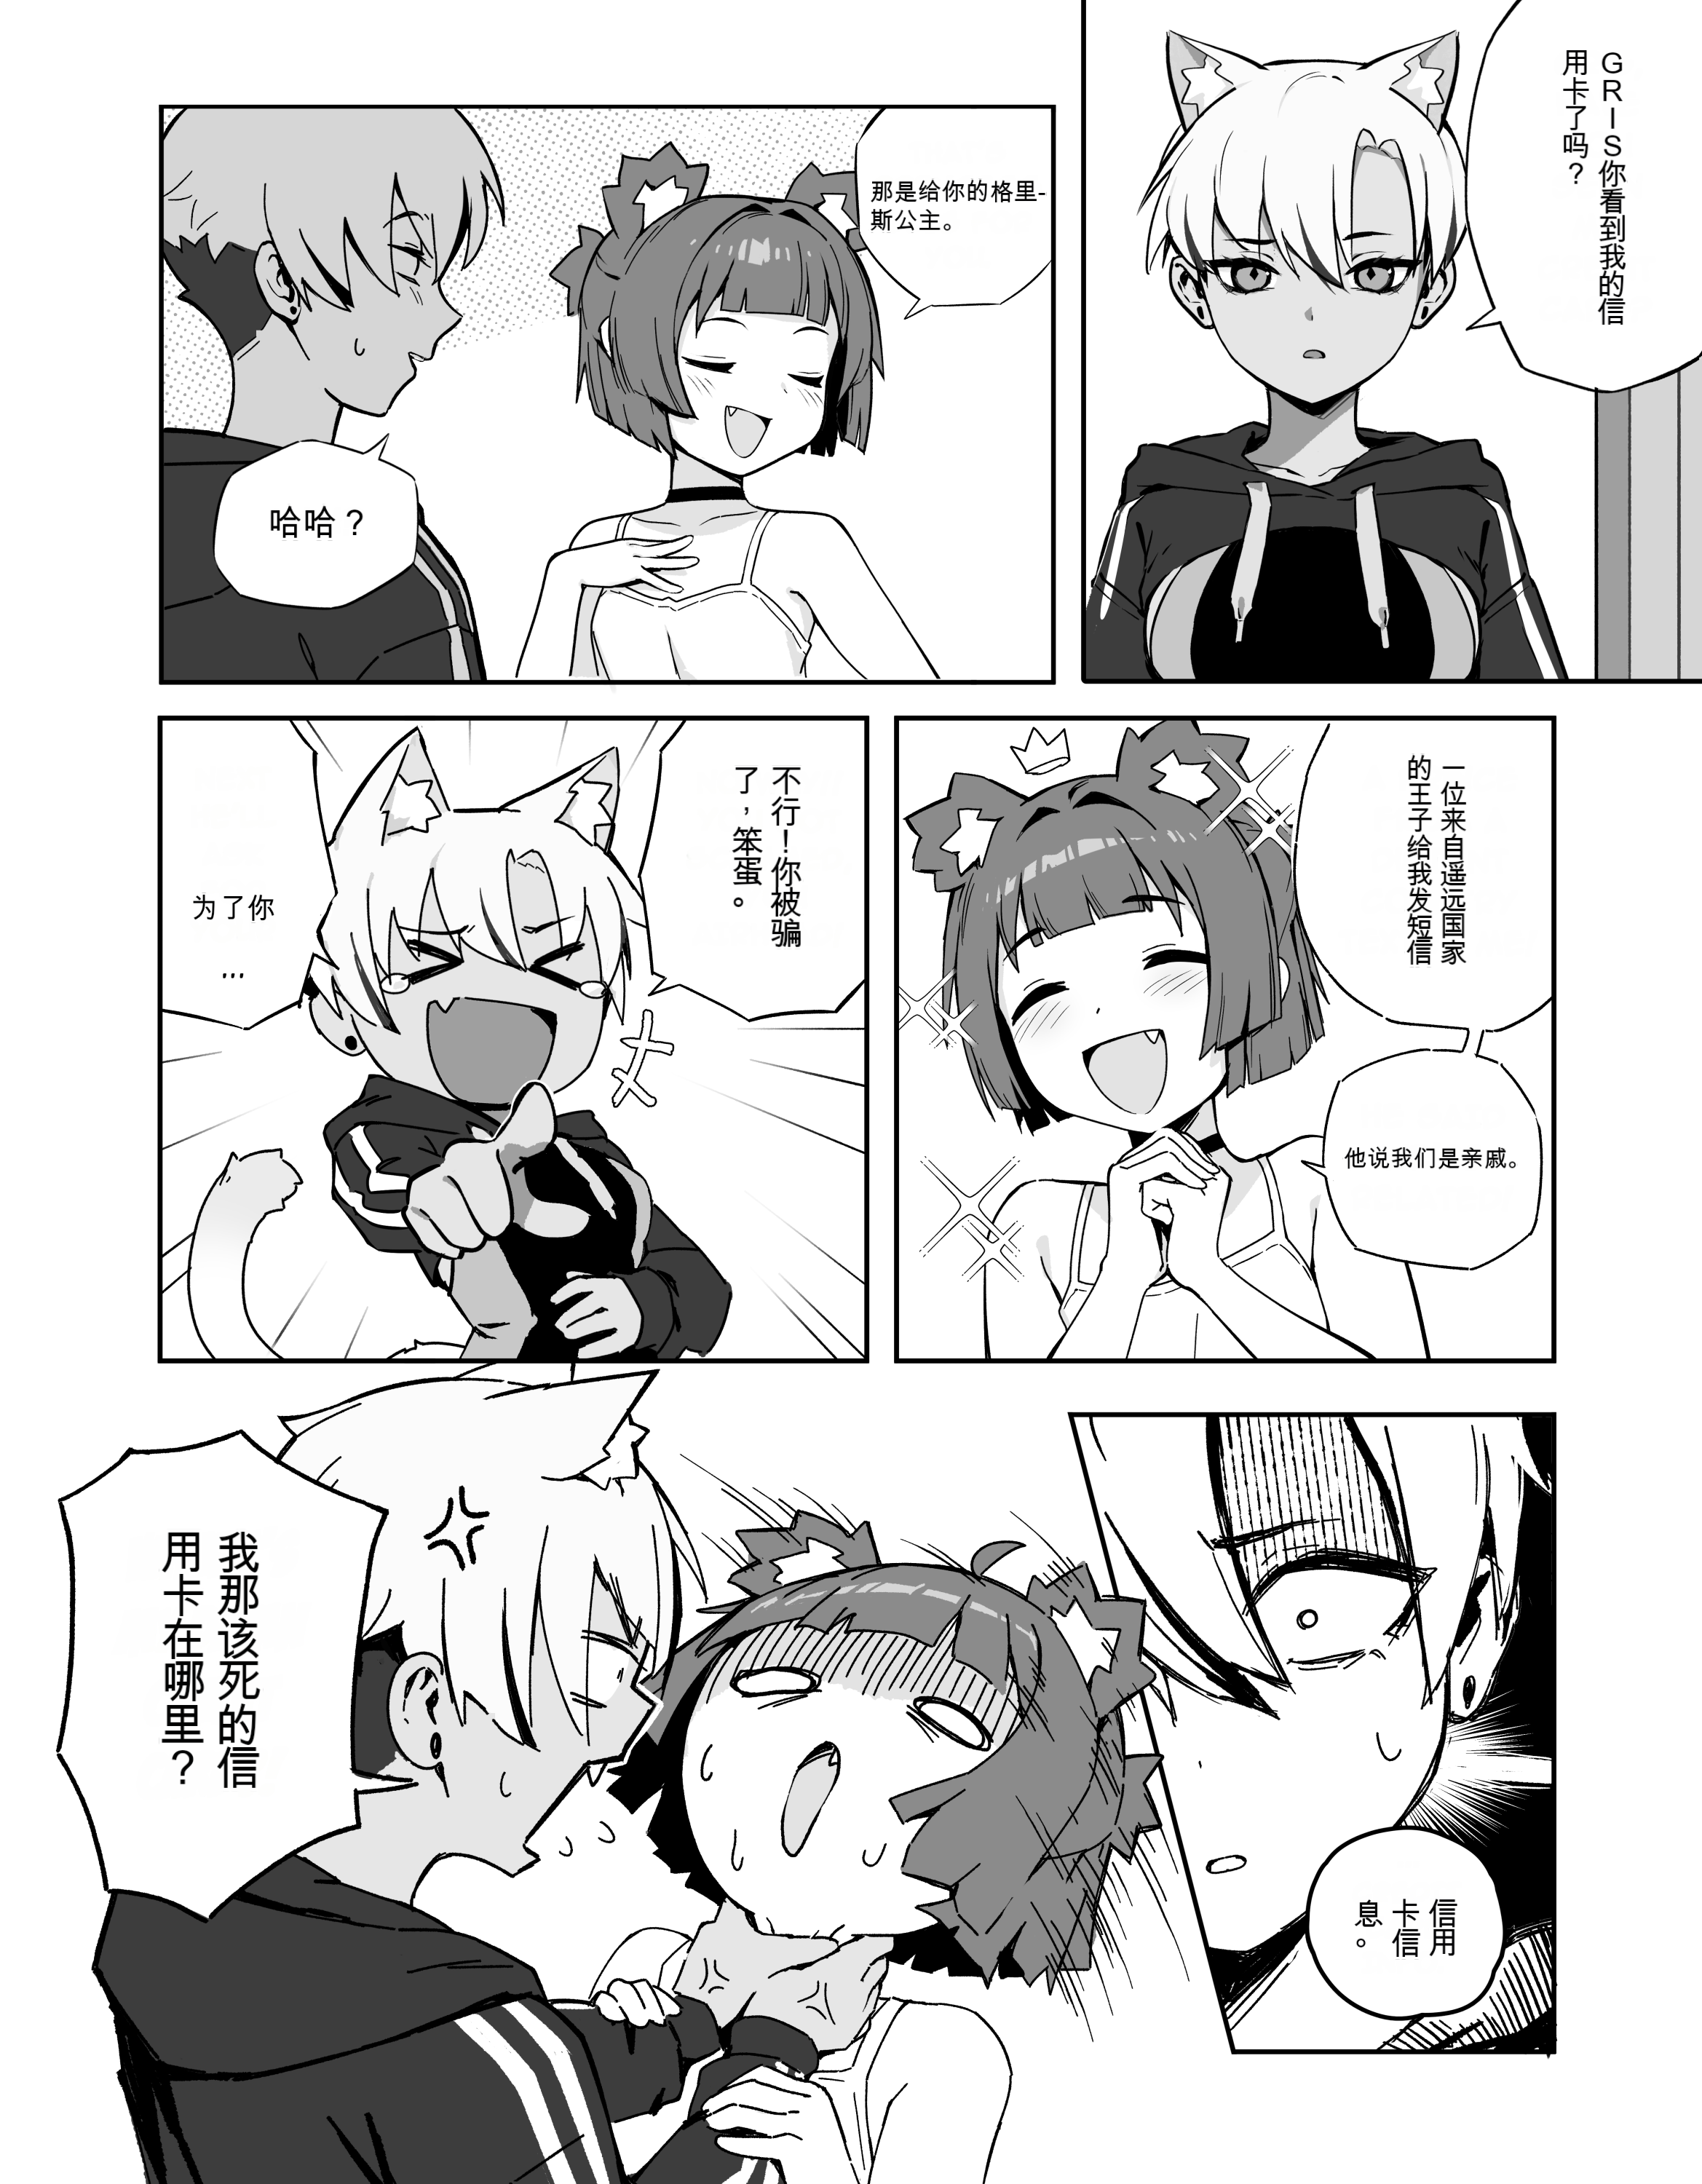
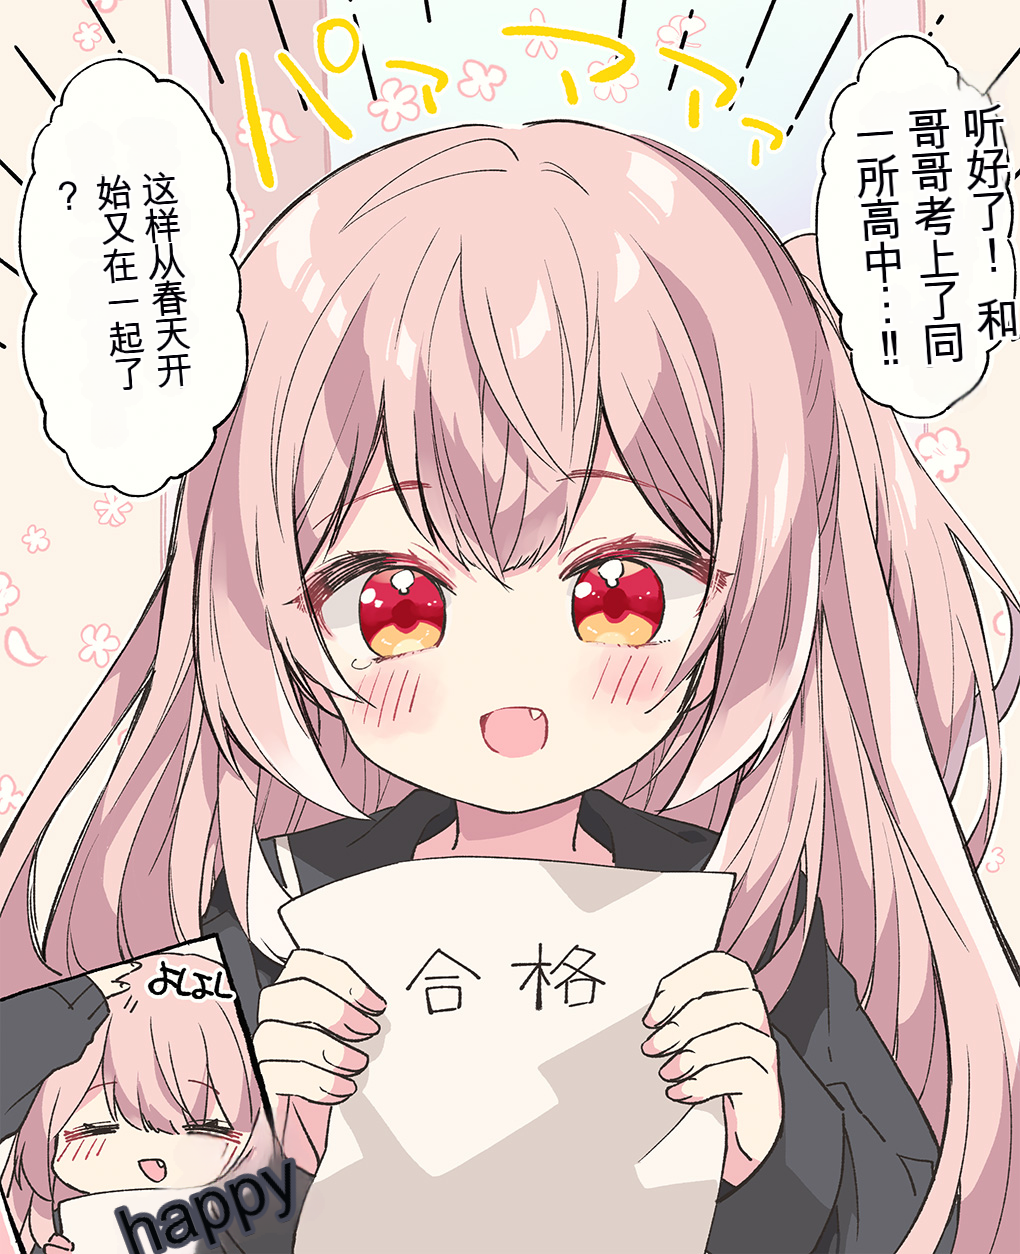
One-click translation of text in various images
中文说明 | Changelog
Welcome to join our Discord https://discord.gg/Ak8APNy4vb
This project aims to translate images that are unlikely to be professionally translated, such as comics/images on various group chats and image boards, making it possible for Japanese novices like me to understand the content.
It mainly supports Japanese, but also supports Simplified and Traditional Chinese, English and 20 other minor languages.
Supports image repair (text removal) and typesetting.
This project is v2 of Qiú wén zhuǎn yì zhì.
Note: This project is still in the early stages of development and has many shortcomings. We need your help to improve it!
📂 Directory
Showcase
The following examples may not be frequently updated and may not represent the effect of the current main branch version.
Online Version
Official demo site (maintained by zyddnys): https://touhou.ai/imgtrans/
Browser script (maintained by QiroNT): https://greasyfork.org/scripts/437569
- Note: If the online version is inaccessible, it might be due to Google GCP restarting the server. Please wait a moment for the service to restart.
- The online version uses the latest version from the main branch.
Rust Version
Manga Image Translator Rust may be easier to setup as its a compiled binary
- Note: stable diffusion is not rewritten yet & only a cli version is available
Installation
Local Setup
Using Pip/venv (Recommended)
# First, ensure you have Python 3.10 or later installed on your machine
# The very latest version of Python might not be compatible with some PyTorch libraries yet
$ python --version
Python 3.10.6

# Clone this repository
$ git clone https://github.com/zyddnys/manga-image-translator.git

# Create a venv (optional, but recommended)
$ python -m venv venv

# Activate the venv
$ source venv/bin/activate

# If you want to use the --use-gpu option, please visit https://pytorch.org/get-started/locally/ to install PyTorch, which needs to correspond to your CUDA version.
# If you did not use venv to create a virtual environment, you need to add --upgrade --force-reinstall to the pip command to overwrite the currently installed PyTorch version.

# Install dependencies
$ pip install -r requirements.txt
Models will be automatically downloaded to the ./models directory at runtime.
Notes for Windows Users:
Please install Microsoft C++ Build Tools (Download, Instructions) before performing the pip install, as some pip dependencies need it to compile. (See #114).
To use CUDA on Windows, install the correct PyTorch version as described on https://pytorch.org/get-started/locally/.
Docker
Requirements:
- Docker (19.03+ for CUDA / GPU acceleration)
- Docker Compose (Optional, if you want to use the files in
demo/doc folder)
- Nvidia Container Runtime (Optional, if you want to use CUDA)
This project supports Docker, with the image being zyddnys/manga-image-translator:main.
This Docker image contains all the dependencies and models required for the project.
Please note that this image is quite large (~15GB).
Run Web Server
You can start the Web Server (CPU) using the following command:
Note that you need to add the required environment variables using -e or --env
docker run \
  --name manga_image_translator_cpu \
  -p 5003:5003 \
  --ipc=host \
  --entrypoint python \
  --rm \
  -v /demo/doc/../../result:/app/result \
  -v /demo/doc/../../server/main.py:/app/server/main.py \
  -v /demo/doc/../../server/instance.py:/app/server/instance.py \
  -e OPENAI_API_KEY='' \
  -e OPENAI_API_BASE='' \
  -e OPENAI_MODEL='' \
  zyddnys/manga-image-translator:main \
  server/main.py --verbose --start-instance --host=0.0.0.0 --port=5003
Or use the compose file
Note that you need to add the required environment variables in the file first
docker-compose -f demo/doc/docker-compose-web-with-cpu.yml up
The Web Server starts on port 8000 by default, and the translation results will be saved in the /result folder.
Using Nvidia GPU
To use a supported GPU, please read the Docker section above first. You will need some special dependencies.
You can start the Web Server (GPU) using the following command:
Note that you need to add the required environment variables using -e or --env
docker run \
  --name manga_image_translator_gpu \
  -p 5003:5003 \
  --ipc=host \
  --gpus all \
  --entrypoint python \
  --rm \
  -v /demo/doc/../../result:/app/result \
  -v /demo/doc/../../server/main.py:/app/server/main.py \
  -v /demo/doc/../../server/instance.py:/app/server/instance.py \
  -e OPENAI_API_KEY='' \
  -e OPENAI_API_BASE='' \
  -e OPENAI_MODEL='' \
  -e OPENAI_HTTP_PROXY='' \
  zyddnys/manga-image-translator:main \
  server/main.py --verbose --start-instance --host=0.0.0.0 --port=5003 --use-gpu
Or use the compose file (for Web Server + GPU):
Note that you need to add the required environment variables in the file first
docker-compose -f demo/doc/docker-compose-web-with-gpu.yml up
Use as CLI
To use Docker via CLI (i.e., Batch Mode):
Some translation services require API keys to run, pass them to your docker container as environment variables.
docker run --env="DEEPL_AUTH_KEY=xxx" -v <targetFolder>:/app/<targetFolder> -v <targetFolder>-translated:/app/<targetFolder>-translated --ipc=host --rm zyddnys/manga-image-translator:main local -i=/app/<targetFolder> <cli flags>
Note: If you need to reference files on your host, you will need to mount the relevant files as volumes into the /app folder inside the container. The CLI paths will need to be the internal Docker path /app/... and not the path on your host.
Build Locally
To build the docker image locally, you can run the following command (you need to have make tool installed on your machine):
make build-image
Then test the built image, run:
Some translation services require API keys to run, pass them to your docker container as environment variables. Add environment variables in the Dockerfile.
make run-web-server
Usage
Local (Batch) Mode
# Replace <path> with the path to your image folder or file.
$ python -m manga_translator local -v -i <path>
# The results can be found in `<path_to_image_folder>-translated`.
Web Mode
Old UI
# Start a web server.
$ cd server
$ python main.py --use-gpu
# The web demo service address is http://127.0.0.1:8000
New UI
Documentation
API Mode
# Start a web server.
$ cd server
$ python main.py --use-gpu
# The API service address is http://127.0.0.1:8001
API Documentation
Read the openapi documentation at: 127.0.0.1:8000/docs
FastAPI-html
Config-help Mode
python -m manga_translator config-help
Options and Configuration Description
Recommended Options
Detector:
- English: ??
- Japanese: ??
- Chinese (Simplified): ??
- Korean: ??
- Using
{"detector":{"detector": "ctd"}} can increase the number of text lines detected
Update: Actual testing shows that default works better with related parameter adjustments in black and white comics.
OCR:
- English: ??
- Japanese: 48px
- Chinese (Simplified): ??
- Korean: 48px
Translator:
- Japanese -> English: Sugoi
- Chinese (Simplified) -> English: ??
- Chinese (Simplified) -> Japanese: ??
- Japanese -> Chinese (Simplified): sakura or opanai
- English -> Japanese: ??
- English -> Chinese (Simplified): ??
Inpainter: lama_large
Colorizer: mc2
Tips to Improve Translation Quality
- Small resolutions can sometimes trip up the detector, which is not so good at picking up irregular text sizes. To
circumvent this you can use an upscaler by specifying
upscale_ratio 2 or any other value
- If the rendered text is too small to read, specify
font_size_offset or use the --manga2eng renderer, which will try to fit the detected text bubble rather than detected textline area.
- Specify a font with
--font-path fonts/anime_ace_3.ttf for example
- Set
mask_dilation_offset to 10~30 to increase the mask coverage and better wrap the source text
- change inpainter.
- Increasing the
box_threshold can help filter out gibberish from OCR error detection to some extent.
- Use
OpenaiTranslator to load the glossary file (custom_openai cannot load it)
- When the image resolution is low, lower
detection_size, otherwise it may cause some sentences to be missed. The opposite is true when the image resolution is high.
- When the image resolution is high, increase
inpainting_size, otherwise it may not completely cover the mask, resulting in source text leakage. In other cases, you can increase kernel_size to reduce the accuracy of text removal so that the model gets a larger field of view (Note: Judge whether the text leakage is caused by inpainting based on the consistency between the source text and the translated text. If consistent, it is caused by inpainting, otherwise it is caused by text detection and OCR)
Command Line Options
Basic Options
-h, --help                     show this help message and exit
-v, --verbose                  print debug messages and save intermediate images in results folder
--attempts ATTEMPTS            Number of attempts when an error occurs. -1 for infinite attempts.
--ignore-errors                Skip images when an error occurs.
--model-dir MODEL_DIR          Model directory (defaults to ./models in the project root)
--use-gpu                      Turns on/off GPU (automatically switches between mps and cuda)
--use-gpu-limited              Turns on/off GPU (excluding offline translators)
--font-path FONT_PATH          Path to the font file
--pre-dict PRE_DICT            Path to the pre-translation replacement dictionary file
--post-dict POST_DICT          Path to the post-translation replacement dictionary file
--kernel-size KERNEL_SIZE      Set the kernel size for the convolution of text erasure area to completely clear residual text
--context-size                 Pages of context are needed for translating the current page. currently, this only applies to openaitranslator.
Additional Options
Local Mode Options
local                         run in batch translation mode
-i, --input INPUT [INPUT ...] Image folder path (required)
-o, --dest DEST               Destination folder path for translated images (default: '')
-f, --format FORMAT           Output format for the translation. Options: [List OUTPUT_FORMATS here, png,webp,jpg,jpeg,xcf,psd,pdf]
--overwrite                   Overwrite already translated images
--skip-no-text                Skip images with no text (won't be saved).
--use-mtpe                    Turn on/off Machine Translation Post-Editing (MTPE) on the command line (currently Linux only)
--save-text                   Save extracted text and translations to a text file.
--load-text                   Load extracted text and translations from a text file.
--save-text-file SAVE_TEXT_FILE  Similar to --save-text, but with a specified file path. (default: '')
--prep-manual                 Prepare for manual typesetting by outputting blanked, inpainted images, and copies of the original image for reference
--save-quality SAVE_QUALITY   Quality of saved JPEG images, from 0 to 100 where 100 is best (default: 100)
--config-file CONFIG_FILE     Path to a configuration file (default: None)
WebSocket Mode Options
ws                  run in WebSocket mode
--host HOST         Host of the WebSocket service (default: 127.0.0.1)
--port PORT         Port of the WebSocket service (default: 5003)
--nonce NONCE       Nonce used to secure internal WebSocket communication
--ws-url WS_URL     Server URL for WebSocket mode (default: ws://localhost:5000)
--models-ttl MODELS_TTL  Time in seconds to keep models in memory after last use (0 means forever)
API Mode Options
shared              run in API mode
--host HOST         Host of the API service (default: 127.0.0.1)
--port PORT         Port of the API service (default: 5003)
--nonce NONCE       Nonce used to secure internal API server communication, set





 Переводчик текста на манге и любых изображениях «под ключ»: он находит текст, распознаёт его через OCR, переводит машинным переводом, стирает оригинальные надписи и вписывает перевод обратно в картинку.