

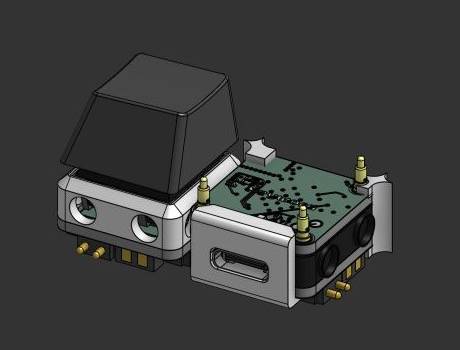
What is this?
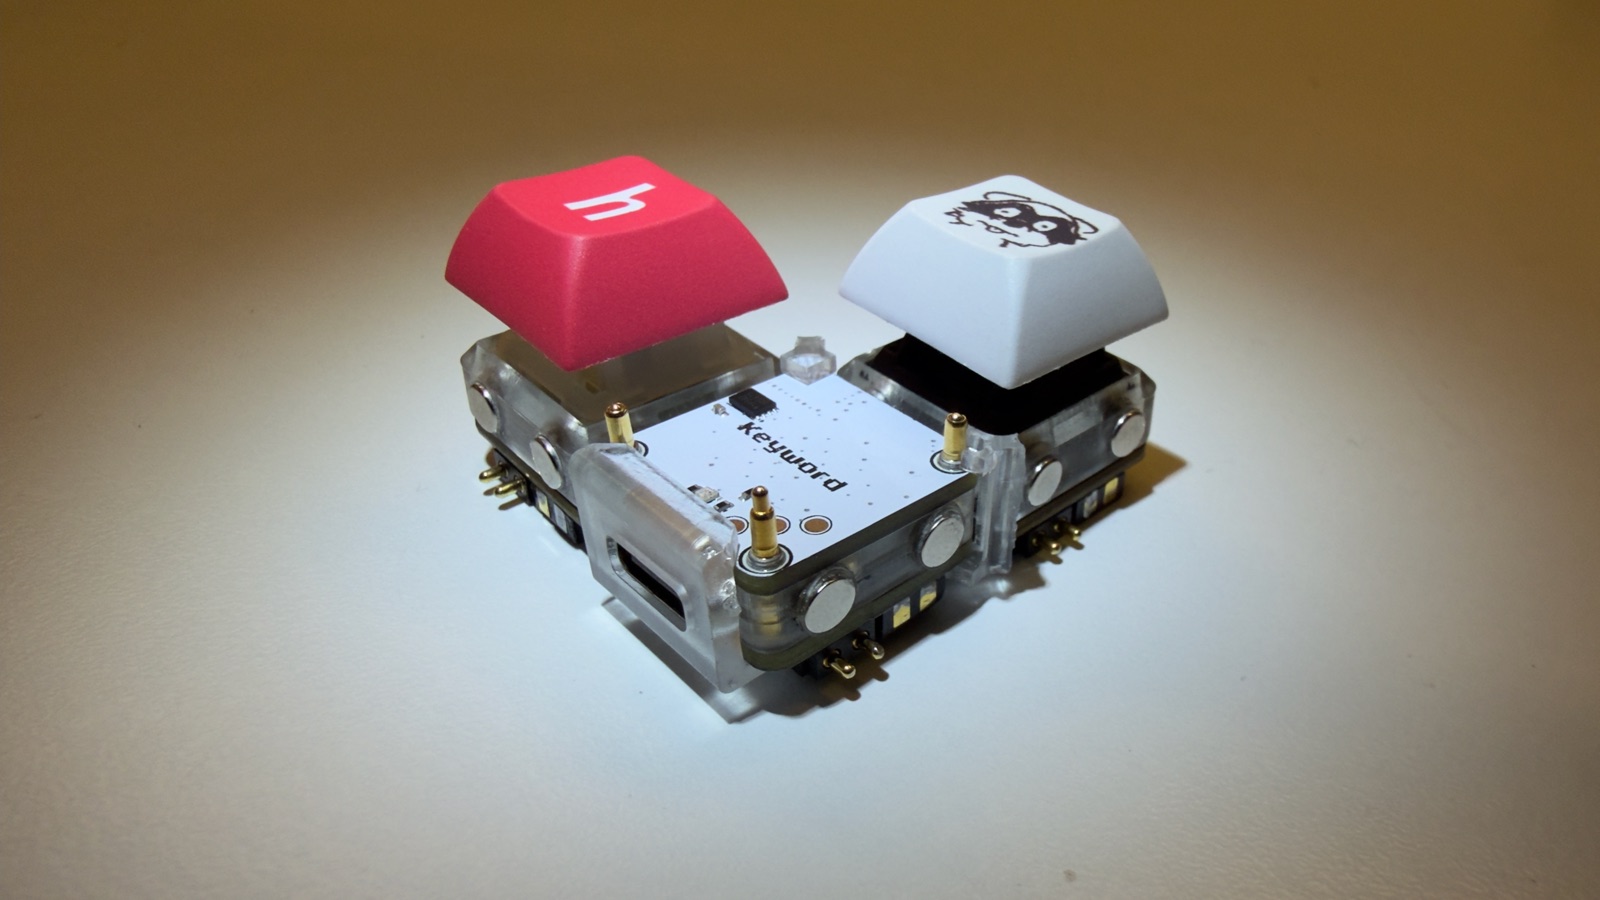
 Keybytes is an open-source modular mechanical keyboard where every key is its own tiny replaceable PCB (a Keybit) with a built-in RISC-V microcontroller, connected via pogo pins and held together by magnetic cases, with Bluetooth and USB support.
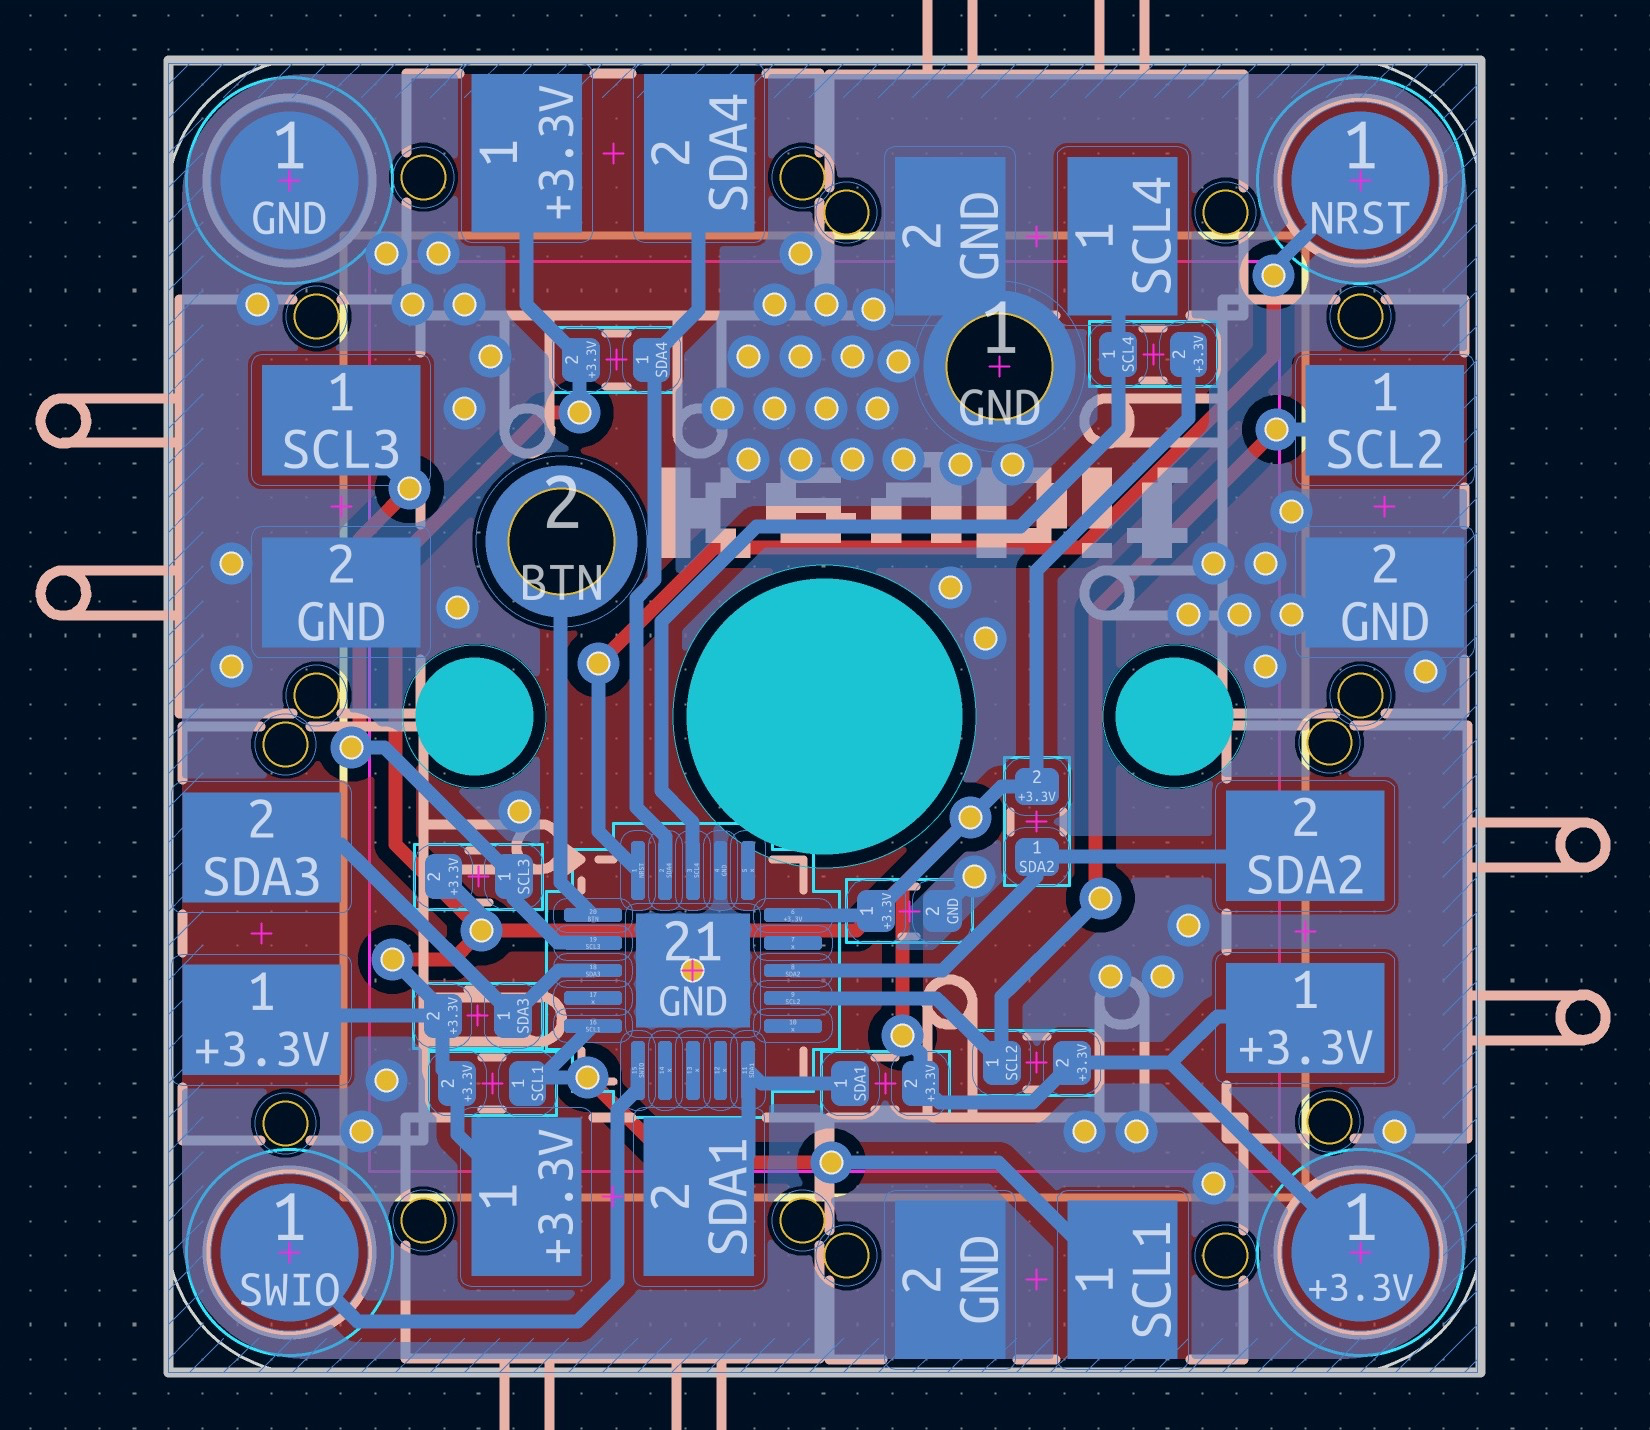
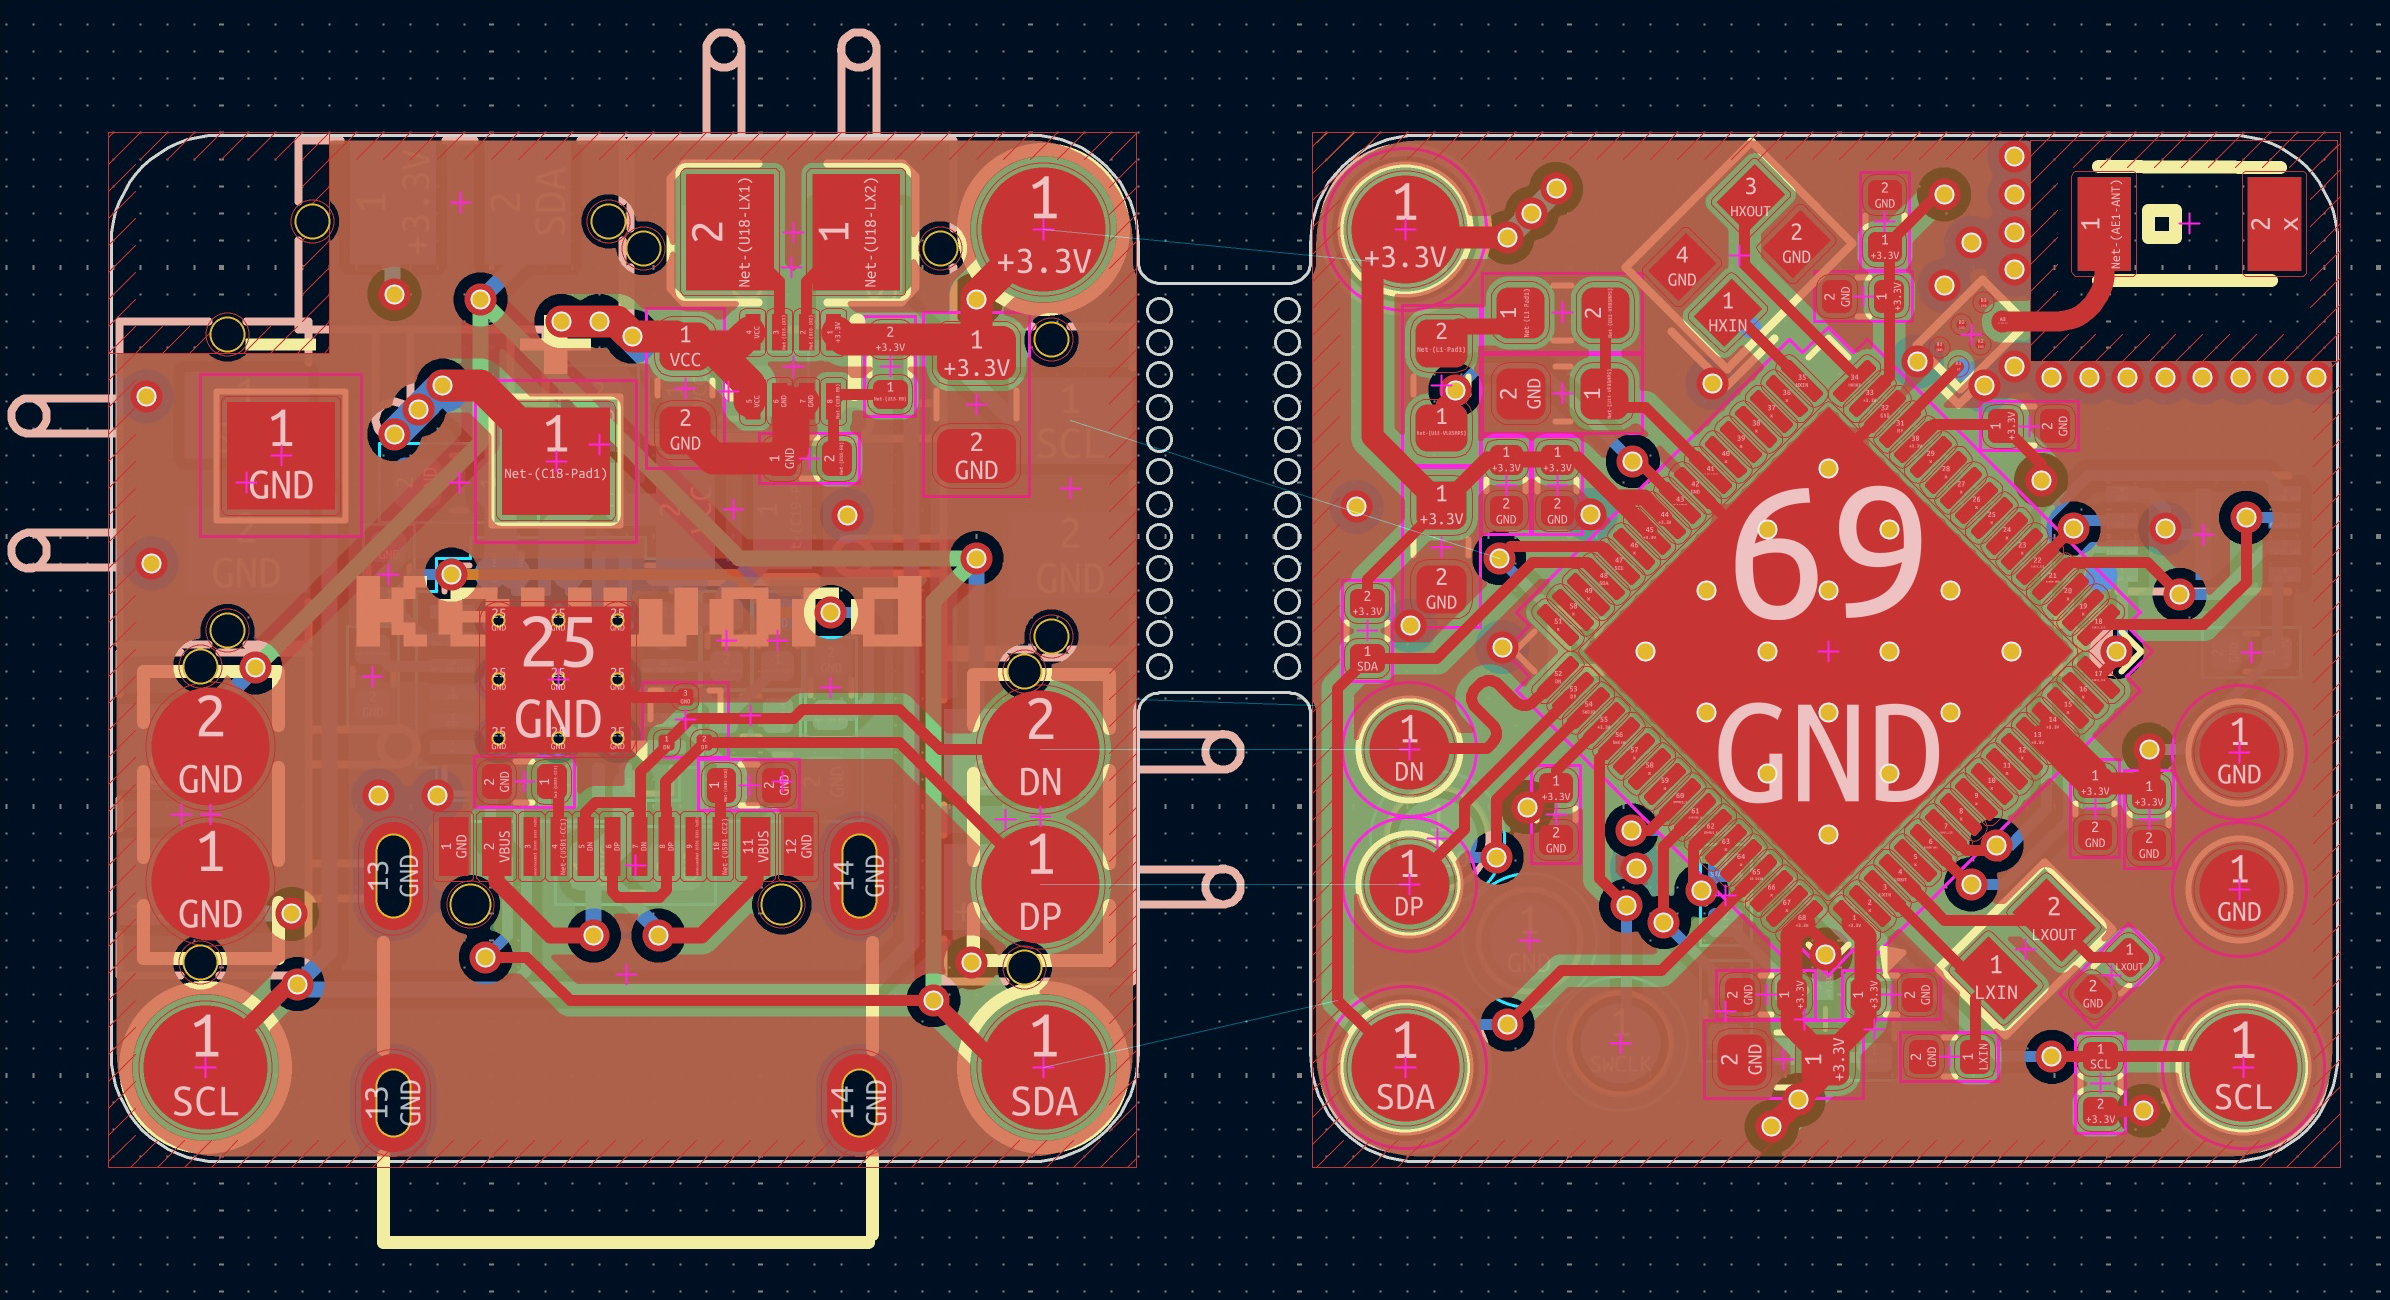
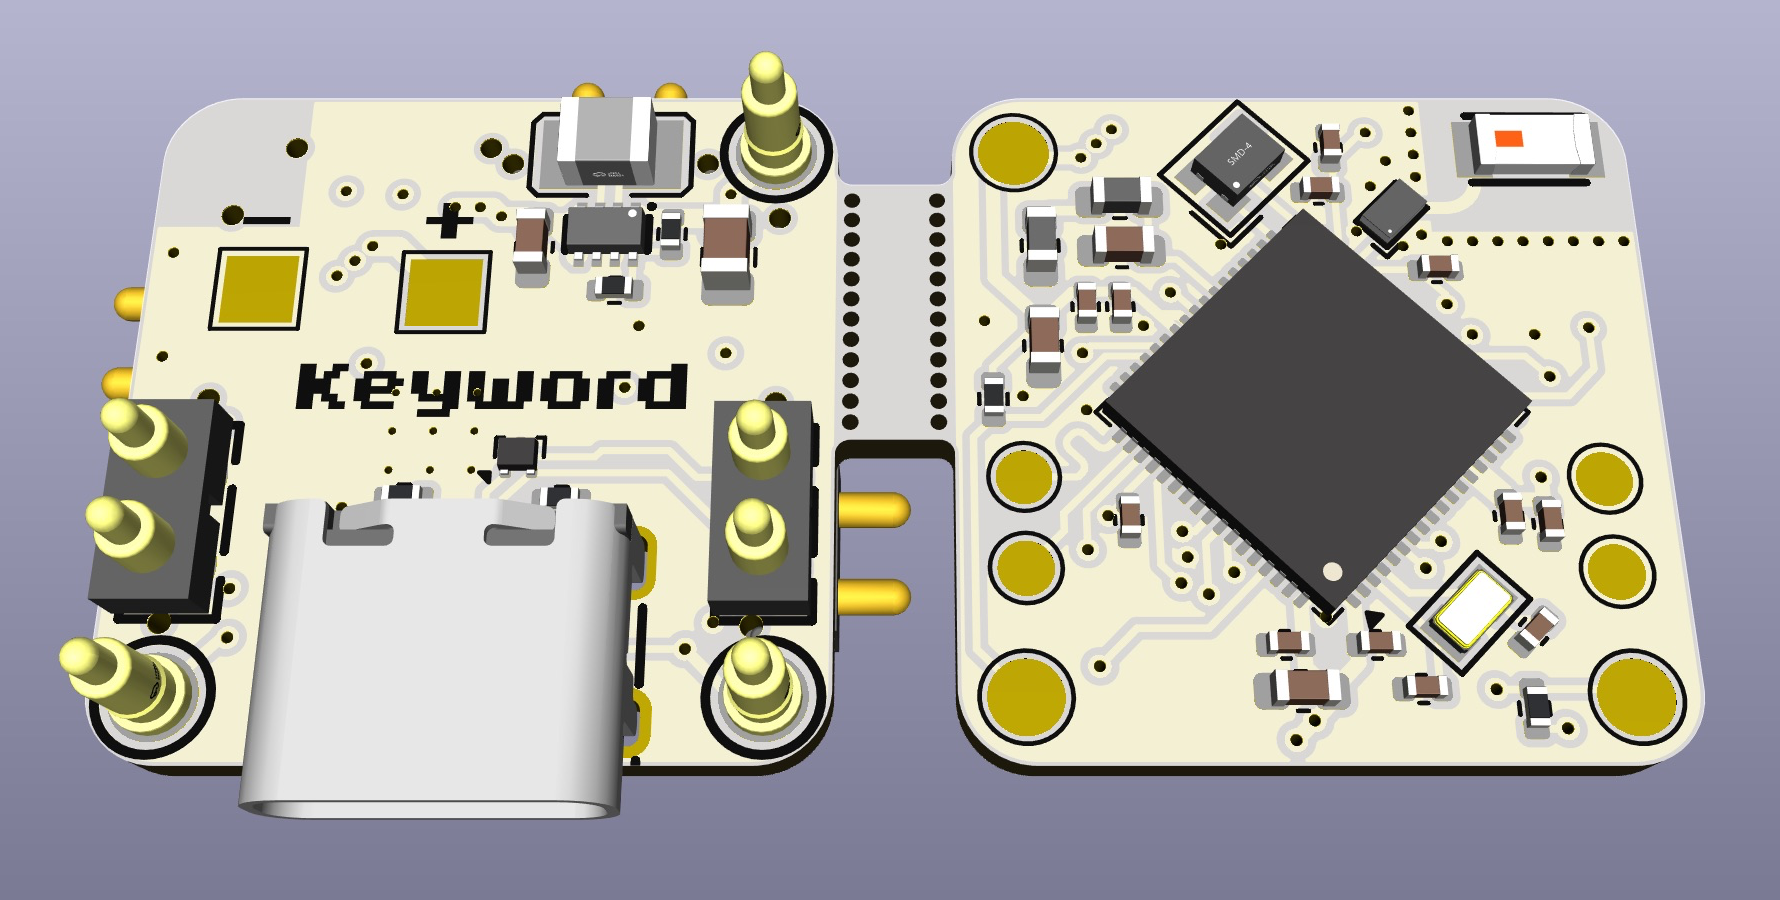
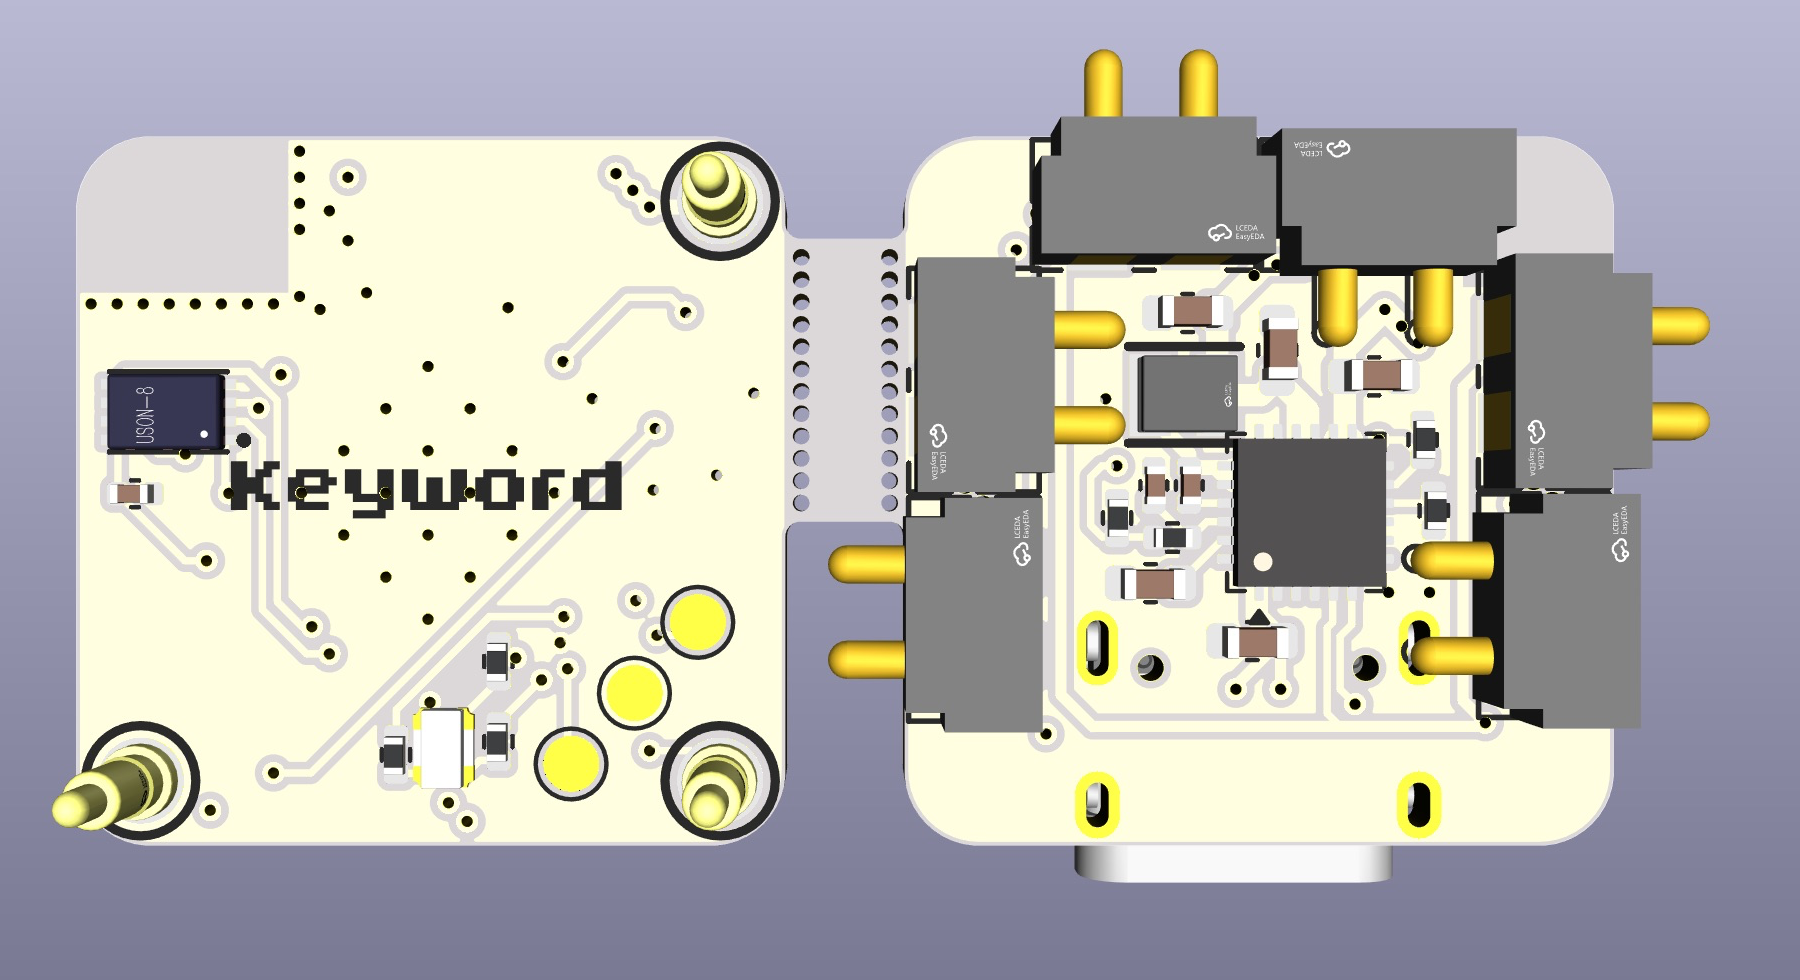
How do I actually build one?Order the Keybit and Keyword PCBs (files are in the repo, designed in KiCad) from a fab service like JLCPCB, 3D-design or cut the magnetic cases from the Onshape STEP files in the cad folder, solder on the Cherry MX switches and pogo pins, then flash each keybit over its programming pads.
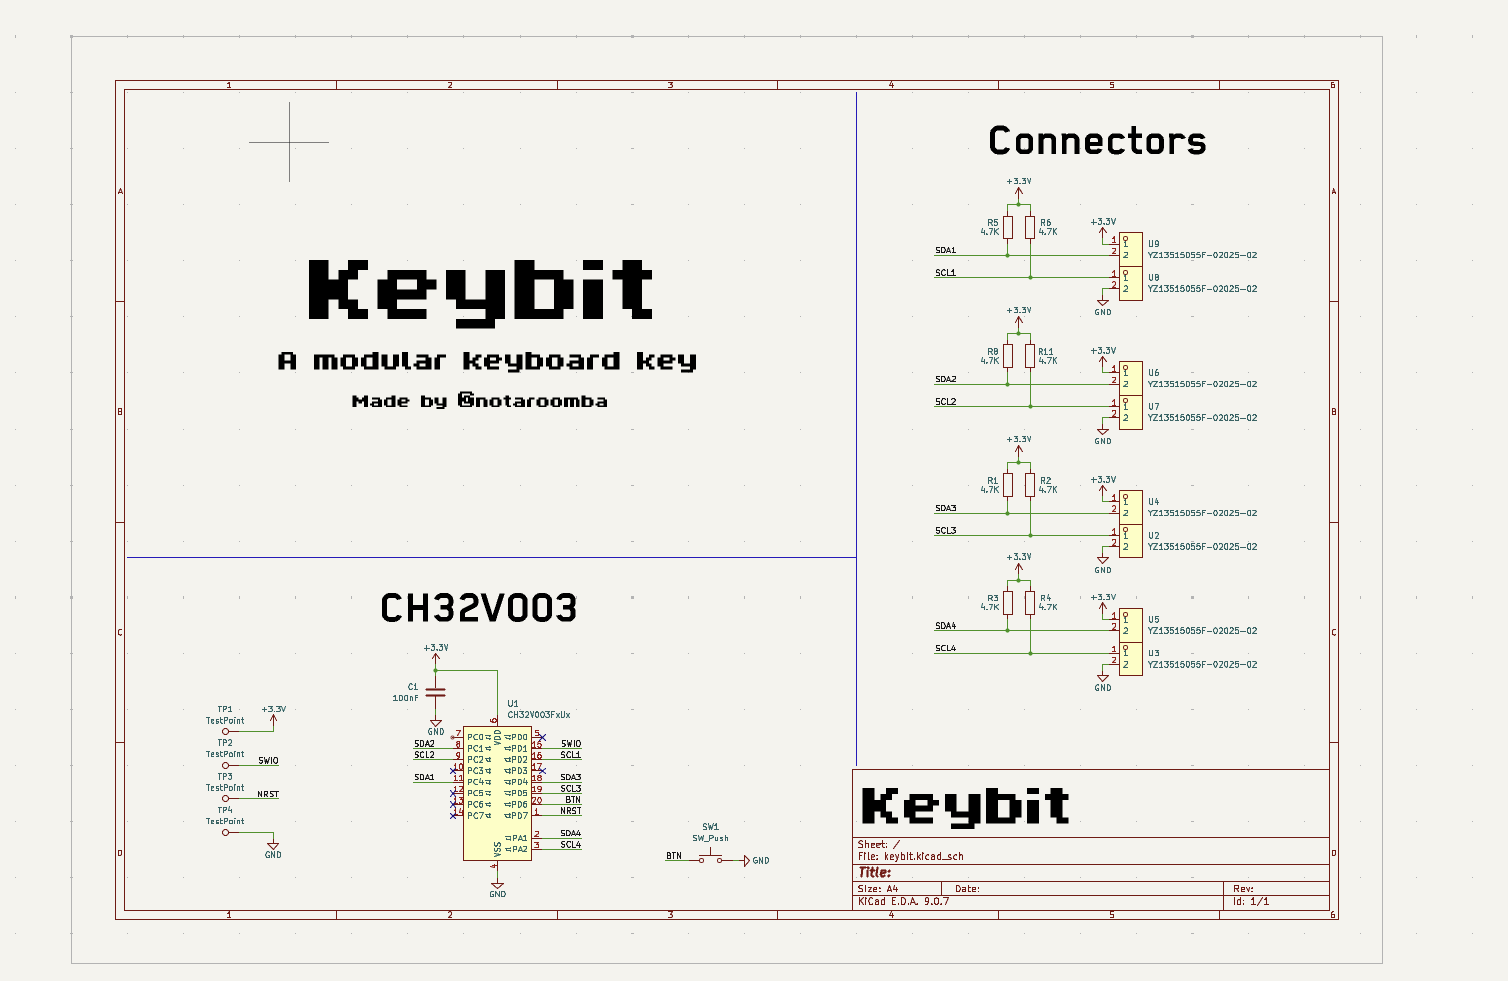
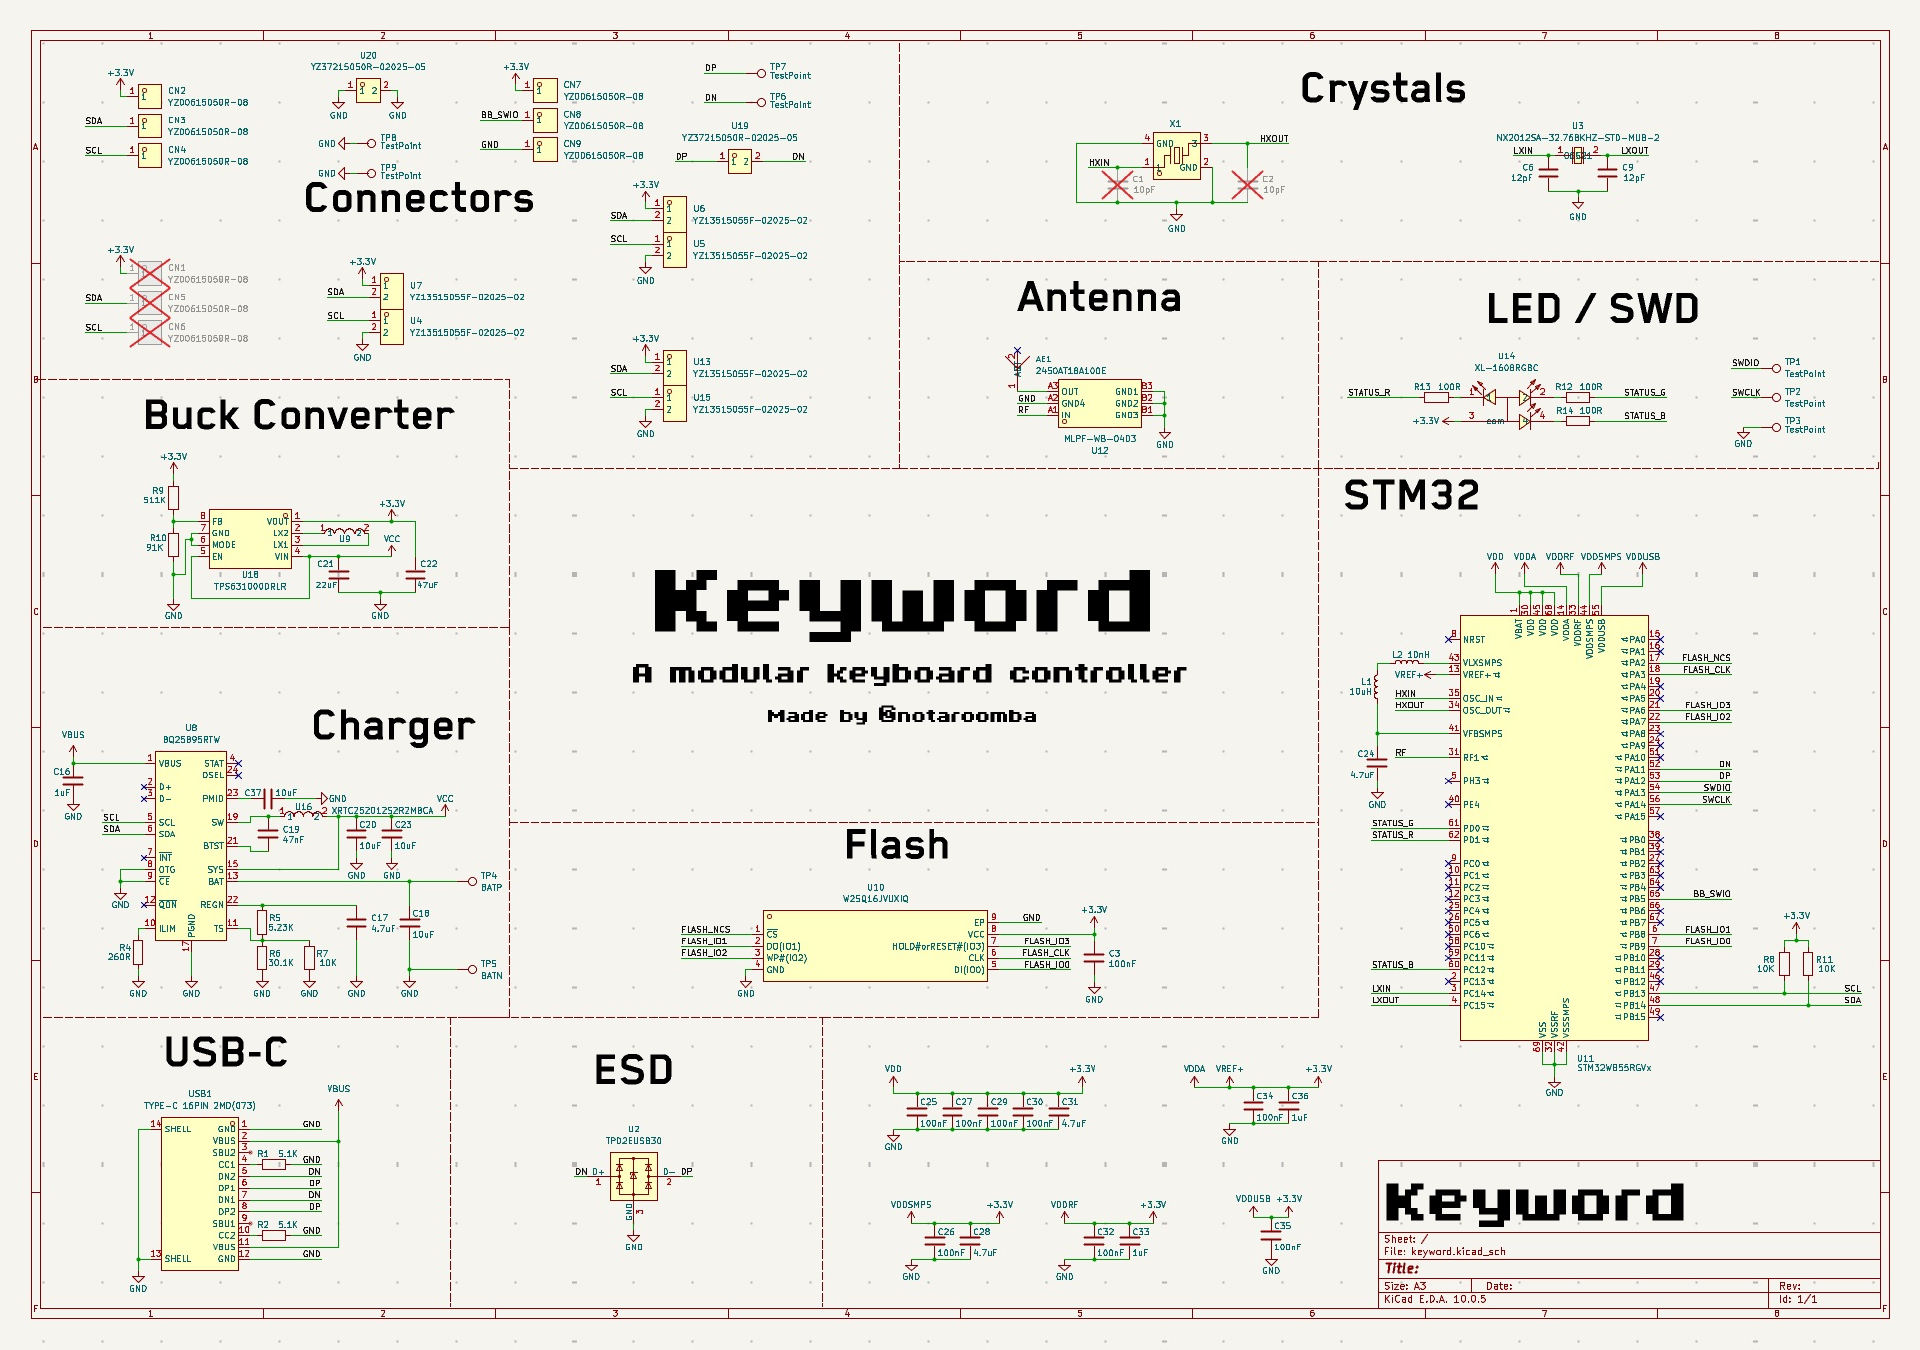
Order the Keybit and Keyword PCBs (files are in the repo, designed in KiCad) from a fab service like JLCPCB, 3D-design or cut the magnetic cases from the Onshape STEP files in the cad folder, solder on the Cherry MX switches and pogo pins, then flash each keybit over its programming pads.What tools and parts do I need to put this together?You need KiCad to view/modify the PCB files, Onshape for the case STEP files, STM32CubeMX for the main board firmware, a PCB fab/assembly service like JLCPCB, and basic soldering skills, since the Keybit uses a CH32V003 and the Keyword a STM32WB55RGV6.
You need KiCad to view/modify the PCB files, Onshape for the case STEP files, STM32CubeMX for the main board firmware, a PCB fab/assembly service like JLCPCB, and basic soldering skills, since the Keybit uses a CH32V003 and the Keyword a STM32WB55RGV6.Does rearranging the keys just work out of the box?Only if each keybit is turned the right way: pogo pins on the N/W sides carry power and I2C, and if a keybit is turned the wrong way it gets 3.3V on SCL and GND on SDA, so it stays dark. Keybits also must all run the same firmware version or they won't talk to each other.
Only if each keybit is turned the right way: pogo pins on the N/W sides carry power and I2C, and if a keybit is turned the wrong way it gets 3.3V on SCL and GND on SDA, so it stays dark. Keybits also must all run the same firmware version or they won't talk to each other.How do keybits talk to the main board and each other?They communicate over I2C through pogo pins on all four sides, wired so power, SDA and SCL only line up when a keybit is correctly oriented against its neighbour or the main Keyword board.
They communicate over I2C through pogo pins on all four sides, wired so power, SDA and SCL only line up when a keybit is correctly oriented against its neighbour or the main Keyword board.What does the status LED on each keybit mean?White means idle, fast white blinks mean it joined the keyword, blue flashing means it's on the programming pins, green means it's flashed and up to date, and red solid or blinking patterns flag a stuck update or a wrongly-turned keybit.
White means idle, fast white blinks mean it joined the keyword, blue flashing means it's on the programming pins, green means it's flashed and up to date, and red solid or blinking patterns flag a stuck update or a wrongly-turned keybit.How do I update the firmware on all the keybits?The Keyword board holds the keybit firmware; after updating the Keyword, you place each keybit on its programming pins in turn and wait for the green LED, since keybits on mismatched firmware versions won't communicate.
The Keyword board holds the keybit firmware; after updating the Keyword, you place each keybit on its programming pins in turn and wait for the green LED, since keybits on mismatched firmware versions won't communicate.Has the creator built other open-hardware projects like this?Yes, the README links related projects by the same author: Ember, a Bluetooth-enabled reflow hotplate; Cyberboard, a Pico-sized STM32 dev board; Trace, a PCB ruler; and Linea, an EMR tablet.
Yes, the README links related projects by the same author: Ember, a Bluetooth-enabled reflow hotplate; Cyberboard, a Pico-sized STM32 dev board; Trace, a PCB ruler; and Linea, an EMR tablet.What are similar projects?InkBoy, esp-sdr, w1700k-sdr, MicroManipulatorStepper, mu300-linux, rt-thread, xgoduck_hardware, unleashed-firmware
InkBoy, esp-sdr, w1700k-sdr, MicroManipulatorStepper, mu300-linux, rt-thread, xgoduck_hardware, unleashed-firmwareWhich topics is it in?diy, pcb-design, bluetooth-low-energy, mechanical-engineering, wireless, risc-v, cad, usb, microcontroller, bluetooth, keyboard, embedded-systems
diy, pcb-design, bluetooth-low-energy, mechanical-engineering, wireless, risc-v, cad, usb, microcontroller, bluetooth, keyboard, embedded-systems