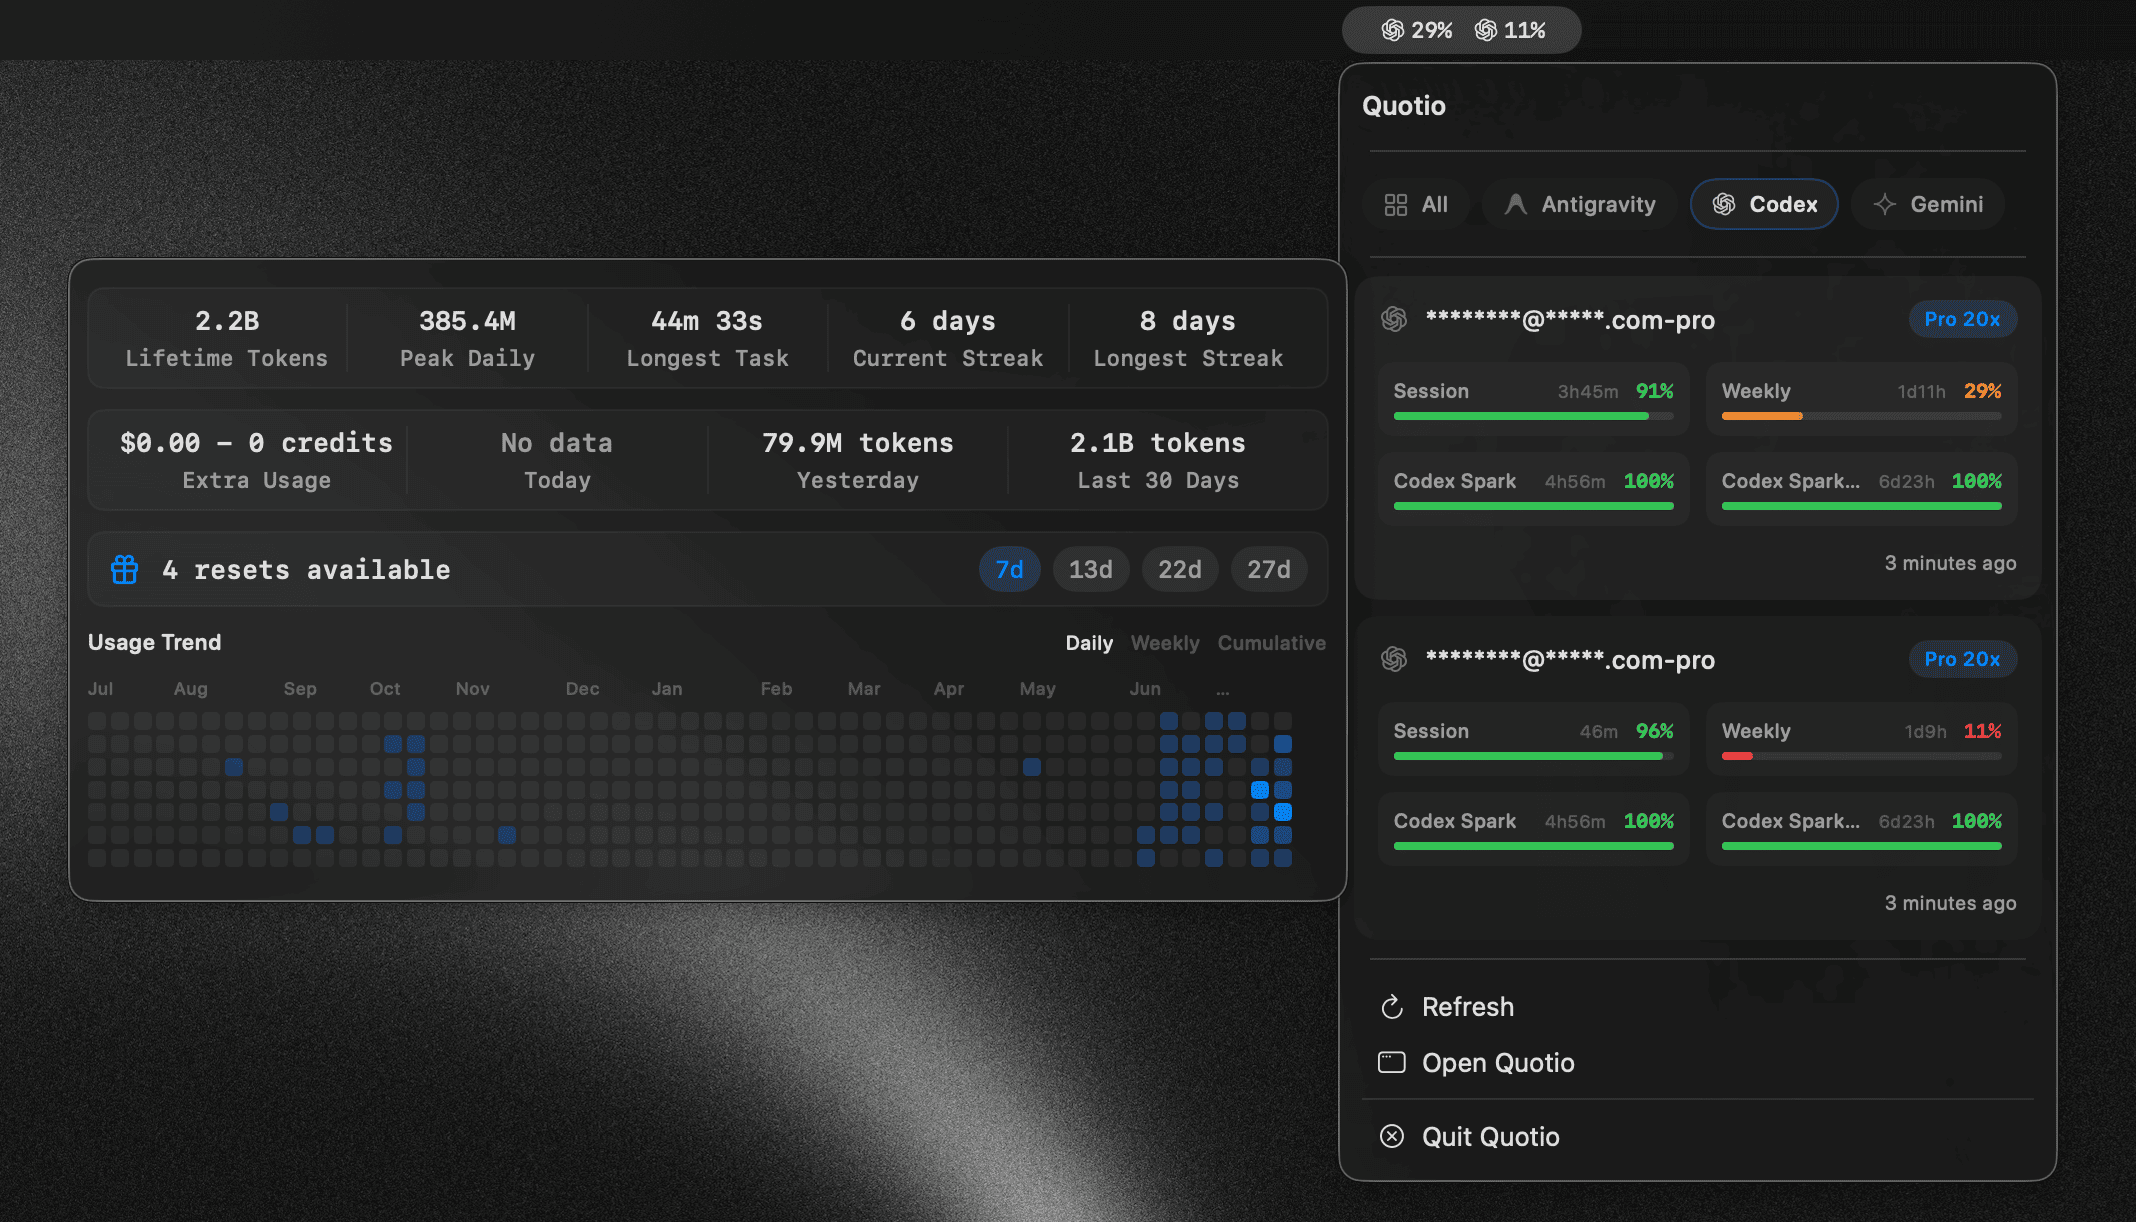



这是什么?
 Quotio 是一款原生 macOS 菜单栏应用,用于管理 CLIProxyAPI——一个本地代理服务器,可统一多个 AI 提供商账号(Claude、OpenAI Codex、Qwen、Vertex AI、iFlow、Antigravity、Kiro、GitHub Copilot),并支持用量跟踪和自动故障转移。
Quotio 是一款原生 macOS 菜单栏应用,用于管理 CLIProxyAPI——一个本地代理服务器,可统一多个 AI 提供商账号(Claude、OpenAI Codex、Qwen、Vertex AI、iFlow、Antigravity、Kiro、GitHub Copilot),并支持用量跟踪和自动故障转移。它本身是编码助手,还是只管理我的 AI 账号?它是一个运行本地代理服务器的管理应用;你真正的编码代理(如 Claude Code 或 OpenCode)指向这个代理,而不是直接调用各个提供商。
它是一个运行本地代理服务器的管理应用;你真正的编码代理(如 Claude Code 或 OpenCode)指向这个代理,而不是直接调用各个提供商。怎么安装和设置?通过 Homebrew 安装,或从 Releases 页面下载已签名并公证的 .dmg(也可以在 Xcode 中从源码构建),然后启动代理,通过 OAuth 连接你的提供商账号,并自动配置你的 CLI 代理工具。
通过 Homebrew 安装,或从 Releases 页面下载已签名并公证的 .dmg(也可以在 Xcode 中从源码构建),然后启动代理,通过 OAuth 连接你的提供商账号,并自动配置你的 CLI 代理工具。运行它需要什么?你需要 macOS 14.0(Sonoma)或更高版本以及网络连接,因为每个提供商账号都要通过 OAuth 认证。
你需要 macOS 14.0(Sonoma)或更高版本以及网络连接,因为每个提供商账号都要通过 OAuth 认证。可以通过 Quotio 把 Cursor 或 Trae 当作提供商使用吗?不可以,Cursor 和 Trae 只会被自动检测用于用量监控,不能作为代理提供商使用。
不可以,Cursor 和 Trae 只会被自动检测用于用量监控,不能作为代理提供商使用。账号达到配额上限时自动故障转移是怎么工作的?Quotio 使用轮询(Round Robin)或填满优先(Fill First)路由策略在已连接的账号之间切换,并把用尽配额的账号冷却一段时间。
Quotio 使用轮询(Round Robin)或填满优先(Fill First)路由策略在已连接的账号之间切换,并把用尽配额的账号冷却一段时间。Quotio 能自动配置哪些 AI 编码 CLI?它可以一键把 Claude Code、Codex CLI、Amp CLI、OpenCode 和 Factory Droid 指向其本地代理。
它可以一键把 Claude Code、Codex CLI、Amp CLI、OpenCode 和 Factory Droid 指向其本地代理。不启动代理服务器也能查看配额吗?可以,独立配额模式(Standalone Quota Mode)让你无需运行代理即可查看配额和账号,方便快速查看。
可以,独立配额模式(Standalone Quota Mode)让你无需运行代理即可查看配额和账号,方便快速查看。这个应用支持哪些语言?Quotio 的界面支持英语、越南语和简体中文。
Quotio 的界面支持英语、越南语和简体中文。What are similar projects?cockpit-tools, rayburst, macos-sysdata, openusage, what-the-port, CodexBar, opencodex, workbuddy-switch
cockpit-tools, rayburst, macos-sysdata, openusage, what-the-port, CodexBar, opencodex, workbuddy-switchWhich topics is it in?auto-update, menubar, github-copilot, notifications, ai-tools, oauth, multilingual, swift, proxy, dashboard, rust, productivity
auto-update, menubar, github-copilot, notifications, ai-tools, oauth, multilingual, swift, proxy, dashboard, rust, productivity