
InkBoy README

项目的 README,来自 github.com/kuslota/InkBoy。合并为一个 markdown 文件:README.md。

InkBoy

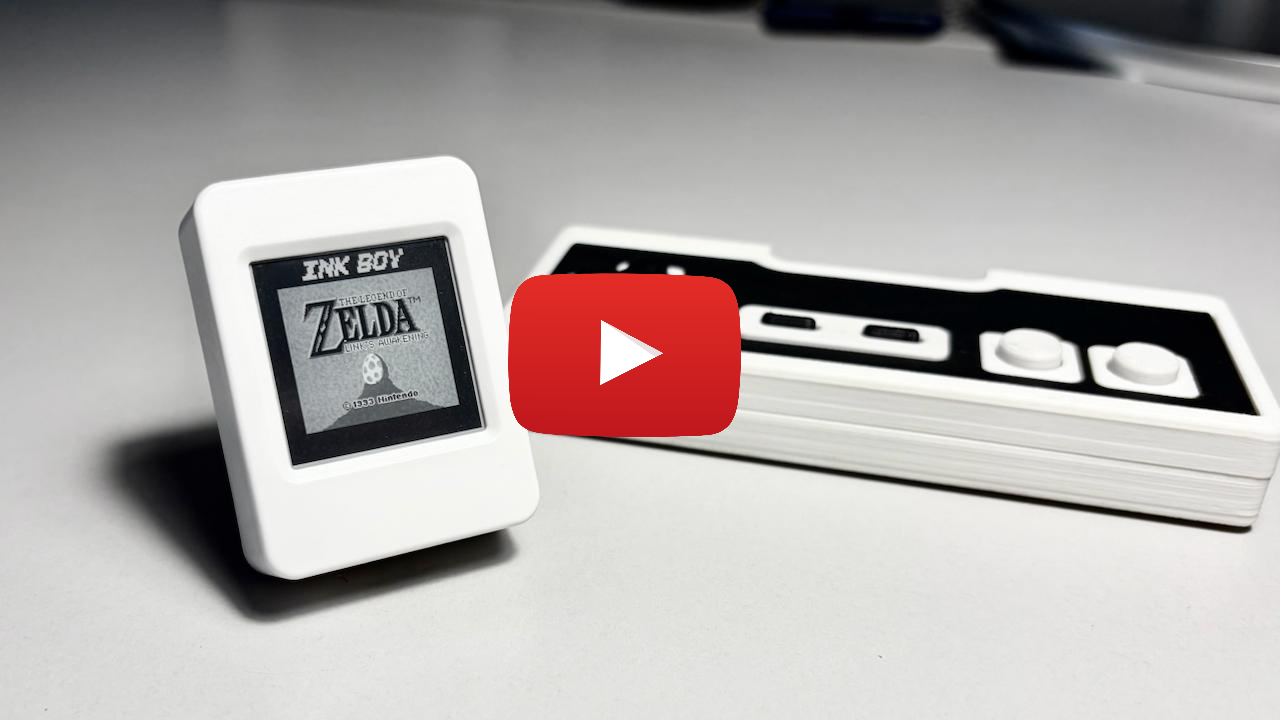
InkBoy runs Game Boy games on a Waveshare ESP32-S3 e-paper board at about 30 fps. Choose fast dithered black and white or four-shade grayscale. It includes an SD ROM browser, speaker audio, automatic resume, tunable display presets and an optional FPS counter.

Watch the video

Planned, not implemented yet

Hardware

Part Requirement
Waveshare ESP32-S3-ePaper-1.54 V2 200×200 e-paper screen, speaker and microSD slot
microSD card FAT32, for ROMs, saves and presets
InkBoy controller Custom ESP32-C3 gamepad, connected over BLE or a USB-C data cable

Only the custom InkBoy controller is currently supported. Generic Bluetooth and USB HID gamepads are not supported.

Experimental display drive

[!WARNING] Use at your own risk. Custom waveforms and high refresh rates may cause permanent image retention or panel damage. Long-term panel life has not been validated. This applies to default presets, source builds and prebuilt firmware; software checks do not guarantee panel safety.

Quick start

1. Build and flash

Install ESP-IDF v6.1 with Espressif Installation Manager and open its IDF Terminal. Navigate to where you want the project saved (no spaces in the path), connect the board with a USB-C data cable, then run:

git clone --recursive https://github.com/kuslota/InkBoy.git
cd InkBoy
idf.py set-target esp32s3
idf.py build
idf.py flash

This creates an InkBoy folder in your current directory. See the flashing guide for folder setup, subsequent builds, prebuilt firmware and USB recovery.

2. Add games

Format the SD card as FAT32 and copy your ROMs into /roms. Power the board off before inserting or removing the card. The Big2Small puzzle game is included: copy roms/big2small.gb onto the card. It has its own GPL licence; no proprietary game ROMs are bundled.

3. Connect the controller

Choose Settings → Controller → Connection:

If your button wiring differs, use Settings → Controller → Map buttons.

Controls and saves

Input In menus
Controller Up / Down Move selection
Controller A / Start; B Select; back
PWR tap; hold 0.7 s Next item; back
BOOT tap; hold 0.7 s Select; previous item

During gameplay, the controller provides the usual Game Boy buttons. Press BOOT or PWR to pause, save and return Home.

Each pause replaces the game's single resume checkpoint. Continue saved restores it; manual save slots and rollback are not available. Use Home → Power off before removing the SD card. BOOT wakes the board.

The controller badge on Home and in Controller settings shows connected, WAIT (disconnected), OFF (service unavailable), or USB: PC (serial/flashing enabled). Full controls, badge meanings and save files are in the controls guide.

USB controller mode

The controller shares the port with flashing and serial. Unplugging it does not free the port automatically.

To flash: hold BOOT + PWR together for at least 2 seconds until the badge shows USB: PC, disconnect the controller, connect your computer, then flash normally. The saved USB preference is unchanged. Restarting returns to controller mode; to return without restarting, disconnect the computer and repeat the gesture.

For repeated flashing, logging or automation, select Bluetooth first. USB then stays free across restarts. Some serial tools reset the board when opening the port. See USB switching and recovery for details.

Compatibility

Game Boy (DMG) games and dual-mode cartridges in DMG mode, up to 2 MiB. Color-only games and RTC cartridges are not supported. Busy scenes may drop below 30 fps; grayscale can leave faint trails. See full limitations.

More details

Contributing

Found display settings that work better? Open a pull request with your preset or changes to pulse counts, HOLD, history corrections or shade transitions. Include your board/display model, what you tested, and what improved or got worse; comparison photos or videos are welcome. See the tuning guide for the available settings.

Credits

Full license information is in THIRD_PARTY_NOTICES.md.

License

MIT, see LICENSE. Third-party components keep their own licenses.

InkBoy (kuslota/InkBoy)

正在搜索数据库…

191 ·GitHub
这是什么?InkBoy 是一款固件,可在 Waveshare ESP32-S3 电子墨水屏开发板上运行 Game Boy 游戏,帧率约为 30 fps,支持抖动算法的黑白或四级灰度渲染。
这是我要安装的应用,还是需要专门的硬件?这是一款针对特定硬件的固件,而不是手机或电脑应用:需要 Waveshare ESP32-S3 电子墨水屏开发板(内置扬声器和 microSD 卡槽),并搭配定制的 InkBoy 游戏手柄。
我该怎么让它运行起来?通过 Espressif Installation Manager 安装 ESP-IDF v6.1,打开其中的 IDF Terminal,然后通过 USB-C 数据线将项目编译并烧录到开发板上。将 microSD 卡格式化为 FAT32,并把 ROM 文件复制到 /roms 文件夹中。
我实际需要哪些硬件?一块 Waveshare ESP32-S3-ePaper-1.54 V2 开发板、一张用于存放 ROM 和存档的 FAT32 格式 microSD 卡,以及定制的 InkBoy 控制器(通过 BLE 或 USB-C 连接的 ESP32-C3 游戏手柄)。通用的蓝牙或 USB HID 游戏手柄不受支持。
动手做之前有什么需要注意的地方吗?屏幕驱动功能仍处于实验阶段,自定义波形和高刷新率可能导致永久性残影或屏幕损坏,屏幕的长期使用寿命也未经过验证。此外,仅支持不超过 2MiB 的 DMG Game Boy 游戏(不支持仅限 Color 或带 RTC 的卡带),而且画面复杂时帧率可能会低于 30 fps。
附带了哪款游戏用于测试?附带的是 Big2Small,这是一款解谜游戏,采用其自身的 GPL 许可证,文件位于 roms/big2small.gb;未包含任何专有 ROM。
模拟器核心来自哪里?它通过 esp32-gameboy 组件来自 CrankBoy 和 Peanut-GB,逐像素驱动的思路则受到 Zephray 的 PaperBoy 启发。声音使用 Peanut-GB 中的 MiniGB APU。
游戏存档是如何工作的?暂停会覆盖游戏唯一的续玩存档点,“Continue saved”即可将其恢复。没有手动存档槽位,也不支持回退。
不拔下控制器也能刷写新固件吗?同时长按 BOOT 和 PWR 至少 2 秒,直到徽章上显示“USB: PC”,然后断开控制器并将电脑连接上去。将控制器切换到蓝牙模式,可在重启后保持 USB 接口空闲,方便反复刷写。
作者
kuslota
大小
0.9 MB
星标
191
更新
提交Nov 15
时长
1个月
提交 · 90 天