Что это такое?
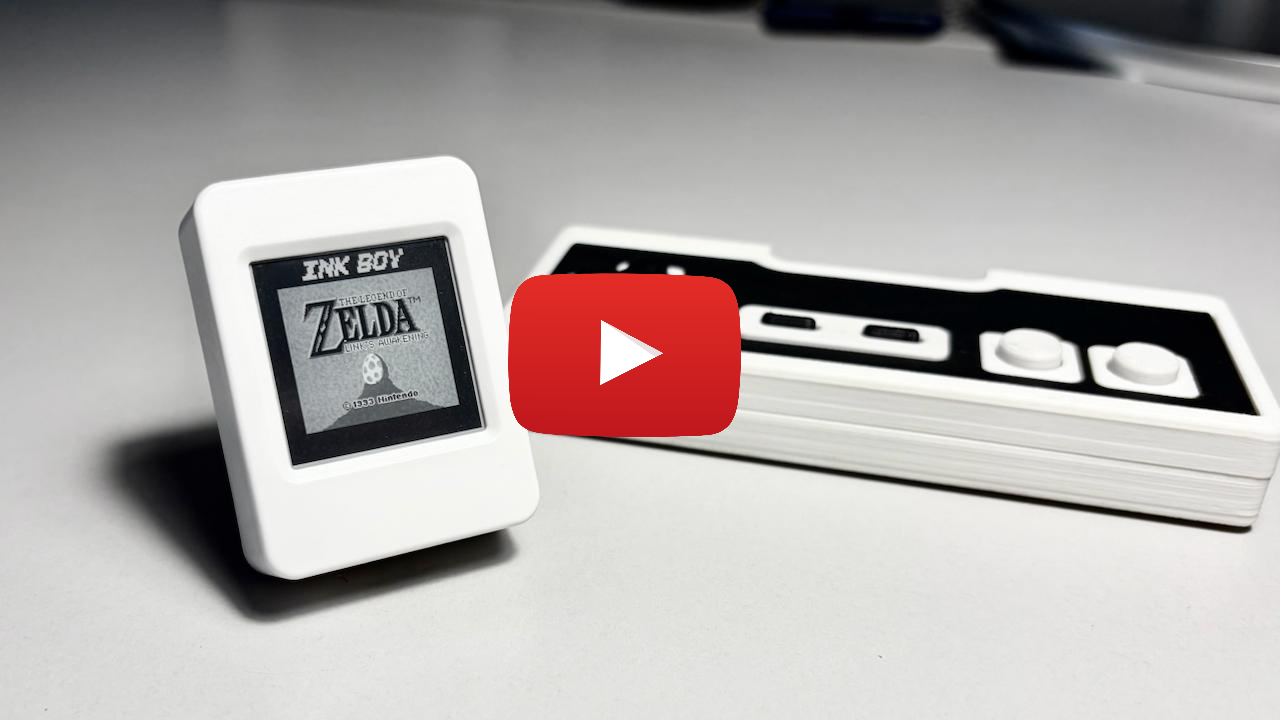
 InkBoy — это прошивка, которая запускает игры для Game Boy на e-paper плате Waveshare ESP32-S3 примерно с 30 кадрами в секунду, с выводом изображения в чёрно-белом варианте с дизерингом или в четырёхтоновых оттенках серого.
Это приложение, которое мне нужно установить, или нужно особое оборудование?Это прошивка для конкретного устройства, а не приложение для телефона или компьютера: плата Waveshare ESP32-S3 e-paper со встроенным динамиком и слотом microSD, в паре с самодельным геймпадом InkBoy.
Это прошивка для конкретного устройства, а не приложение для телефона или компьютера: плата Waveshare ESP32-S3 e-paper со встроенным динамиком и слотом microSD, в паре с самодельным геймпадом InkBoy.Как это запустить?Установите ESP-IDF v6.1 через Espressif Installation Manager, откройте его IDF Terminal, затем соберите проект и загрузите его на плату по USB-C кабелю для передачи данных. Отформатируйте карту microSD в FAT32 и скопируйте ROM-файлы в папку /roms.
Установите ESP-IDF v6.1 через Espressif Installation Manager, откройте его IDF Terminal, затем соберите проект и загрузите его на плату по USB-C кабелю для передачи данных. Отформатируйте карту microSD в FAT32 и скопируйте ROM-файлы в папку /roms.Какое оборудование мне действительно нужно?Плата Waveshare ESP32-S3-ePaper-1.54 V2, карта microSD с файловой системой FAT32 для ROM-файлов и сохранений, а также самодельный контроллер InkBoy (геймпад на ESP32-C3, подключаемый по BLE или USB-C). Обычные Bluetooth или USB HID геймпады не поддерживаются.
Плата Waveshare ESP32-S3-ePaper-1.54 V2, карта microSD с файловой системой FAT32 для ROM-файлов и сохранений, а также самодельный контроллер InkBoy (геймпад на ESP32-C3, подключаемый по BLE или USB-C). Обычные Bluetooth или USB HID геймпады не поддерживаются.Есть ли подвохи, о которых стоит знать до сборки?Управление дисплеем находится в экспериментальной стадии: пользовательские волновые формы и высокая частота обновления могут привести к постоянному остаточному изображению или повреждению панели, а долговечность панели в долгосрочной перспективе не проверена. Кроме того, работают только игры для DMG Game Boy размером до 2 МиБ (не поддерживаются картриджи только для Color и с RTC), а в сложных сценах частота кадров может падать ниже 30 fps.
Управление дисплеем находится в экспериментальной стадии: пользовательские волновые формы и высокая частота обновления могут привести к постоянному остаточному изображению или повреждению панели, а долговечность панели в долгосрочной перспективе не проверена. Кроме того, работают только игры для DMG Game Boy размером до 2 МиБ (не поддерживаются картриджи только для Color и с RTC), а в сложных сценах частота кадров может падать ниже 30 fps.Какая игра включена для тестирования?Big2Small — головоломка под собственной лицензией GPL, она входит в состав как roms/big2small.gb; проприетарные ROM-файлы не включены.
Big2Small — головоломка под собственной лицензией GPL, она входит в состав как roms/big2small.gb; проприетарные ROM-файлы не включены.Откуда взято ядро эмулятора?Оно взято из CrankBoy и Peanut-GB через компонент esp32-gameboy, а идея покадрового управления дисплеем вдохновлена PaperBoy от Zephray. Звук использует APU MiniGB из Peanut-GB.
Оно взято из CrankBoy и Peanut-GB через компонент esp32-gameboy, а идея покадрового управления дисплеем вдохновлена PaperBoy от Zephray. Звук использует APU MiniGB из Peanut-GB.Как работает сохранение игры?Пауза заменяет единственную контрольную точку продолжения игры, которую восстанавливает пункт «Continue saved». Ручных слотов сохранения или отката нет.
Пауза заменяет единственную контрольную точку продолжения игры, которую восстанавливает пункт «Continue saved». Ручных слотов сохранения или отката нет.Можно ли прошить новую прошивку, не отключая контроллер?Зажмите BOOT и PWR вместе не менее чем на 2 секунды, пока на значке не появится надпись «USB: PC», затем отключите контроллер и подключите компьютер. Переключение контроллера в режим Bluetooth освобождает USB-порт при перезапусках для повторной прошивки.
Зажмите BOOT и PWR вместе не менее чем на 2 секунды, пока на значке не появится надпись «USB: PC», затем отключите контроллер и подключите компьютер. Переключение контроллера в режим Bluetooth освобождает USB-порт при перезапусках для повторной прошивки.Какие есть похожие проекты?frank-386, keybytes, crosspoint-reader, esp32sim, PixelFonts, MicroManipulatorStepper, esp-sdr, mu300-linux
frank-386, keybytes, crosspoint-reader, esp32sim, PixelFonts, MicroManipulatorStepper, esp-sdr, mu300-linuxВ каких он темах?diy, esp8266, eink, bluetooth-le, esp32-s3, retro, microcontroller, usb, bluetooth, retrogaming, emulation, embedded-systems
diy, esp8266, eink, bluetooth-le, esp32-s3, retro, microcontroller, usb, bluetooth, retrogaming, emulation, embedded-systems