Ray Tracing in One Weekend Book Series
Getting the Books
The Ray Tracing in One Weekend series of books are now available to the public for free directly
from the web.
Version 4.0.1
These books have been formatted for both screen and print. For more information about printing your
own copies, or on getting PDFs of the books, see PRINTING.md for more information.
Contributing
If you'd like to contribute a PR please read our contribution guidelines
first.
Project Status
If you'd like to check out the latest updates and watch our progress, we're on the dev-patch,
dev-minor, and dev-major branches. You can also browse our issues and milestones to see what
we're planning.
If you're interested in contributing, email us! You can find our contact info at the head of each
book. Or just start a new discussion or issue.
GitHub Discussions
Do you have general questions about raytracing code, issues with your own implmentation, or general
raytracing ideas you'd like to share? Check out our GitHub discussions forum!
Directory Structure
The organization of this repository is meant to be simple and self-evident at a glance:
books/ --
This folder contains the three raytracing books (in HTML), and some supporting material.
images/ --
Contains all of the images and figures of the books. Can also be used to compare your
results.
style/ --
Contains the css for the books and the site.
src/ --
Contains the source.
src/<book>/ --
Contains the final source code for each book.
Source Code
Intent
This repository is not meant to act as its own tutorial. The source is provided so you can compare
your work when progressing through the book. We strongly recommend reading and following along with
the book to understand the source. Ideally, you'll be developing your own implementation as you go,
in order to deeply understand how a raytracer works.
Downloading The Source Code
The GitHub home for this project contains all source and documentation associated with the Ray
Tracing in One Weekend book series. To clone or download the source code, see the green "Clone or
download" button in the upper right of the project home page.
Programming Language
This book is written in C++, and uses some modern features of C++11. The language and features were
chosen to be broadly understood by the largest collection of programmers. It is not meant to
represent ideal (or optimized) C++ code.
Implementations in Other Languages
The Ray Tracing in One Weekend series has a long history of implementations in other programming
languages (see Implementations in Other Languages), and across different
operating systems. Feel free to add your own implementation to the list!
Branches
In general, ongoing development, with all of the latest changes, can be found in the dev-patch,
dev-minor, and dev-major branches, minor and major changes, depending on the change level and
release in progress. We try to keep CHANGELOG.md up to date, so you can easily browse what's new in
each development branch. We may from time to time use additional development branches, so stay up to
date by reviewing the CONTRIBUTING page.
The release branch contains the latest released (and live) assets. This is the branch from which
GitHub pages serves up https://raytracing.github.io/.
Building and Running
Copies of the source are provided for you to check your work and compare against. If you wish to
build the provided source, this project uses CMake. To build, go to the root of the project
directory and run the following commands to create the debug version of every executable:
$ cmake -B build
$ cmake --build build
You should run cmake -B build whenever you change your project CMakeLists.txt file (like when
adding a new source file).
You can specify the target with the --target <program> option, where the program may be
inOneWeekend, theNextWeek, theRestOfYourLife, or any of the demonstration programs. By default
(with no --target option), CMake will build all targets.
$ cmake --build build --target inOneWeekend
Optimized Builds
CMake supports Release and Debug configurations. These require slightly different invocations
across Windows (MSVC) and Linux/macOS (using GCC or Clang). The following instructions will place
optimized binaries under build/Release and debug binaries (unoptimized and containing debug
symbols) under build/Debug:
On Windows:
$ cmake -B build
$ cmake --build build --config Release  # Create release binaries in `build\Release`
$ cmake --build build --config Debug    # Create debug binaries in `build\Debug`
On Linux / macOS:
# Configure and build release binaries under `build/Release`
$ cmake -B build/Release -DCMAKE_BUILD_TYPE=Release
$ cmake --build build/Release

# Configure and build debug binaries under `build/Debug`
$ cmake -B build/Debug -DCMAKE_BUILD_TYPE=Debug
$ cmake --build build/Debug
We recommend building and running the Release version (especially before the final render) for
the fastest results, unless you need the extra debug information provided by the (default) debug
build.
CMake GUI on Windows
You may choose to use the CMake GUI when building on windows.
- Open CMake GUI on Windows
- For "Where is the source code:", set to location of the copied directory. For example,
C:\Users\Peter\raytracing.github.io.
- Add the folder "build" within the location of the copied directory. For example,
C:\Users\Peter\raytracing.github.io\build.
- For "Where to build the binaries", set this to the newly-created "build" directory.
- Click "Configure".
- For "Specify the generator for this project", set this to your version of Visual Studio.
- Click "Done".
- Click "Configure" again.
- Click "Generate".
- In File Explorer, navigate to build directory and double click the newly-created
.sln project.
- Build in Visual Studio.
If the project is succesfully cloned and built, you can then use the native terminal of your
operating system to simply print the image to file.
Running The Programs
You can run the programs by executing the binaries placed in the build directory:
$ build\Debug\inOneWeekend > image.ppm
or, run the optimized version (if you compiled with the release configuration):
$ build\Release\inOneWeekend > image.ppm
The generated PPM file can be viewed directly as a regular computer image, if your operating system
supports this image type. If your system doesn't handle PPM files, then you should be able to find
PPM file viewers online. We like ImageMagick.
Corrections & Contributions
If you spot errors, have suggested corrections, or would like to help out with the project,
please review the CONTRIBUTING document for the most effective way to proceed.
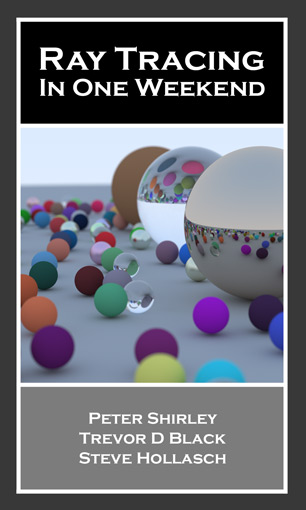
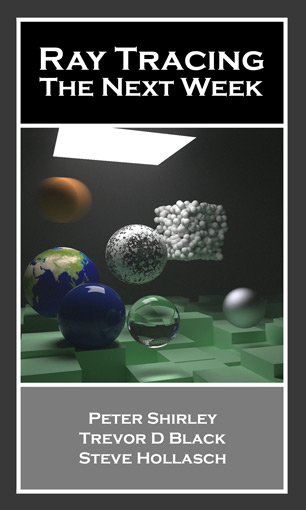
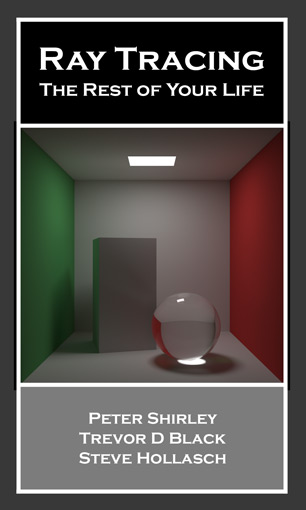

 这是免费的《Ray Tracing in One Weekend》系列的大本营:三本在线书,教你从零开始用 C++ 写一个光线追踪器,另外还附有每本书对应的源代码。