24.4K ·GitHub
What is this?
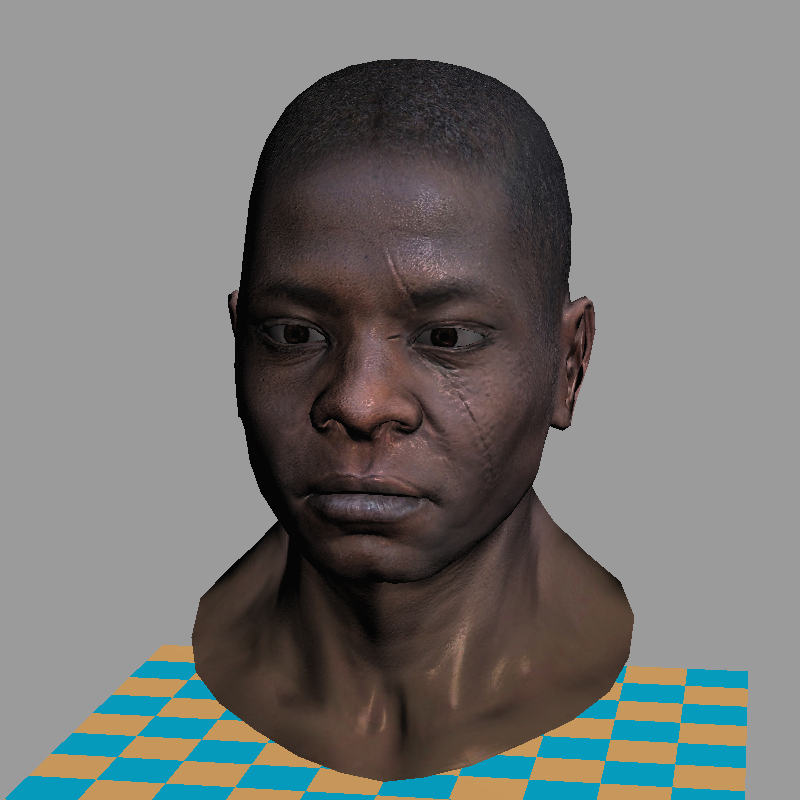
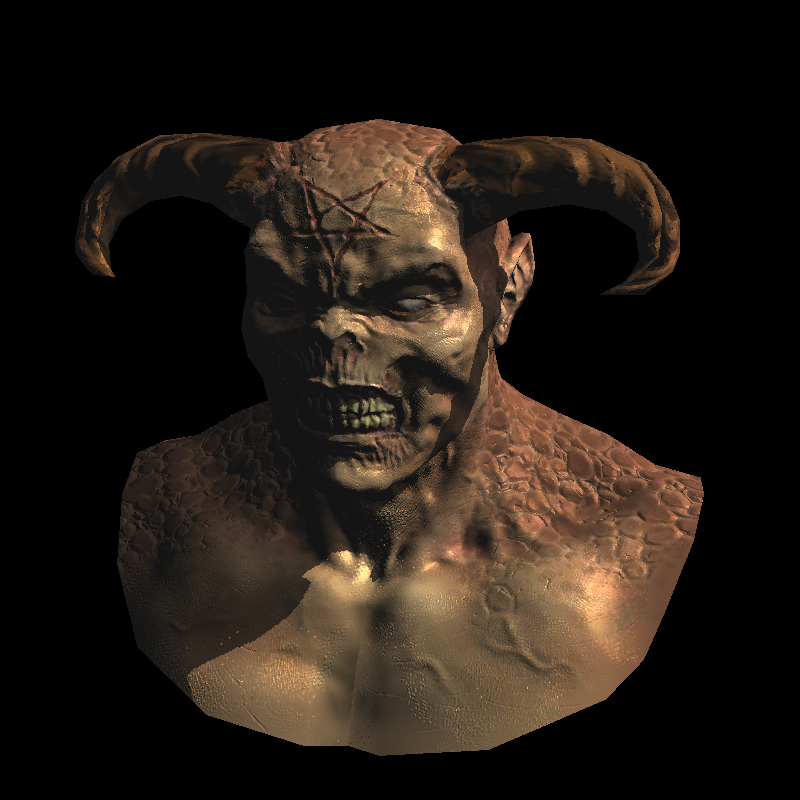
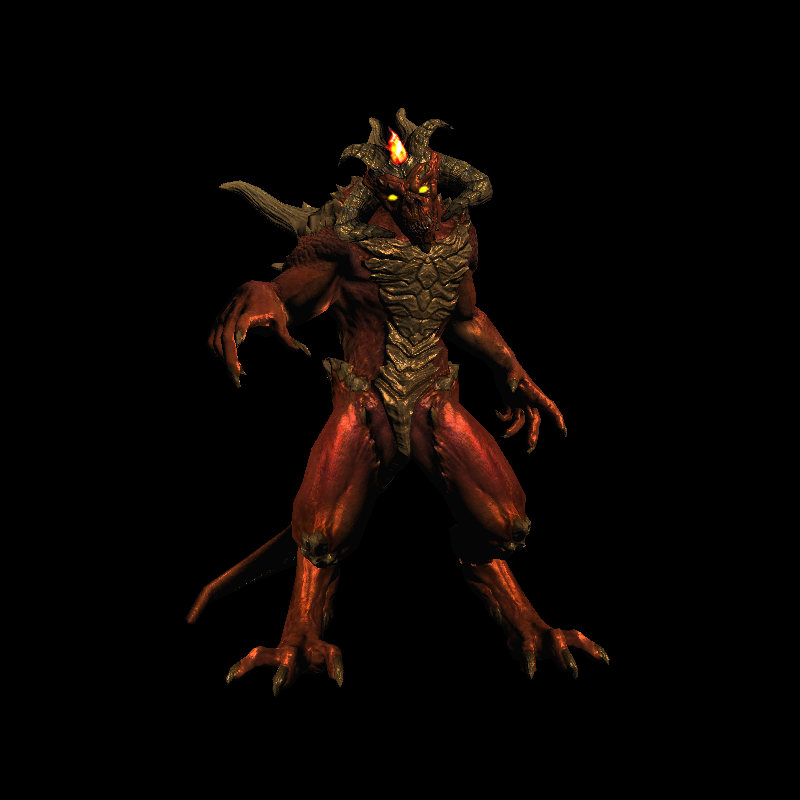
 This is 'tinyrenderer' — a hands-on computer-graphics course that walks you through writing a software 3D renderer from scratch in about 500 lines of C++, so you understand how OpenGL, Vulkan, Metal, and DirectX actually work under the hood.
This is 'tinyrenderer' — a hands-on computer-graphics course that walks you through writing a software 3D renderer from scratch in about 500 lines of C++, so you understand how OpenGL, Vulkan, Metal, and DirectX actually work under the hood.Is this a ready-made renderer or a course I follow?It's a teaching project, not a library: you work through 14 short lecture notes and write the renderer's code yourself, using the author's reference code only as a guide rather than something you plug in and run.
It's a teaching project, not a library: you work through 14 short lecture notes and write the renderer's code yourself, using the author's reference code only as a guide rather than something you plug in and run.How do I get started with the course?You take the minimal starting code the author provides (a single TGA-handling class plus an empty 64x64 framebuffer) and follow the lecture notes step by step, writing your own line drawing, triangle rasterization, shading, and so on in C++.
You take the minimal starting code the author provides (a single TGA-handling class plus an empty 64x64 framebuffer) and follow the lecture notes step by step, writing your own line drawing, triangle rasterization, shading, and so on in C++.Do I need any graphics libraries to follow it?No third-party or graphics libraries are used — everything from pixel setting to line and triangle drawing is implemented by hand in plain C++, with only a small built-in TGA class for loading and saving images.
No third-party or graphics libraries are used — everything from pixel setting to line and triangle drawing is implemented by hand in plain C++, with only a small built-in TGA class for loading and saving images.Does it have a window or GUI I can interact with?No, there's no graphical interface at all: each run just computes pixels and writes a static TGA image to disk — there's no live preview or interaction.
No, there's no graphical interface at all: each run just computes pixels and writes a static TGA image to disk — there's no live preview or interaction.Who is this course meant for?It's aimed at programmers who want to understand 3D graphics internals rather than just use an API; the author notes students typically need 10 to 20 hours of coding to produce a working renderer.
It's aimed at programmers who want to understand 3D graphics internals rather than just use an API; the author notes students typically need 10 to 20 hours of coding to produce a working renderer.What topics does the 14-part course cover?It goes from Bresenham's line algorithm and triangle rasterization through barycentric coordinates, hidden-face removal, camera handling, shading, tangent-space normal mapping, shadow mapping, and indirect/toon lighting.
It goes from Bresenham's line algorithm and triangle rasterization through barycentric coordinates, hidden-face removal, camera handling, shading, tangent-space normal mapping, shadow mapping, and indirect/toon lighting.Why build a software renderer instead of just using OpenGL?The author argues that understanding how rasterization and shading work under the hood is essential for writing efficient real GPU applications later.
The author argues that understanding how rasterization and shading work under the hood is essential for writing efficient real GPU applications later.What image format does the output use?Images are saved as TGA, which the author picked because it is one of the simplest formats that still supports RGB, RGBA, and grayscale data.
Images are saved as TGA, which the author picked because it is one of the simplest formats that still supports RGB, RGBA, and grayscale data.Can I just use the author's provided source code directly?You can, but the author explicitly discourages it — the whole point of the course is for you to write the ~500 lines yourself rather than copy a finished renderer.
You can, but the author explicitly discourages it — the whole point of the course is for you to write the ~500 lines yourself rather than copy a finished renderer.What are similar projects?LearnOpenGL, 3d-game-shaders-for-beginners, bgfx, filament, Vulkan, assimp, blender, Hazel
LearnOpenGL, 3d-game-shaders-for-beginners, bgfx, filament, Vulkan, assimp, blender, HazelWhich topics is it in?rendering-engine, images, shader, 3d-graphics, engine, fun, shaders, opengl, computer-graphics, c-plus-plus, rendering, course
rendering-engine, images, shader, 3d-graphics, engine, fun, shaders, opengl, computer-graphics, c-plus-plus, rendering, course