What is this?
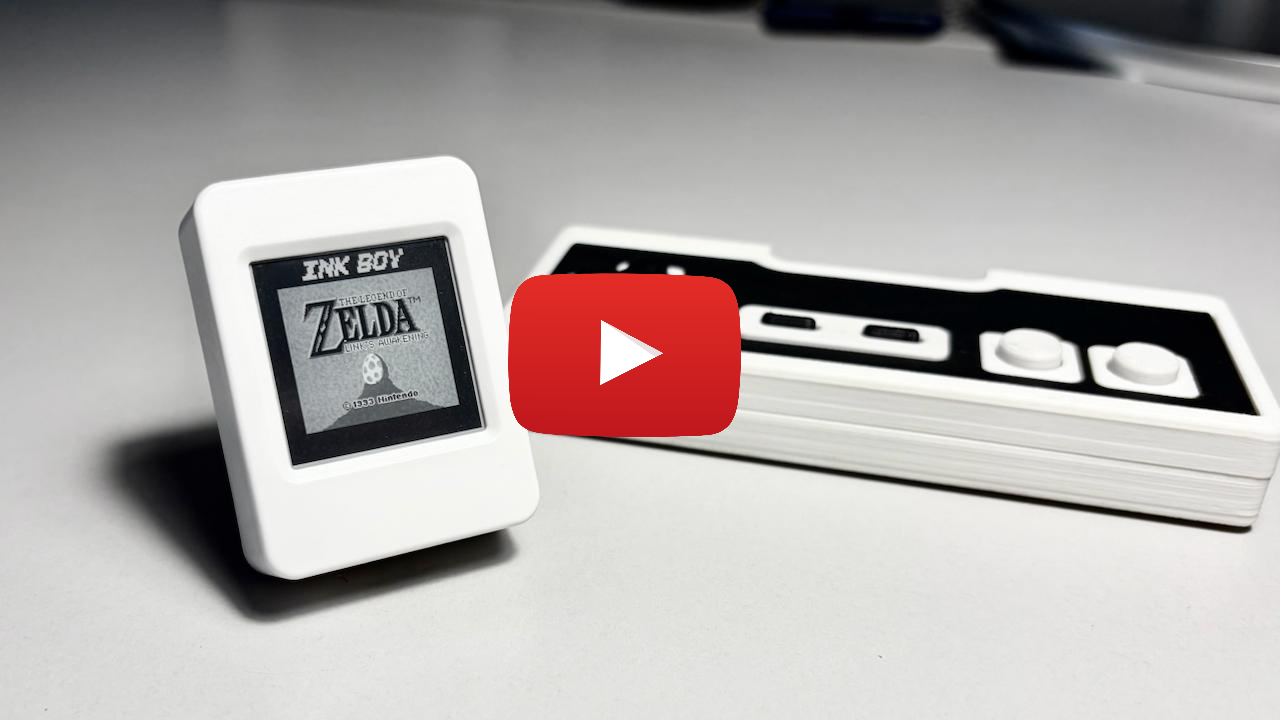
 InkBoy is firmware that runs Game Boy games on a Waveshare ESP32-S3 e-paper board at about 30 fps, with dithered black-and-white or four-shade grayscale rendering.
Is this an app I install, or do I need special hardware?It's firmware for a specific piece of hardware, not a phone or desktop app: a Waveshare ESP32-S3 e-paper board with a built-in speaker and microSD slot, paired with a custom InkBoy gamepad.
It's firmware for a specific piece of hardware, not a phone or desktop app: a Waveshare ESP32-S3 e-paper board with a built-in speaker and microSD slot, paired with a custom InkBoy gamepad.How do I get it running?Install ESP-IDF v6.1 via the Espressif Installation Manager, open its IDF Terminal, then build and flash the project to the board over a USB-C data cable. Format a microSD card as FAT32 and copy ROMs into a /roms folder.
Install ESP-IDF v6.1 via the Espressif Installation Manager, open its IDF Terminal, then build and flash the project to the board over a USB-C data cable. Format a microSD card as FAT32 and copy ROMs into a /roms folder.What hardware do I actually need?A Waveshare ESP32-S3-ePaper-1.54 V2 board, a FAT32-formatted microSD card for ROMs and saves, and the custom InkBoy controller (an ESP32-C3 gamepad connected over BLE or USB-C) — generic Bluetooth or USB HID gamepads aren't supported.
A Waveshare ESP32-S3-ePaper-1.54 V2 board, a FAT32-formatted microSD card for ROMs and saves, and the custom InkBoy controller (an ESP32-C3 gamepad connected over BLE or USB-C) — generic Bluetooth or USB HID gamepads aren't supported.Any catches before I build one?The display driving is experimental — custom waveforms and high refresh rates can cause permanent image retention or panel damage, and long-term panel life isn't validated. On top of that, only DMG Game Boy games up to 2MiB work (no Color-only or RTC cartridges), and busy scenes can drop below 30 fps.
The display driving is experimental — custom waveforms and high refresh rates can cause permanent image retention or panel damage, and long-term panel life isn't validated. On top of that, only DMG Game Boy games up to 2MiB work (no Color-only or RTC cartridges), and busy scenes can drop below 30 fps.What game is included to test with?Big2Small, a puzzle game under its own GPL license, is bundled as roms/big2small.gb; no proprietary ROMs are included.
Big2Small, a puzzle game under its own GPL license, is bundled as roms/big2small.gb; no proprietary ROMs are included.Where does the emulator core come from?It comes from CrankBoy and Peanut-GB through the esp32-gameboy component, with PaperBoy by Zephray having inspired the per-pixel driving approach. Sound uses the MiniGB APU from Peanut-GB.
It comes from CrankBoy and Peanut-GB through the esp32-gameboy component, with PaperBoy by Zephray having inspired the per-pixel driving approach. Sound uses the MiniGB APU from Peanut-GB.How does saving a game work?Pausing replaces the game's single resume checkpoint, which 'Continue saved' restores. There are no manual save slots or rollback.
Pausing replaces the game's single resume checkpoint, which 'Continue saved' restores. There are no manual save slots or rollback.Can I flash new firmware without unplugging the controller?Hold BOOT and PWR together for at least 2 seconds until the badge shows 'USB: PC', then disconnect the controller and connect your computer. Switching the controller to Bluetooth mode keeps the USB port free across restarts for repeated flashing.
Hold BOOT and PWR together for at least 2 seconds until the badge shows 'USB: PC', then disconnect the controller and connect your computer. Switching the controller to Bluetooth mode keeps the USB port free across restarts for repeated flashing.What are similar projects?frank-386, keybytes, crosspoint-reader, esp32sim, PixelFonts, MicroManipulatorStepper, esp-sdr, mu300-linux
frank-386, keybytes, crosspoint-reader, esp32sim, PixelFonts, MicroManipulatorStepper, esp-sdr, mu300-linuxWhich topics is it in?diy, esp8266, eink, bluetooth-le, esp32-s3, retro, usb, microcontroller, bluetooth, emulation, retrogaming, embedded-systems
diy, esp8266, eink, bluetooth-le, esp32-s3, retro, usb, microcontroller, bluetooth, emulation, retrogaming, embedded-systems