
What is this?
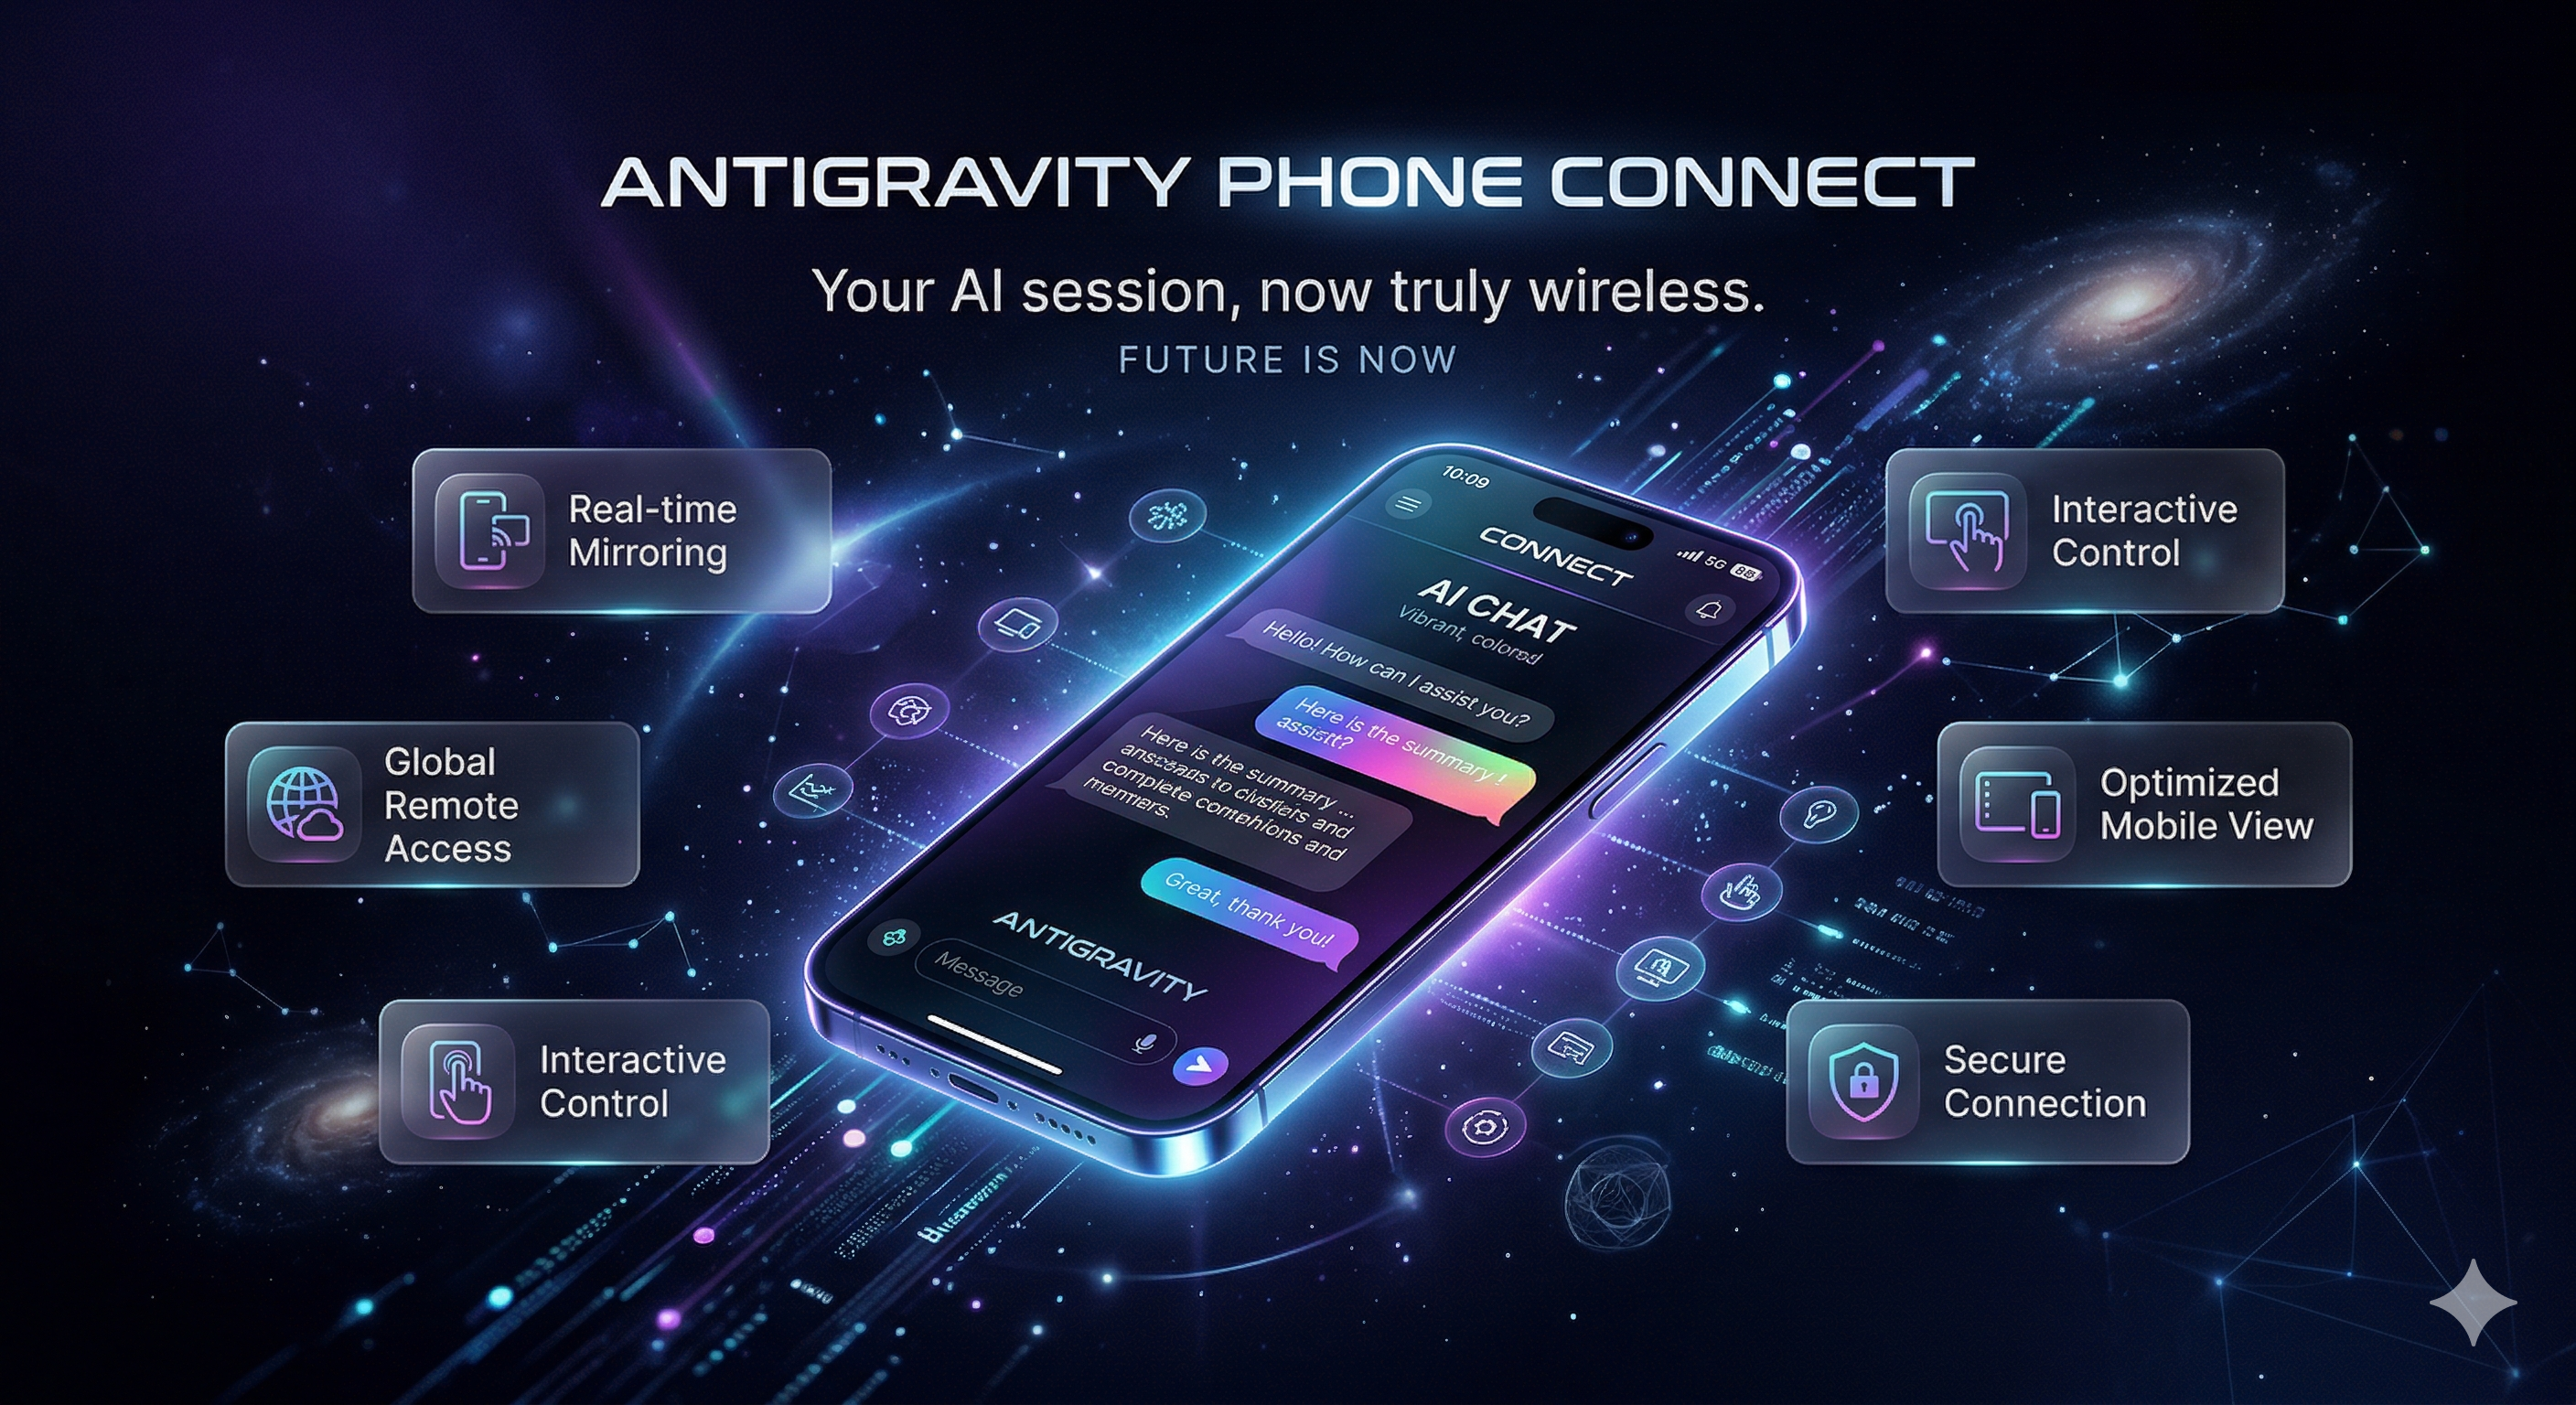
 It is a real-time mobile monitor and remote control for your Antigravity AI desktop sessions, mirroring the chat to your phone and letting you send messages, stop generations, or approve actions remotely.
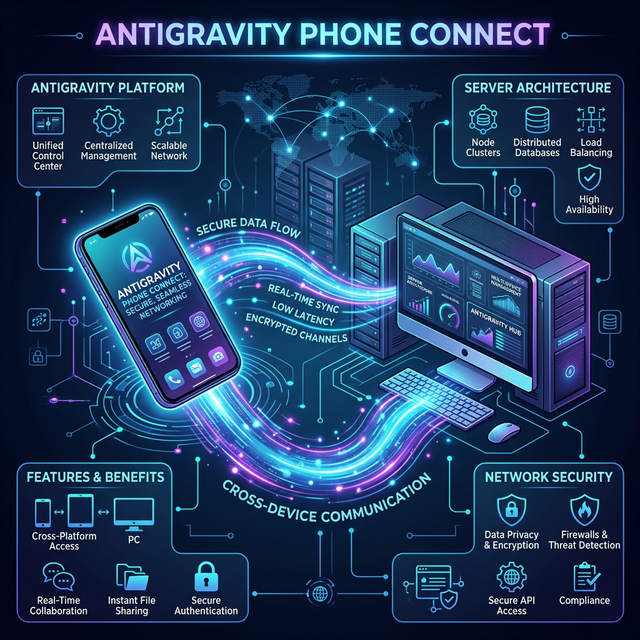
It is a real-time mobile monitor and remote control for your Antigravity AI desktop sessions, mirroring the chat to your phone and letting you send messages, stop generations, or approve actions remotely.Is this an app I install on my phone, or a server I run on my PC?It is a Node.js server you run on your PC; your phone just opens a browser URL (or scans a QR code) to view and control the mirrored session, no phone app install needed.
It is a Node.js server you run on your PC; your phone just opens a browser URL (or scans a QR code) to view and control the mirrored session, no phone app install needed.How do I get it running?Launch Antigravity with remote debugging enabled, open or start a chat, then run the provided startup script (bat for Windows, sh for macOS/Linux) which starts the server and shows a QR code to connect your phone over local Wi-Fi.
Launch Antigravity with remote debugging enabled, open or start a chat, then run the provided startup script (bat for Windows, sh for macOS/Linux) which starts the server and shows a QR code to connect your phone over local Wi-Fi.What do I need installed before running it?Node.js 16+ is required, and the launcher scripts auto-create a Python virtual environment for other dependencies; you also need the Antigravity desktop app itself already running with an active chat.
Node.js 16+ is required, and the launcher scripts auto-create a Python virtual environment for other dependencies; you also need the Antigravity desktop app itself already running with an active chat.Does mirroring work without any setup on the desktop side?No, the server needs an active chat session in Antigravity to capture snapshots; without one you'll get 'chat container not found' errors, and reaching your phone outside your home Wi-Fi requires setting up a tunnel provider.
No, the server needs an active chat session in Antigravity to capture snapshots; without one you'll get 'chat container not found' errors, and reaching your phone outside your home Wi-Fi requires setting up a tunnel provider.Which operating systems can I run the server on?Launcher scripts and setup instructions are provided for Windows, macOS, and Linux.
Launcher scripts and setup instructions are provided for Windows, macOS, and Linux.Does this expose my account credentials or AI provider login to the server?No, it only mirrors the UI via Chrome DevTools Protocol and never extracts OAuth tokens or talks to the AI provider's API directly; all requests still come from your official desktop app.
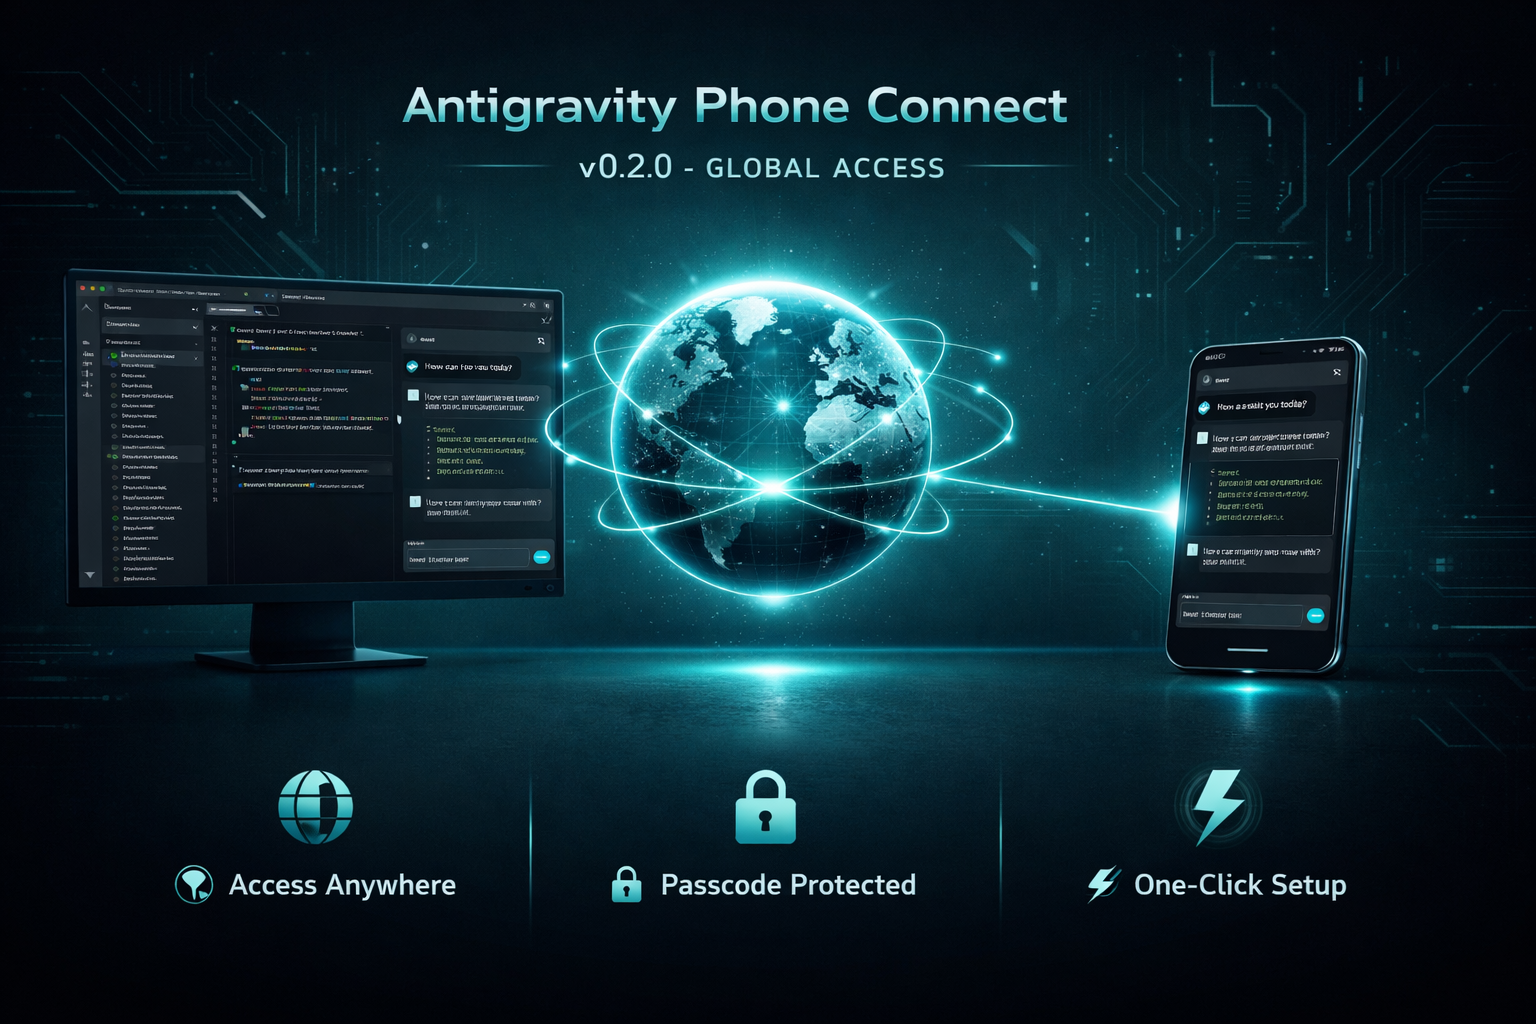
No, it only mirrors the UI via Chrome DevTools Protocol and never extracts OAuth tokens or talks to the AI provider's API directly; all requests still come from your official desktop app.How do I reach my phone from outside my home Wi-Fi?You configure a tunnel provider in .env: ngrok (needs a free account token), Cloudflare Tunnel (needs cloudflared installed), or Pinggy (no account needed, works over SSH). Remote access is then protected by an app password or a magic QR login link.
You configure a tunnel provider in .env: ngrok (needs a free account token), Cloudflare Tunnel (needs cloudflared installed), or Pinggy (no account needed, works over SSH). Remote access is then protected by an app password or a magic QR login link.What can I actually do remotely from my phone besides watching?You can send messages, stop generations, switch AI models (Gemini/Claude/GPT) or modes (Fast/Planning), approve or deny permission prompts, expand thinking blocks, and start new chats, all synced bi-directionally with the desktop.
You can send messages, stop generations, switch AI models (Gemini/Claude/GPT) or modes (Fast/Planning), approve or deny permission prompts, expand thinking blocks, and start new chats, all synced bi-directionally with the desktop.Is this a brand new project or based on something else?It is a refined fork/extension of the original 'Antigravity Shit-Chat' project by gherghett, with added features like HTTPS, global tunneling, and a redesigned mobile UI.
It is a refined fork/extension of the original 'Antigravity Shit-Chat' project by gherghett, with added features like HTTPS, global tunneling, and a redesigned mobile UI.How fast is the mirroring between desktop and phone?Snapshots are captured via Chrome DevTools Protocol with sub-100ms performance, using roughly a 1-second polling interval for near-instant sync between desktop and mobile.
Snapshots are captured via Chrome DevTools Protocol with sub-100ms performance, using roughly a 1-second polling interval for near-instant sync between desktop and mobile.What are similar projects?dsh-bridge, dsh-remote-web-gateway, dsh-pocket, dsh-mobile, browser-harness, hapi, Crucix, adhdev
dsh-bridge, dsh-remote-web-gateway, dsh-pocket, dsh-mobile, browser-harness, hapi, Crucix, adhdevWhich topics is it in?cloudflare-tunnel, cdp, https, remote-control, qr-code, antigravity, tunnel, express, chrome, websocket, real-time, monitoring
cloudflare-tunnel, cdp, https, remote-control, qr-code, antigravity, tunnel, express, chrome, websocket, real-time, monitoring