What is this?
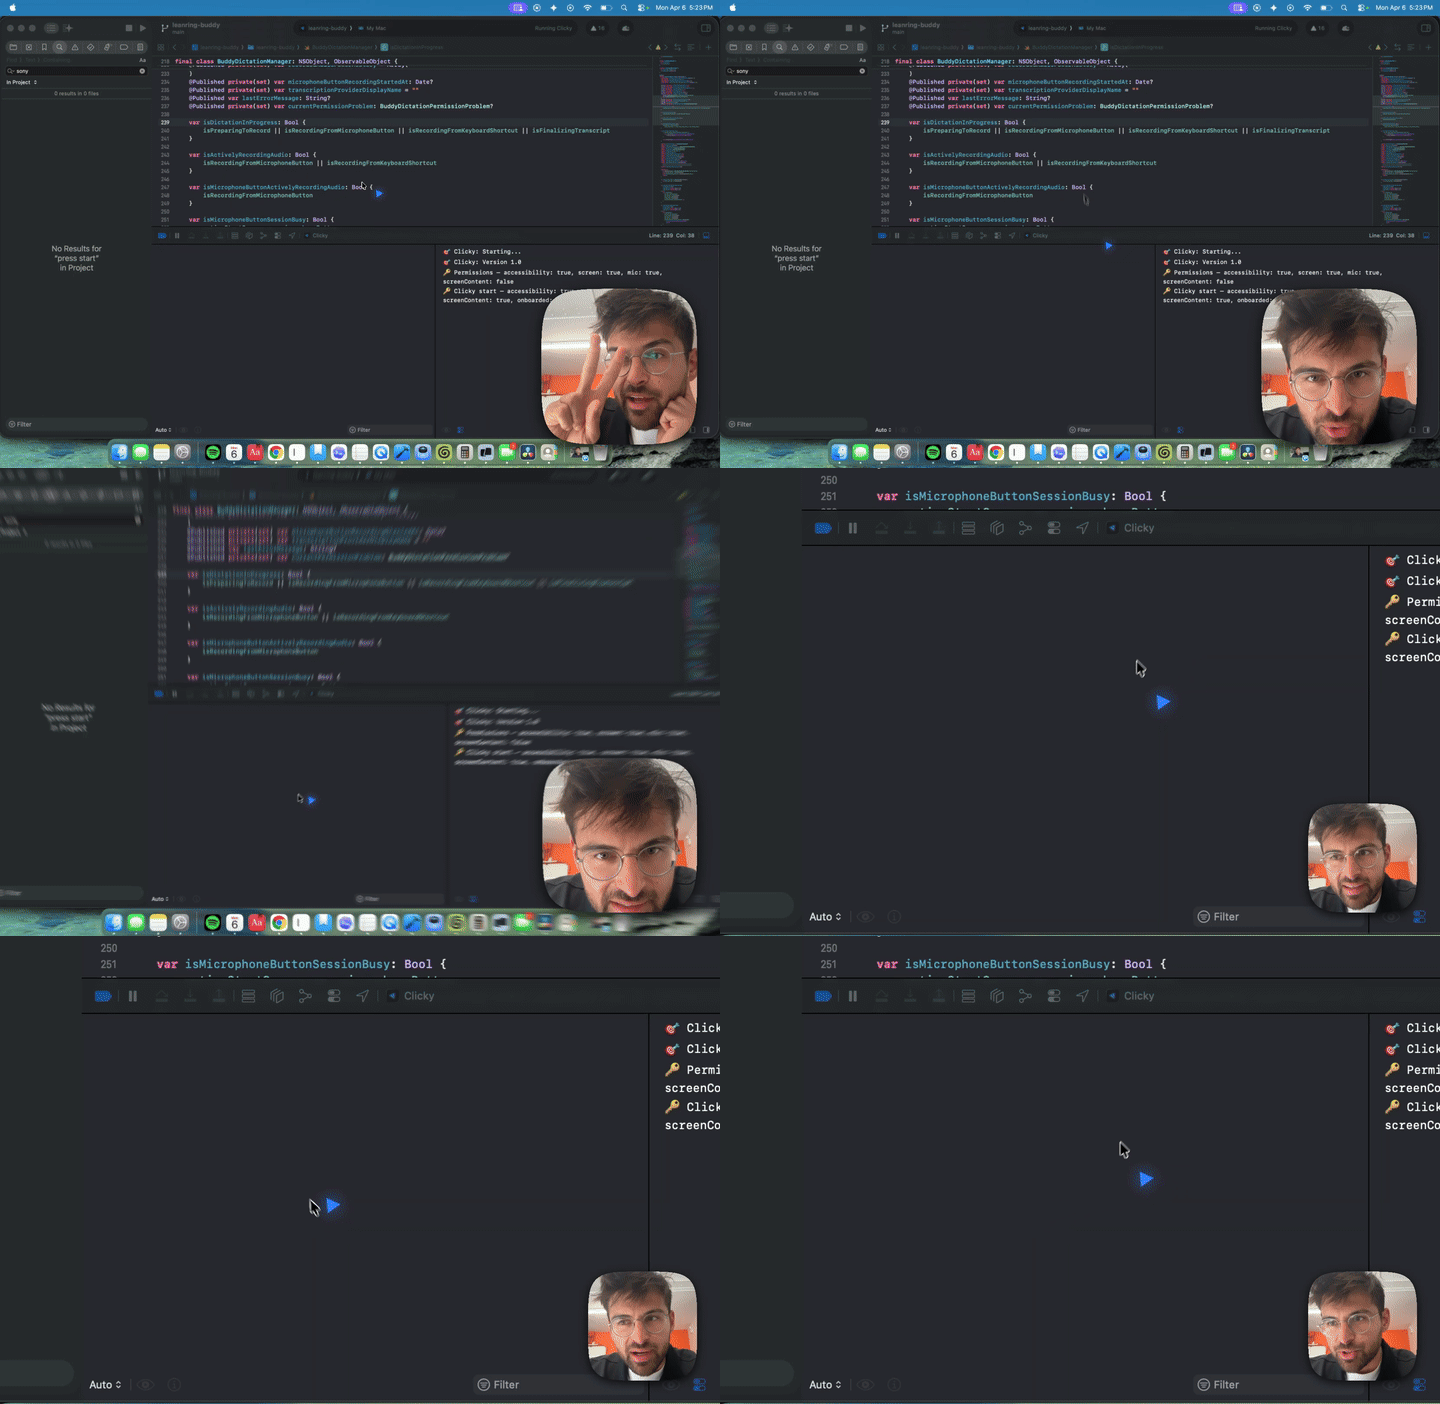
 Clicky is an AI teacher that lives next to your cursor: it sees your screen, talks to you, and can even point at things on screen, like having a real teacher sitting beside you.
Clicky is an AI teacher that lives next to your cursor: it sees your screen, talks to you, and can even point at things on screen, like having a real teacher sitting beside you.Is this the actual Clicky app, or the code behind it?It's a native macOS menu bar app written in Swift. This repo is the open-source version for hacking on it; the polished latest Clicky is a separate free download, and the author keeps new development private.
It's a native macOS menu bar app written in Swift. This repo is the open-source version for hacking on it; the polished latest Clicky is a separate free download, and the author keeps new development private.How do I get it running?Fastest way: paste the repo prompt into Claude Code — it clones the repo, reads the docs, and walks you through setup. Manually: deploy the Cloudflare Worker, update the proxy URLs in the Swift code, then open in Xcode, set your signing team, and hit Cmd+R.
Fastest way: paste the repo prompt into Claude Code — it clones the repo, reads the docs, and walks you through setup. Manually: deploy the Cloudflare Worker, update the proxy URLs in the Swift code, then open in Xcode, set your signing team, and hit Cmd+R.What do I need installed before I can build it?macOS 14.2+, Xcode 15+, Node.js 18+, and a Cloudflare account (free tier works). You also need API keys for Anthropic, AssemblyAI, and ElevenLabs.
macOS 14.2+, Xcode 15+, Node.js 18+, and a Cloudflare account (free tier works). You also need API keys for Anthropic, AssemblyAI, and ElevenLabs.Why does it need all those permissions?It asks for four: Microphone for push-to-talk capture, Accessibility for the global Control+Option shortcut, Screen Recording for hotkey screenshots, and Screen Content for ScreenCaptureKit access. Without these, its core see-and-talk loop can't work.
It asks for four: Microphone for push-to-talk capture, Accessibility for the global Control+Option shortcut, Screen Recording for hotkey screenshots, and Screen Content for ScreenCaptureKit access. Without these, its core see-and-talk loop can't work.Does it run on Windows, or is it Mac-only?Mac only. It's a Swift app built in Xcode and requires macOS 14.2+ for ScreenCaptureKit, so there's no Windows or Linux version.
Mac only. It's a Swift app built in Xcode and requires macOS 14.2+ for ScreenCaptureKit, so there's no Windows or Linux version.Where do my API keys and screen data go?Your API keys live in a Cloudflare Worker proxy rather than in the app: the app talks to the Worker, and the Worker talks to the APIs. Voice audio, transcripts, and screenshots still go out to AssemblyAI, Claude, and ElevenLabs during use.
Your API keys live in a Cloudflare Worker proxy rather than in the app: the app talks to the Worker, and the Worker talks to the APIs. Voice audio, transcripts, and screenshots still go out to AssemblyAI, Claude, and ElevenLabs during use.Can I reuse the code in my own project?Yes — it's MIT licensed, so you can tinker with it, make it yours, or even start a company out of it.
Yes — it's MIT licensed, so you can tinker with it, make it yours, or even start a company out of it.How does the pointing-at-things part actually work?Claude can embed [POINT:x,y:label:screenN] tags in its responses, which make your cursor fly to specific UI elements across multiple monitors.
Claude can embed [POINT:x,y:label:screenN] tags in its responses, which make your cursor fly to specific UI elements across multiple monitors.What happens when I hold the push-to-talk key?Your audio streams over a websocket to AssemblyAI for transcription; the transcript plus a screenshot go to Claude via streaming SSE, and the reply is played back through ElevenLabs TTS.
Your audio streams over a websocket to AssemblyAI for transcription; the transcript plus a screenshot go to Claude via streaming SSE, and the reply is played back through ElevenLabs TTS.Where does the app show up once it's running?In the menu bar, not the dock. It uses two NSPanel windows: a control panel dropdown and a full-screen transparent cursor overlay.
In the menu bar, not the dock. It uses two NSPanel windows: a control panel dropdown and a full-screen transparent cursor overlay.What are similar projects?BetterDisplay, tendedero, bluey-by-riley, lipflow, rooms, jarvis, macos-sysdata, textream
BetterDisplay, tendedero, bluey-by-riley, lipflow, rooms, jarvis, macos-sysdata, textreamWhich topics is it in?menubar, voice-assistant, screenshot, computer-use, menu-bar, xcode, speech-recognition, tts, cloudflare, macos-app, websocket, streaming
menubar, voice-assistant, screenshot, computer-use, menu-bar, xcode, speech-recognition, tts, cloudflare, macos-app, websocket, streaming