
Terminalizer




Record your terminal and generate animated gif images or share a web player link www.terminalizer.com
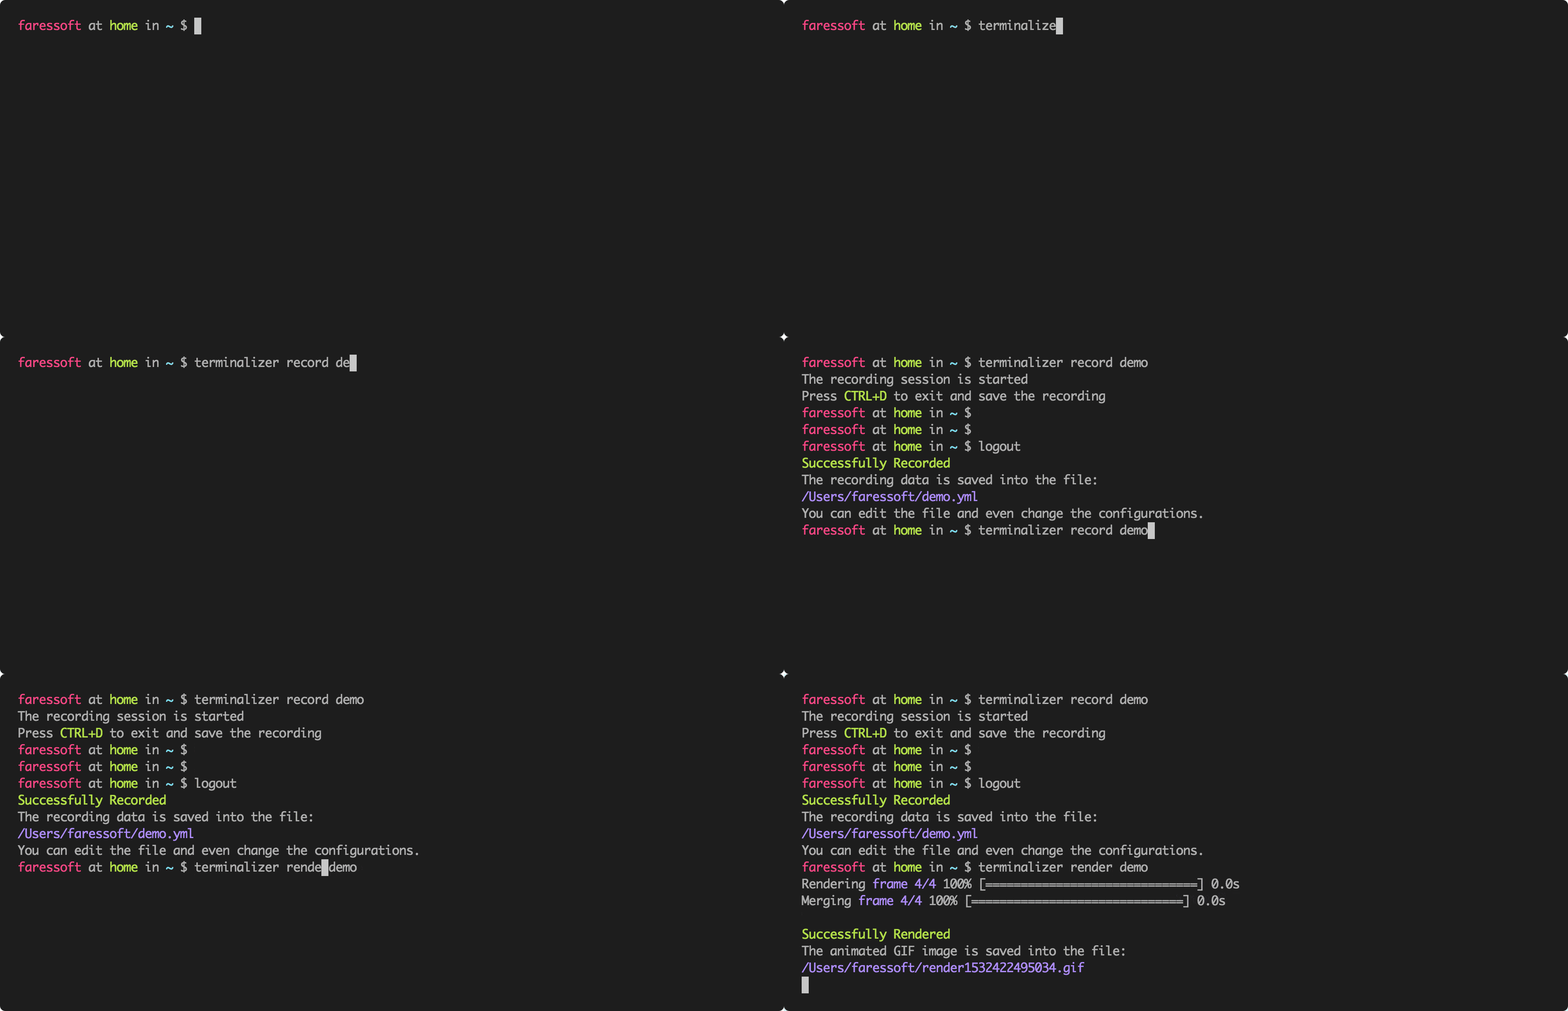
Built to be jusT cOol 👌🦄 !
If you think so, support me with a star and a follow 😘

Table of Contents
Features
- Highly customizable.
- Cross platform (Linux, Windows, MacOS).
- Custom
window frames.
- Custom
font.
- Custom
colors.
- Custom
styles with CSS.
- Watermark.
- Edit frames and adjust delays before rendering.
- Skipping frames by a step value to reduce the number of rendered frames.
- Render images with texts on them instead of capturing your screen for better quality.
- The ability to configure:
- The command to capture (bash, powershell.exe, yourOwnCommand, etc)
- The current working directory.
- Explicit values for the number of cols and rows.
- GIF quality and repeating.
- Frames delays.
- The max idle time between frames.
- Cursor style.
- Font.
- Font size.
- Line height.
- Letter spacing.
- Theme.
What's Next
- The
Generate command to generate a web player for a recording file.
- Support
apt-get, yum, brew installation.
Installation
You need to install Node.js first, then install the tool globally using this command:
yarn global add terminalizer

Still facing an issue? Check the Issues section or open a new issue.
The installation should be very smooth with Node.js v4-v16. For newer versions, if the installation is failed, you may need to install the development tools to build the C++ add-ons. Check node-gyp.
Getting Started
Start recording your terminal using the record command.
terminalizer record demo
A file called demo.yml will be created in the current directory. You can open it using any editor to edit the configurations and the recorded frames. You can replay your recording using the play command.
terminalizer play demo
Now let's render our recording as an animated gif.
terminalizer render demo
Compression
GIF compression is not implemented yet. For now we recommend https://gifcompressor.com.
Usage
You can use the --help option to get more details about the commands and their options
terminalizer <command> [options]
Init
Create a global config directory
terminalizer init
Config
Generate a config file in the current directory
terminalizer config
Record
Record your terminal and create a recording file
terminalizer record <recordingFile>
Options
-c, --config        Overwrite the default configurations                                  [string]
-d, --command       The command to be executed                            [string] [default: null]
-k, --skip-sharing  Skip sharing and showing the sharing prompt message [boolean] [default: false]
Examples
terminalizer record foo                      Start recording and create a recording file called foo.yml
terminalizer record foo --config config.yml  Start recording with your own configurations
Play
Play a recording file on your terminal
terminalizer play <recordingFile>
Options
-r, --real-timing   Use the actual delays between frames as recorded        [boolean] [default: false]
-s, --speed-factor  Speed factor, multiply the frames delays by this factor [number] [default: 1]
Render
Render a recording file as an animated gif image
terminalizer render <recordingFile>
Options
-o, --output   A name for the output file                                      [string]
-q, --quality  The quality of the rendered image (1 - 100)                     [number]
-s, --step     To reduce the number of rendered frames (step > 1) [number] [default: 1]
Share
Upload a recording file and get a link for an online player
terminalizer share <recordingFile>
Generate
Generate a web player for a recording file
terminalizer generate <recordingFile>
Configurations
The default config.yml file is stored under the root directory of the project. Execute the below command to copy it to your current directory.
Use any editor to edit the copied config.yml, then use the -c option to override the default one.
terminalizer config
RECOMMENDED, use the init command to create a global config file to be used instead of the default one.
terminalizer init
For Linux and MacOS, the created directory is located under the home directory ~/config/terminalizer. For Windows, it is located under the AppData.
Recording
command: Specify a command to be executed like /bin/bash -l, ls, or any other command. The default is bash for Linux or powershell.exe for Windows.cwd: Specify the current working directory path. The default is the current working directory path.env: Export additional ENV variables, to be read by your scripts when starting the recording.cols: Explicitly set the number of columns or use auto to take the current number of columns of your shell.rows: Explicitly set the number of rows or use auto to take the current number of rows of your shell.
Delays
frameDelay: The delay between frames in ms. If the value is auto use the actual recording delays.maxIdleTime: Maximum delay between frames in ms. Ignored if the frameDelay isn't set to auto. Set to auto to prevent limiting the max idle time.
GIF
quality: The quality of the generated GIF image (1 - 100).repeat: Amount of times to repeat GIF:
- If value is
-1, play once.
- If value is
0, loop indefinitely.
- If value is a positive number, loop
n times.
Terminal
cursorStyle: Cursor style can be one of block, underline, or bar.fontFamily: You can use any font that is installed on your machine like Monaco or Lucida Console (CSS-like list).fontSize: The size of the font in pixels.lineHeight: The height of lines in pixels.letterSpacing: The spacing between letters in pixels.
Theme
You can set the colors of your terminal using one of the CSS formats:
- Hex:
#FFFFFF.
- RGB:
rgb(255, 255, 255).
- HSL:
hsl(0, 0%, 100%).
- Name:
white, red, blue.
You can use the value transparent too.
The default colors that are assigned to the terminal colors are:
- background:

transparent
- foreground:

#afafaf
- cursor:

#c7c7c7
- black:

#232628
- red:

#fc4384
- green:

#b3e33b
- yellow:

#ffa727
- blue:

#75dff2
- magenta:

#ae89fe
- cyan:

#708387
- white:

#d5d5d0
- brightBlack:

#626566
- brightRed:

#ff7fac
- brightGreen:

#c8ed71
- brightYellow:

#ebdf86
- brightBlue:
#75dff2
- brightMagenta:
#ae89fe
- brightCyan:

#b1c6ca
- brightWhite:

#f9f9f4
Watermark
You can add a watermark logo to your generated GIF images.

watermark:
  imagePath: AbsolutePathOrURL
  style:
    position: absolute
    right: 15px
    bottom: 15px
    width: 100px
    opacity: 0.9
watermark.imagePath: An absolute path for the image on your machine or a URL.watermark.style: Apply CSS styles (camelCase) to the watermark image, like resizing it.
Frame Box
Terminalizer comes with predefined frames that you can use to make your GIF images look cool.
frameBox.type: Can be null, window, floating, or solid.frameBox.title: To display a title for the frame or null.frameBox.style: To apply custom CSS styles or to override the current ones.
Null Frame
No frame, just your recording.

Don't forget to add a backgroundColor under style.
frameBox:
  type: null
  title: null
  style:
    backgroundColor: black
Window Frame
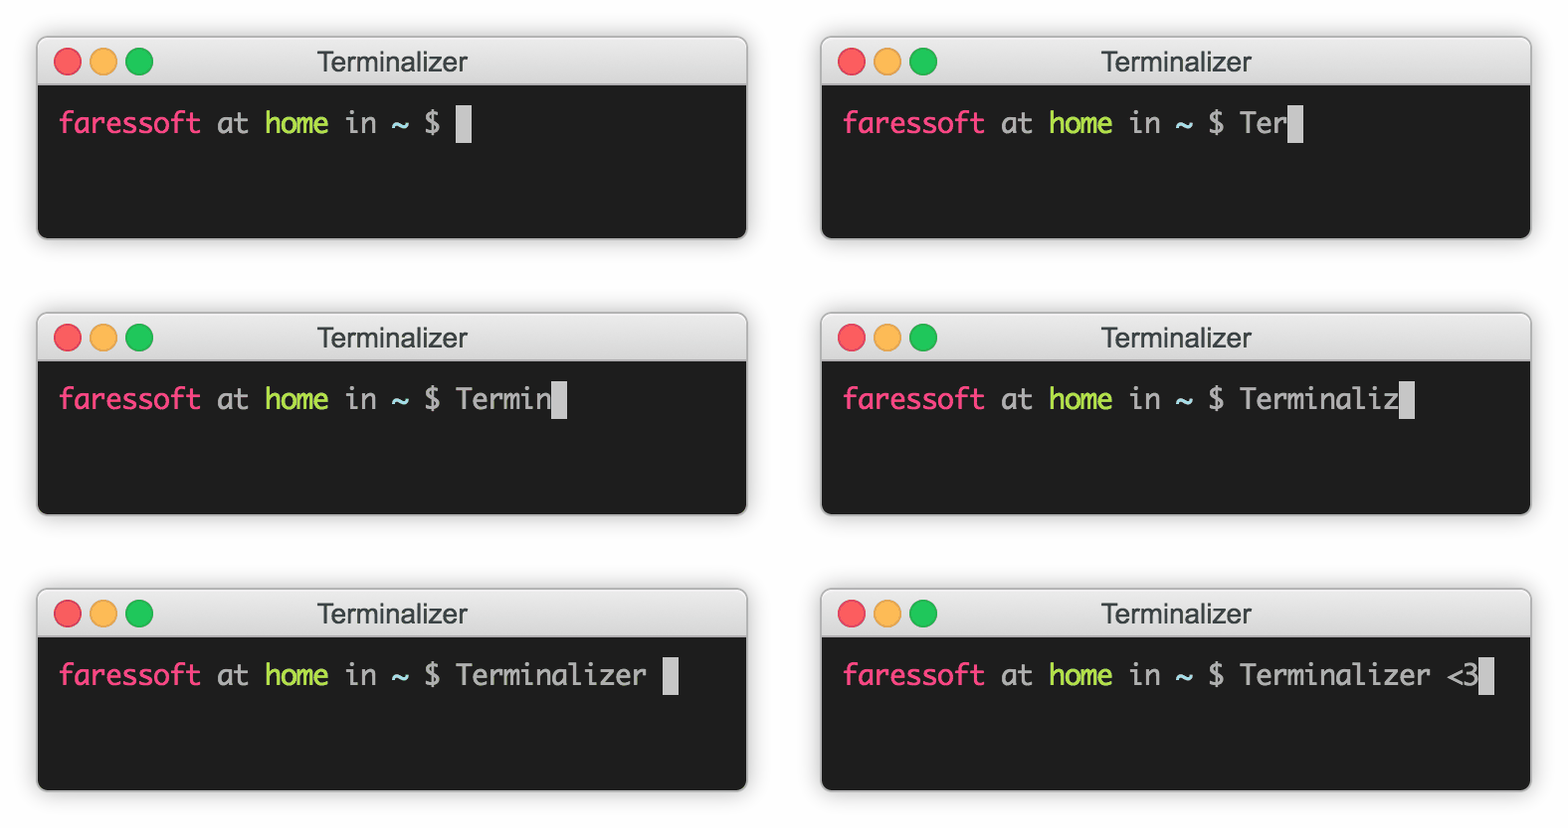
frameBox:
  type: window
  title: Terminalizer
  style: []
Floating Frame
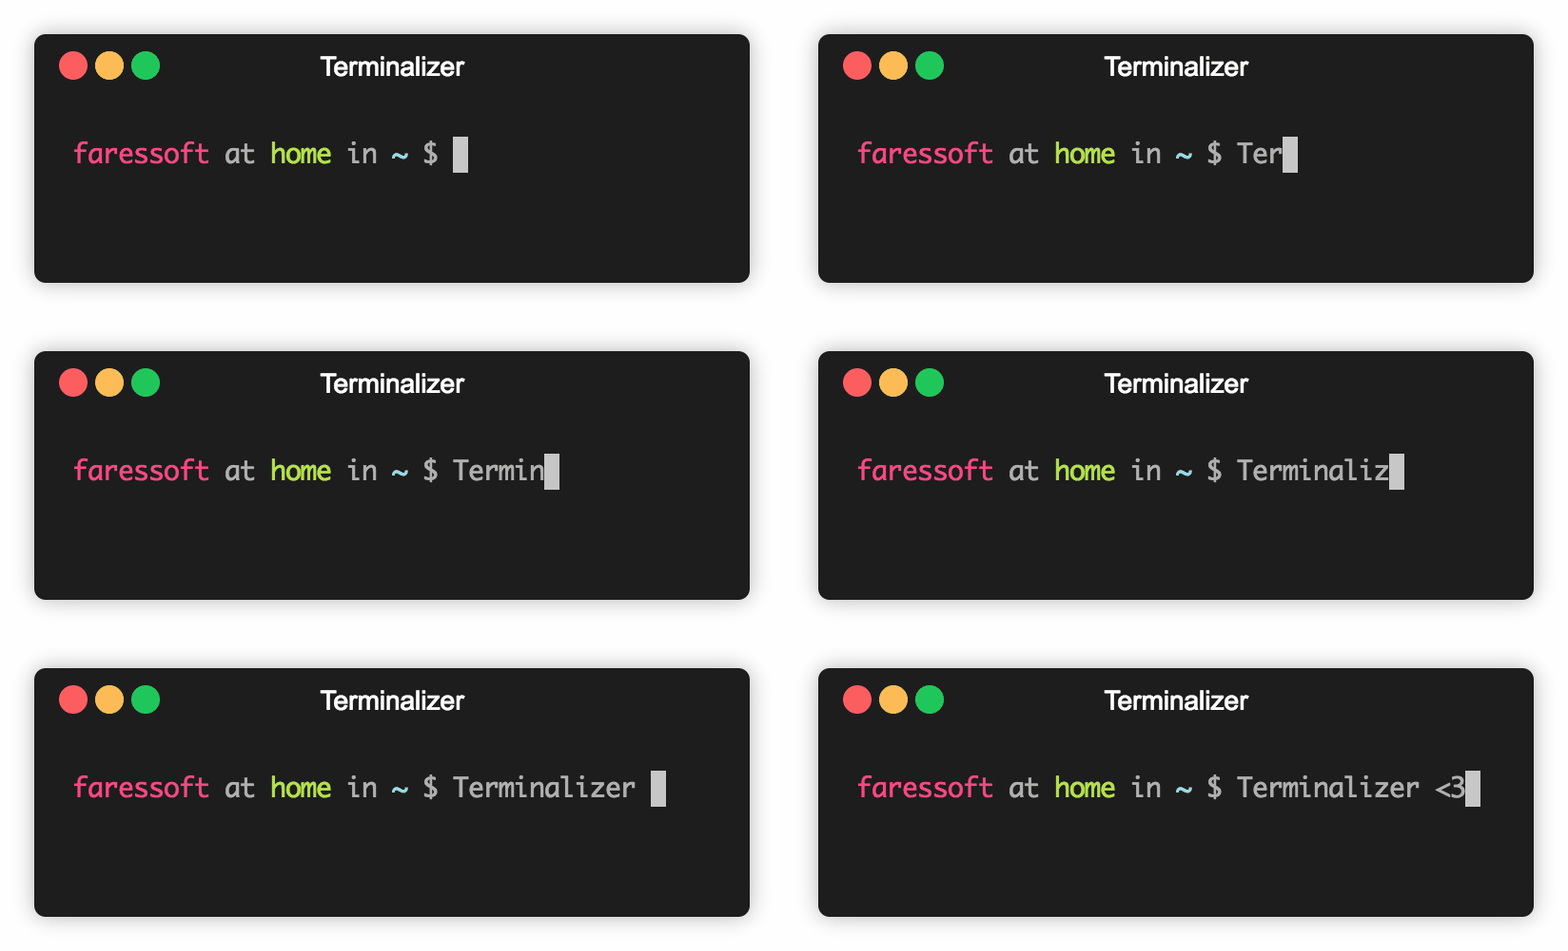
frameBox:
  type: floating
  title: Terminalizer
  style: []
Solid Frame
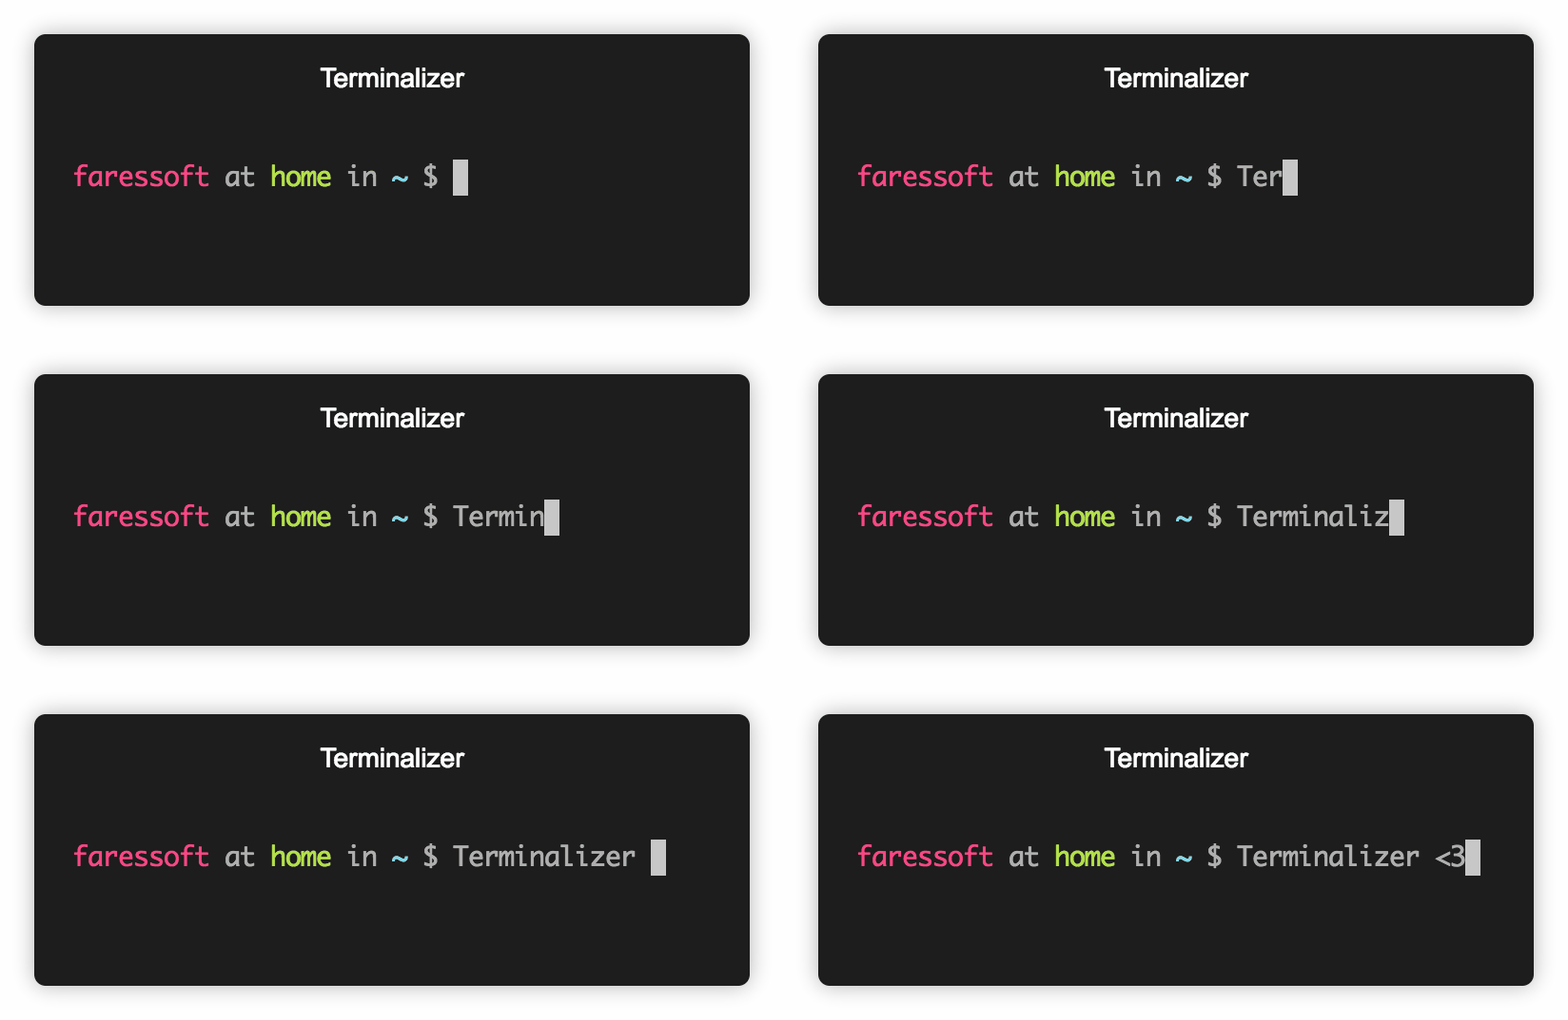
frameBox:
  type: solid
  title: Terminalizer
  style: []
Solid Frame Without Title
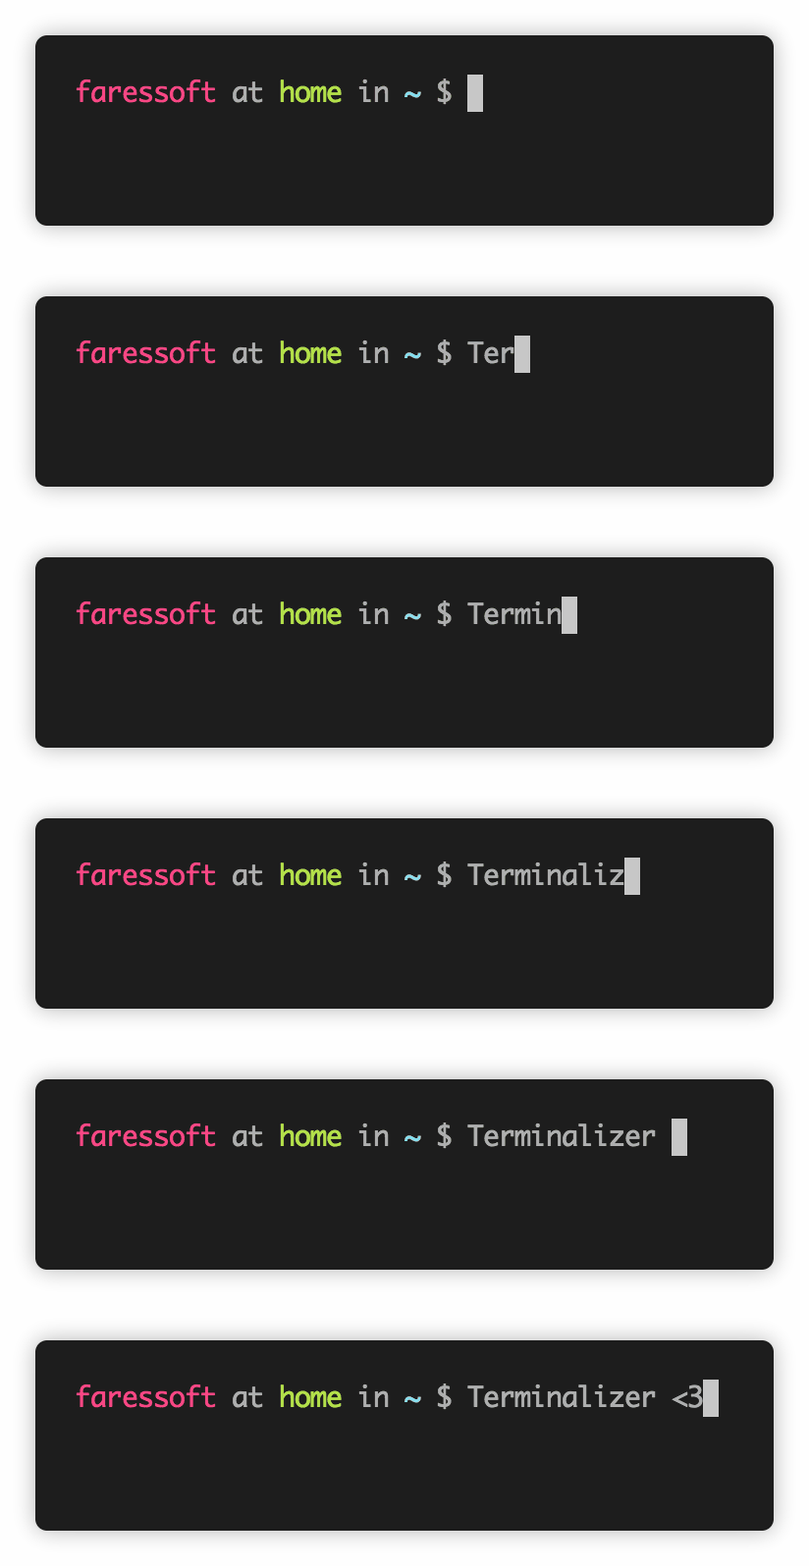
frameBox:
  type: solid
  title: null
  style: []
Styling Hint
You can disable the default shadows and margins.
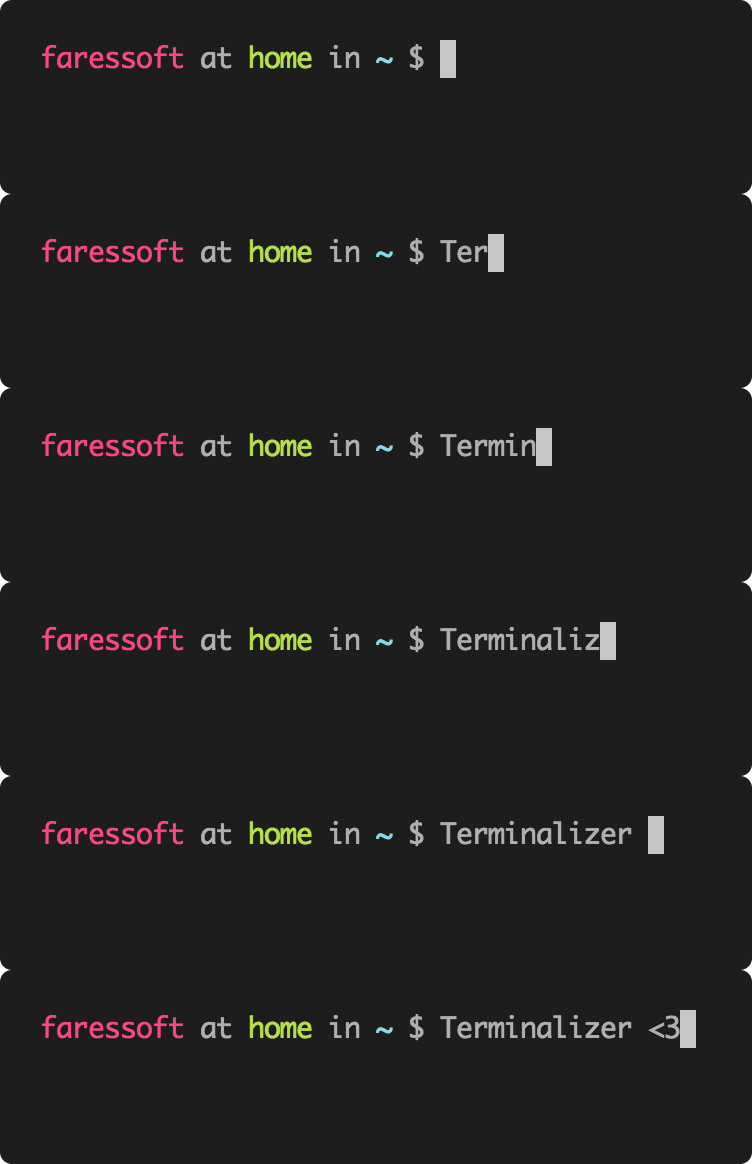
frameBox:
  type: solid
  title: null
  style:
    boxShadow: none
    margin: 0px
FAQ
How to support ZSH
The default command that gets recorded for Linux is bash -l. You need to change the default command to zsh.
- Generate a config file in the current directory
terminalizer config
- Open the generated config file in your preferred editor.
- Change the
command to zsh:
command: zsh
- You may need to change the font, check the font that is used in your terminal:
fontFamily: "Meslo for Powerline, Meslo LG M for Powerline"
- Use the
-c option to override the config file:
terminalizer record demo -c config.yml
Issues
error while loading shared libraries: libXss.so.1: cannot open shared object file: No such file or directory
Solution:
sudo yum install libXScrnSaver
error while loading shared libraries: libgconf-2.so.4: cannot open shared object file: No such file or directory
Solution:
sudo apt-get install libgconf-2-4
Error: EACCES: permission denied, access '/usr/local/lib'
Solution:
sudo mkdir -p /usr/local/lib/node_modules && sudo chown -R $(whoami):$(whoami) /usr/local/lib/node_modules

# then use the install command in the "Installation" section above
yarn global add terminalizer
License
This project is under the MIT license.

 Terminalizer 是一个命令行工具,可以录下你的终端会话,并把它变成 GIF 动图,或者给你一个在线播放器的链接,方便分享。