


16.5K ·GitHub
这是什么?
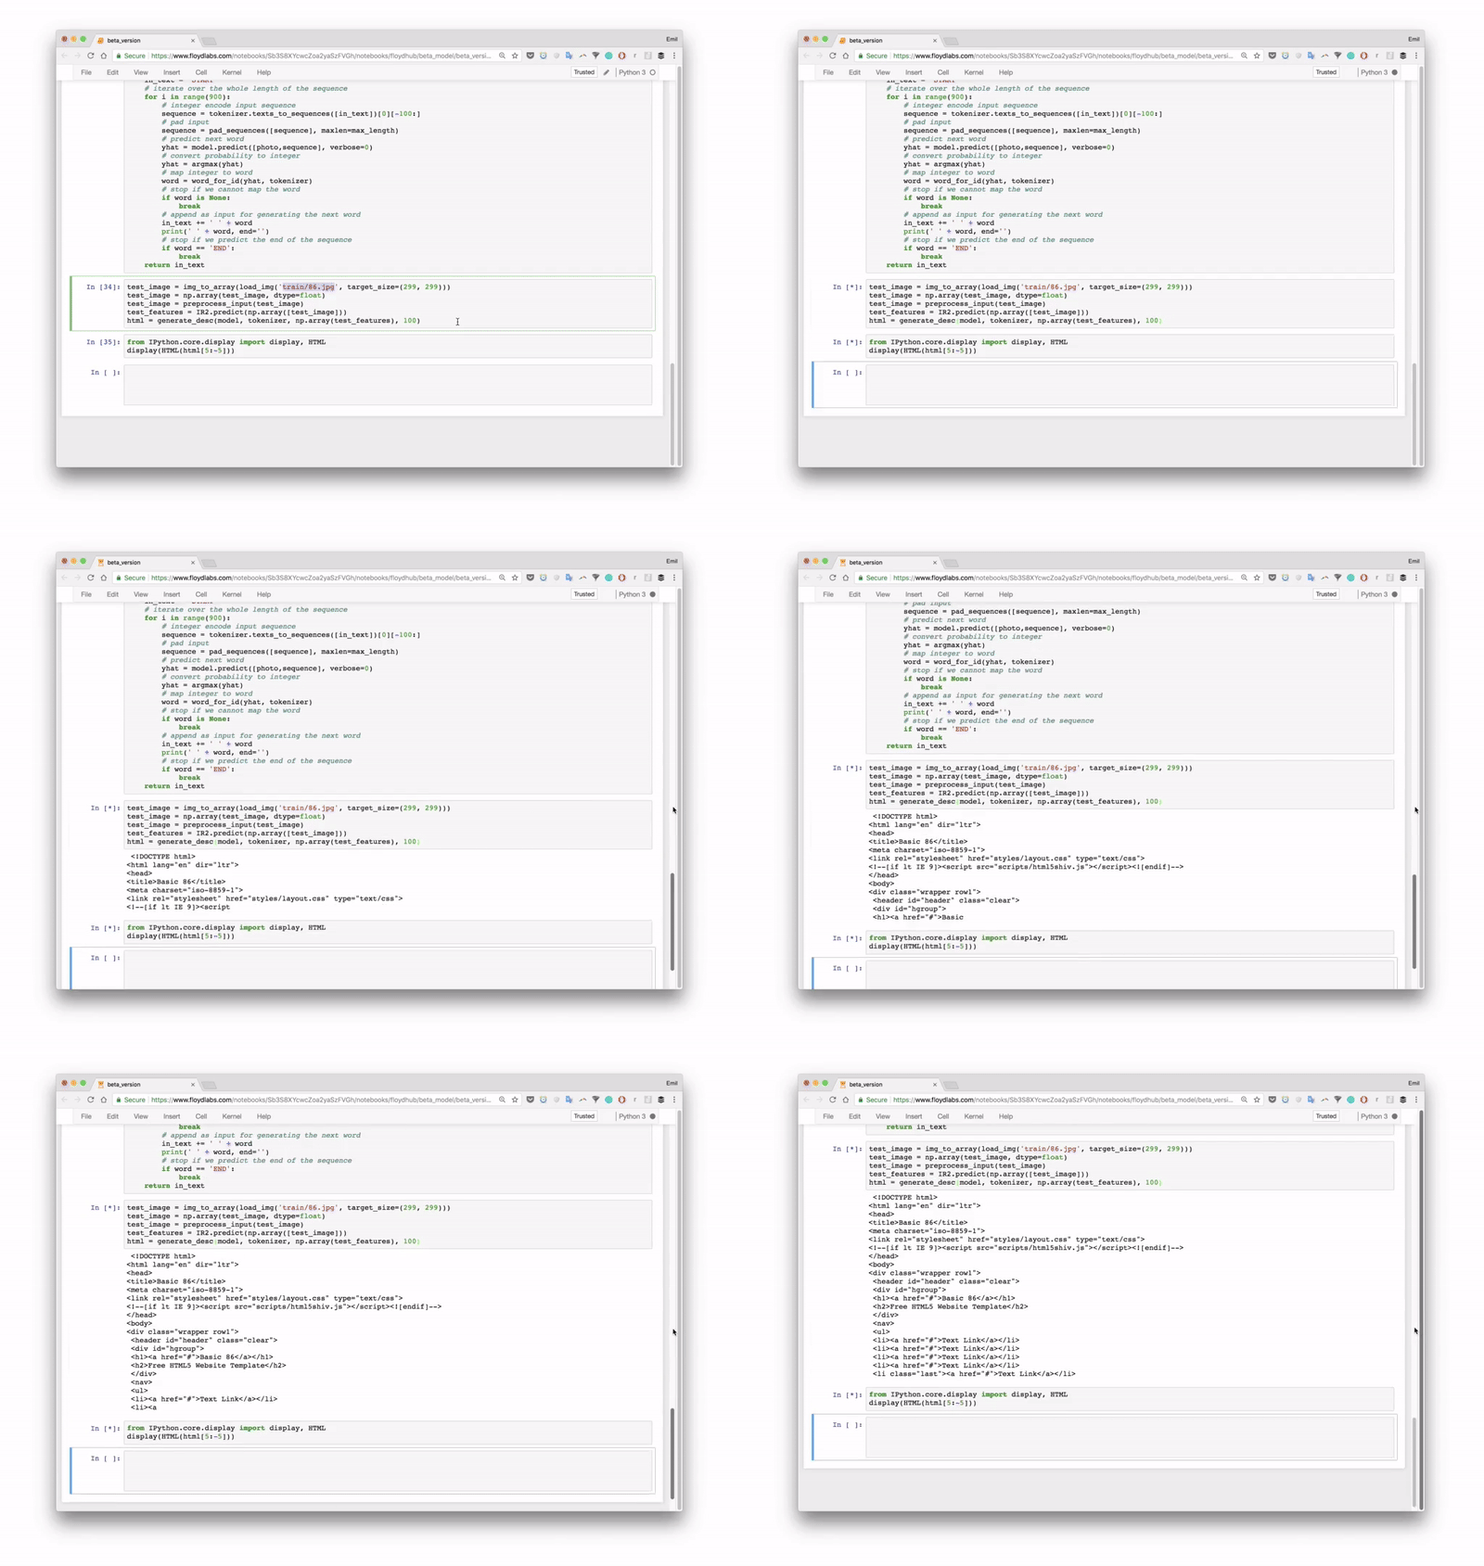
 一个神经网络,能把设计稿图片转换成静态网站的 HTML 代码——把生成的代码渲染出来,就能还原出原来的设计。
一个神经网络,能把设计稿图片转换成静态网站的 HTML 代码——把生成的代码渲染出来,就能还原出原来的设计。这是一个能接入我工作流程的应用,还是一个学习项目?这是一个学习项目,不是生产工具:Keras 模型放在 Jupyter 笔记本里,还配有一篇教程,讲解代码是如何工作的。
这是一个学习项目,不是生产工具:Keras 模型放在 Jupyter 笔记本里,还配有一篇教程,讲解代码是如何工作的。我怎么把它跑起来?两种方式:点击 FloydHub 按钮,获得一个带环境、数据集和训练好模型的现成工作区;或者在 Jupyter 中打开本地 .ipynb 笔记本,运行 Cell > Run all。
两种方式:点击 FloydHub 按钮,获得一个带环境、数据集和训练好模型的现成工作区;或者在 Jupyter 中打开本地 .ipynb 笔记本,运行 Cell > Run all。在本地运行它,我的电脑上需要装什么?只需一套 Jupyter 环境就行——模型都是 Keras 笔记本。Bootstrap 版本自带一个小型测试集;要用完整数据,就得另外下载数据集。
只需一套 Jupyter 环境就行——模型都是 Keras 笔记本。Bootstrap 版本自带一个小型测试集;要用完整数据,就得另外下载数据集。我能把自己画的设计稿喂给它吗?只有 Bootstrap 版本能泛化到新的设计稿,而且它是在一个小而同质的数据集上训练的——README 中提醒说,很难说它在更复杂的布局上表现如何。
只有 Bootstrap 版本能泛化到新的设计稿,而且它是在一个小而同质的数据集上训练的——README 中提醒说,很难说它在更复杂的布局上表现如何。这种方法是怎么来的?这些模型基于 Tony Beltramelli 的 pix2code,并受到 Airbnb 的 sketching interfaces 和哈佛的 im2markup 的启发。IBM 通过其 PowerAI 平台提供了算力支持。
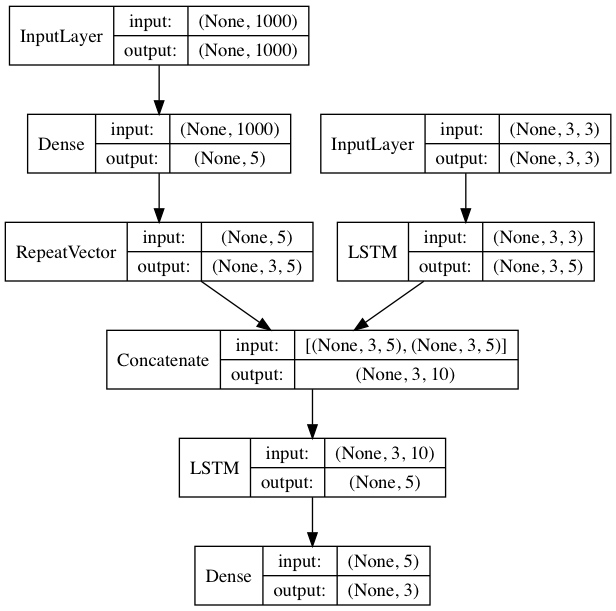
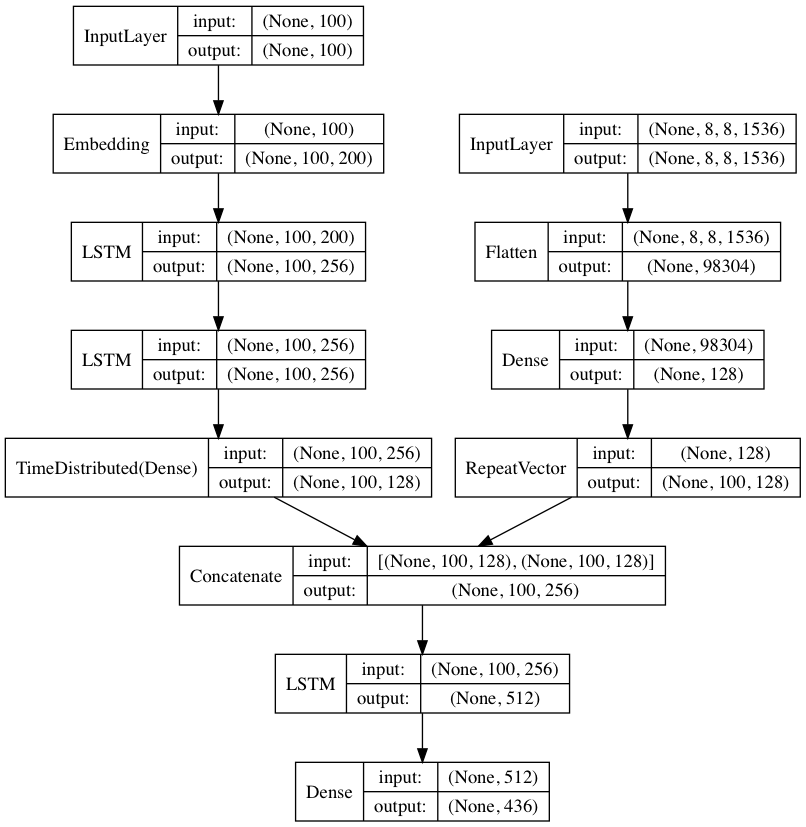
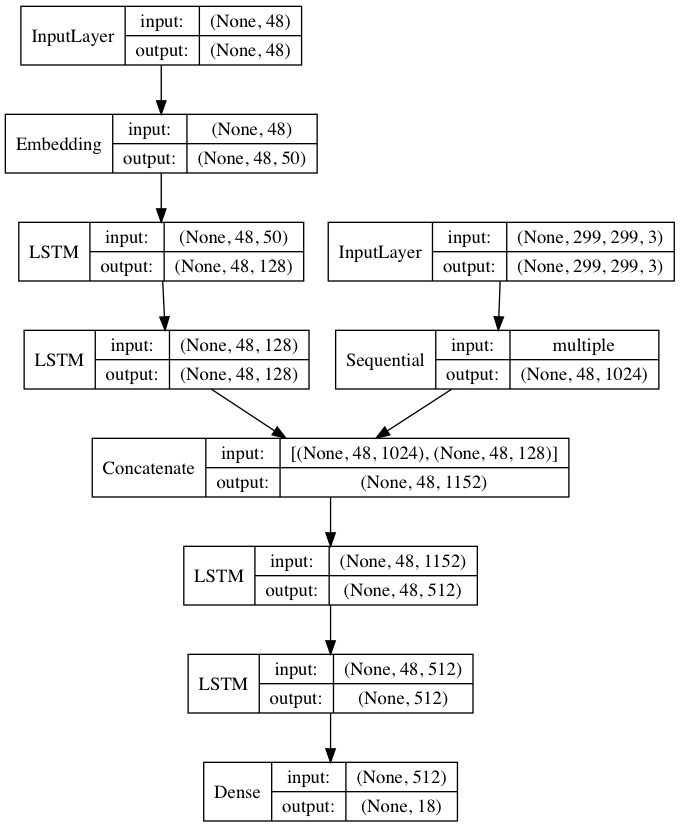
这些模型基于 Tony Beltramelli 的 pix2code,并受到 Airbnb 的 sketching interfaces 和哈佛的 im2markup 的启发。IBM 通过其 PowerAI 平台提供了算力支持。哪种模型架构效果最好?用 GRU 代替 LSTM——表现最好的模型使用 GRU,仓库中附带的预训练 Bootstrap 权重也是基于 GRU 的。
用 GRU 代替 LSTM——表现最好的模型使用 GRU,仓库中附带的预训练 Bootstrap 权重也是基于 GRU 的。如果我想看懂代码,有详细的讲解吗?有——作者写了一篇详细教程《Turning design mockups into code with deep learning》,讲解了本仓库中的代码。
有——作者写了一篇详细教程《Turning design mockups into code with deep learning》,讲解了本仓库中的代码。What are similar projects?TensorFlow-Examples, DeepLearning, EasyOCR, Mask_RCNN, machine-learning-zoomcamp, 100-Days-Of-ML-Code, High-Angle_Robust_Fast_FaceAlignment, homemade-machine-learning
TensorFlow-Examples, DeepLearning, EasyOCR, Mask_RCNN, machine-learning-zoomcamp, 100-Days-Of-ML-Code, High-Angle_Robust_Fast_FaceAlignment, homemade-machine-learningWhich topics is it in?lstm, keras, cnn, jupyter, jupyter-notebook, code-generation, dataset, neural-network, computer-vision, html, tutorial, deep-learning
lstm, keras, cnn, jupyter, jupyter-notebook, code-generation, dataset, neural-network, computer-vision, html, tutorial, deep-learning