LoomFlow
English | 中文

A lightweight AI workflow builder for individuals and small teams.
An AI-native workflow runtime with built-in evaluation, evolution, and quality gates.
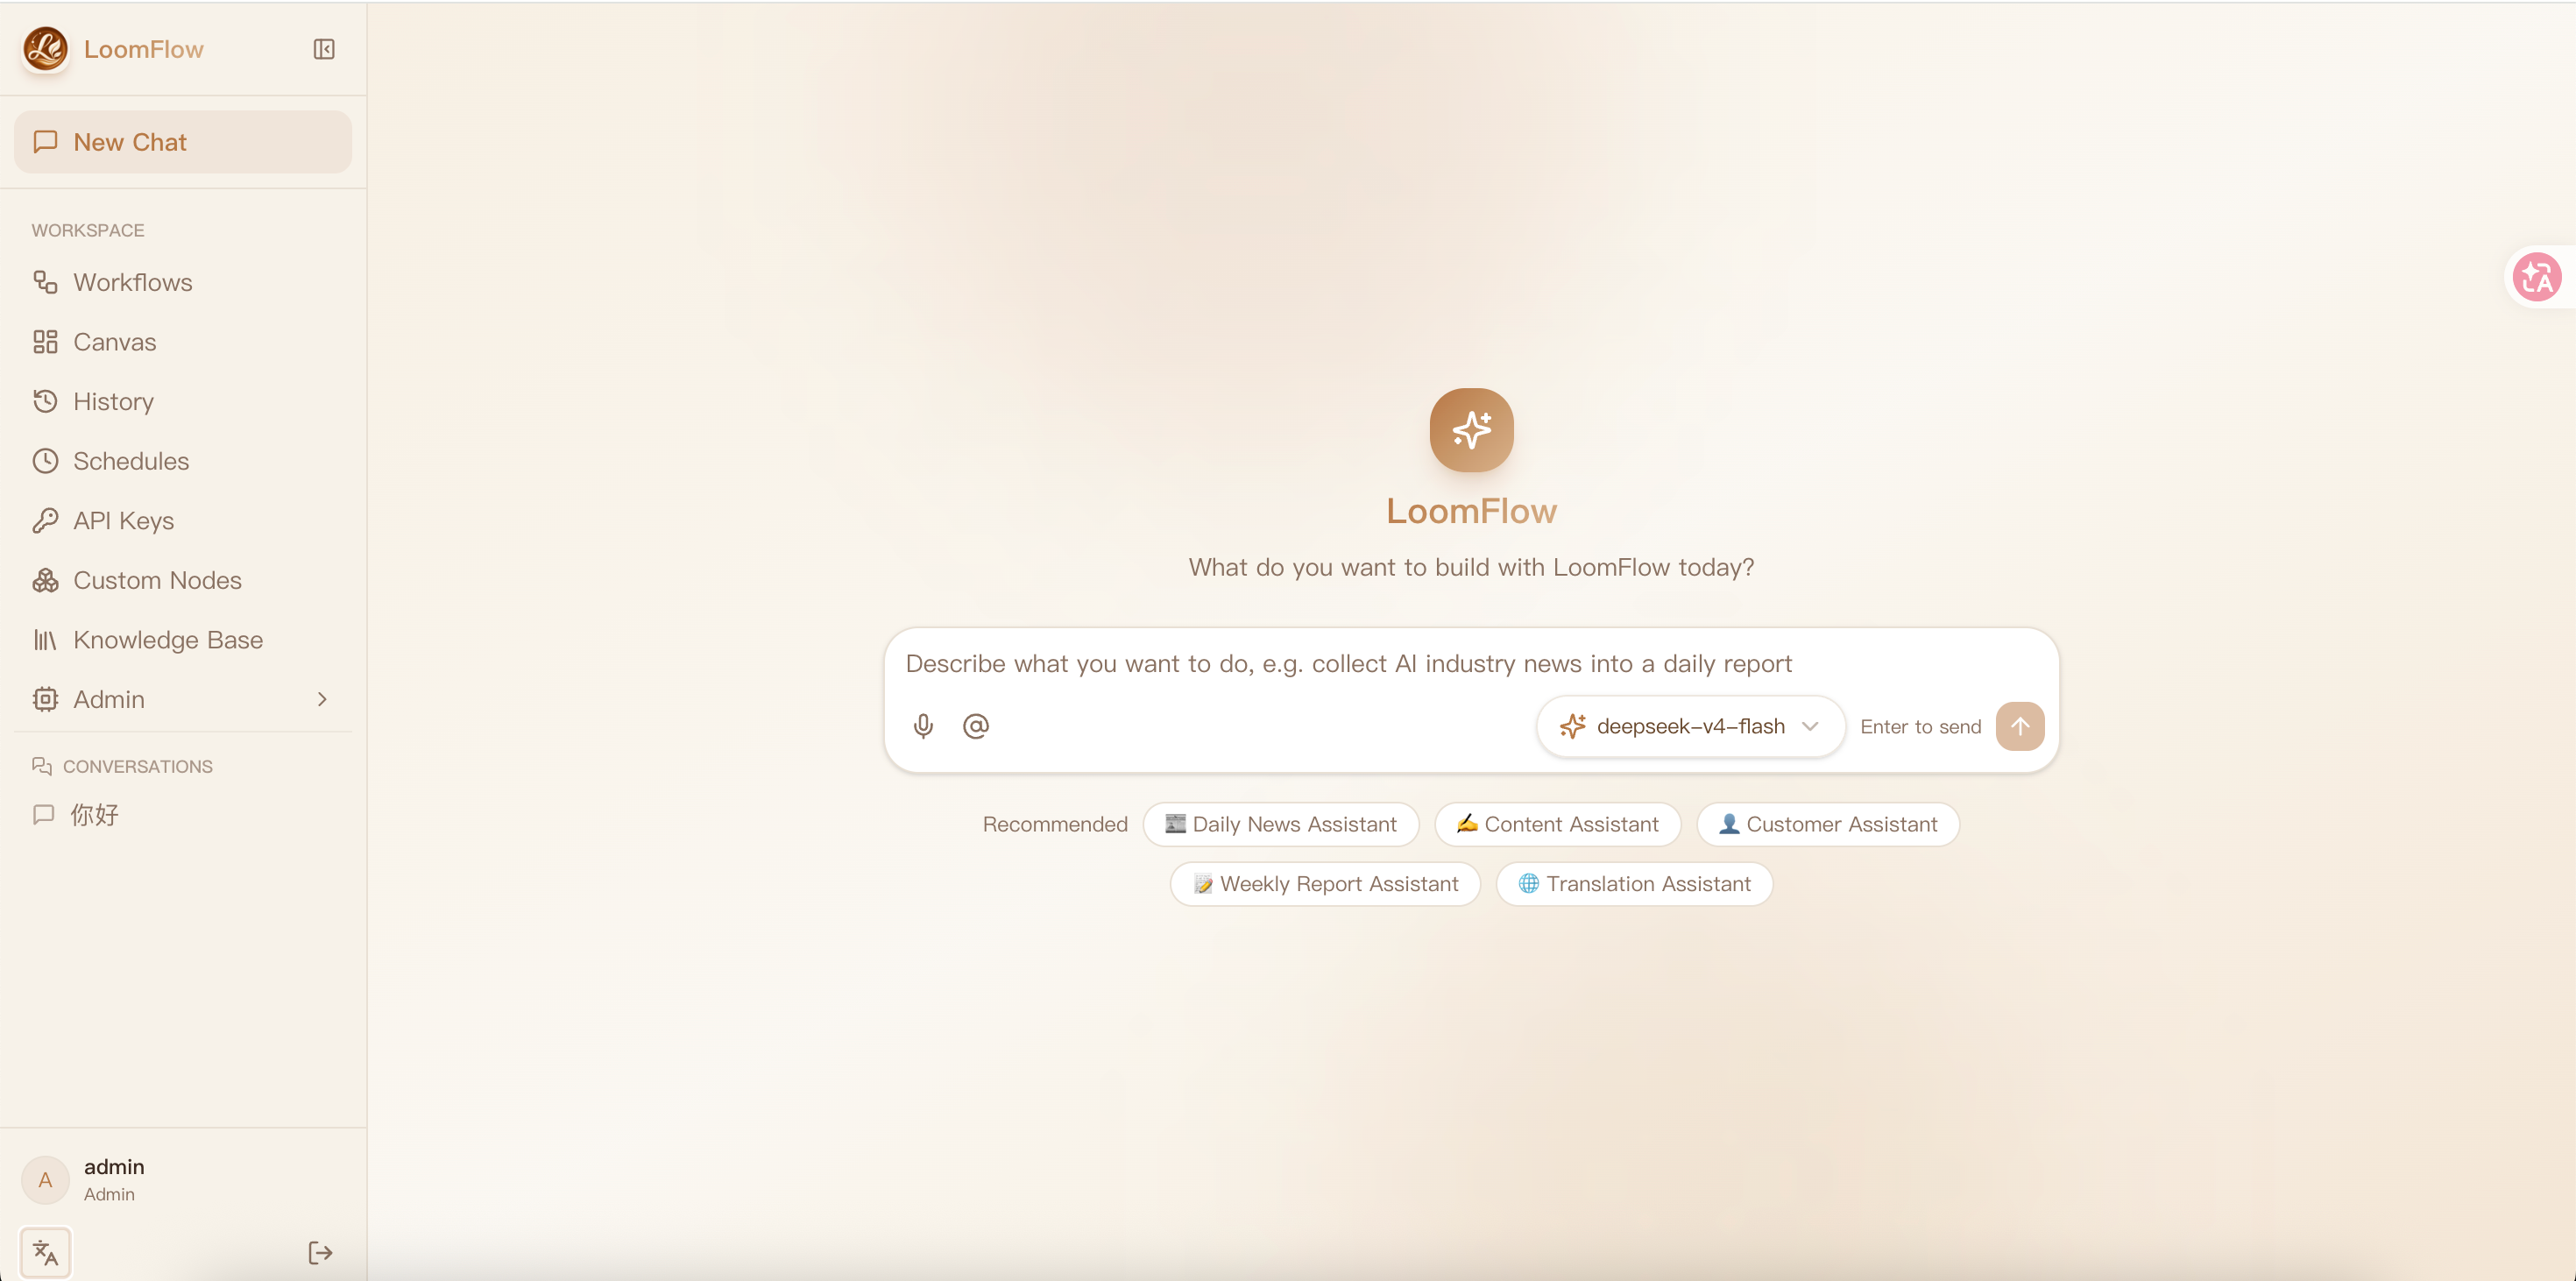
Describe your idea in natural language → generate a runnable workflow → customize it on a visual canvas → publish it as an API.
Everyone should be able to create their own AI automation flows.
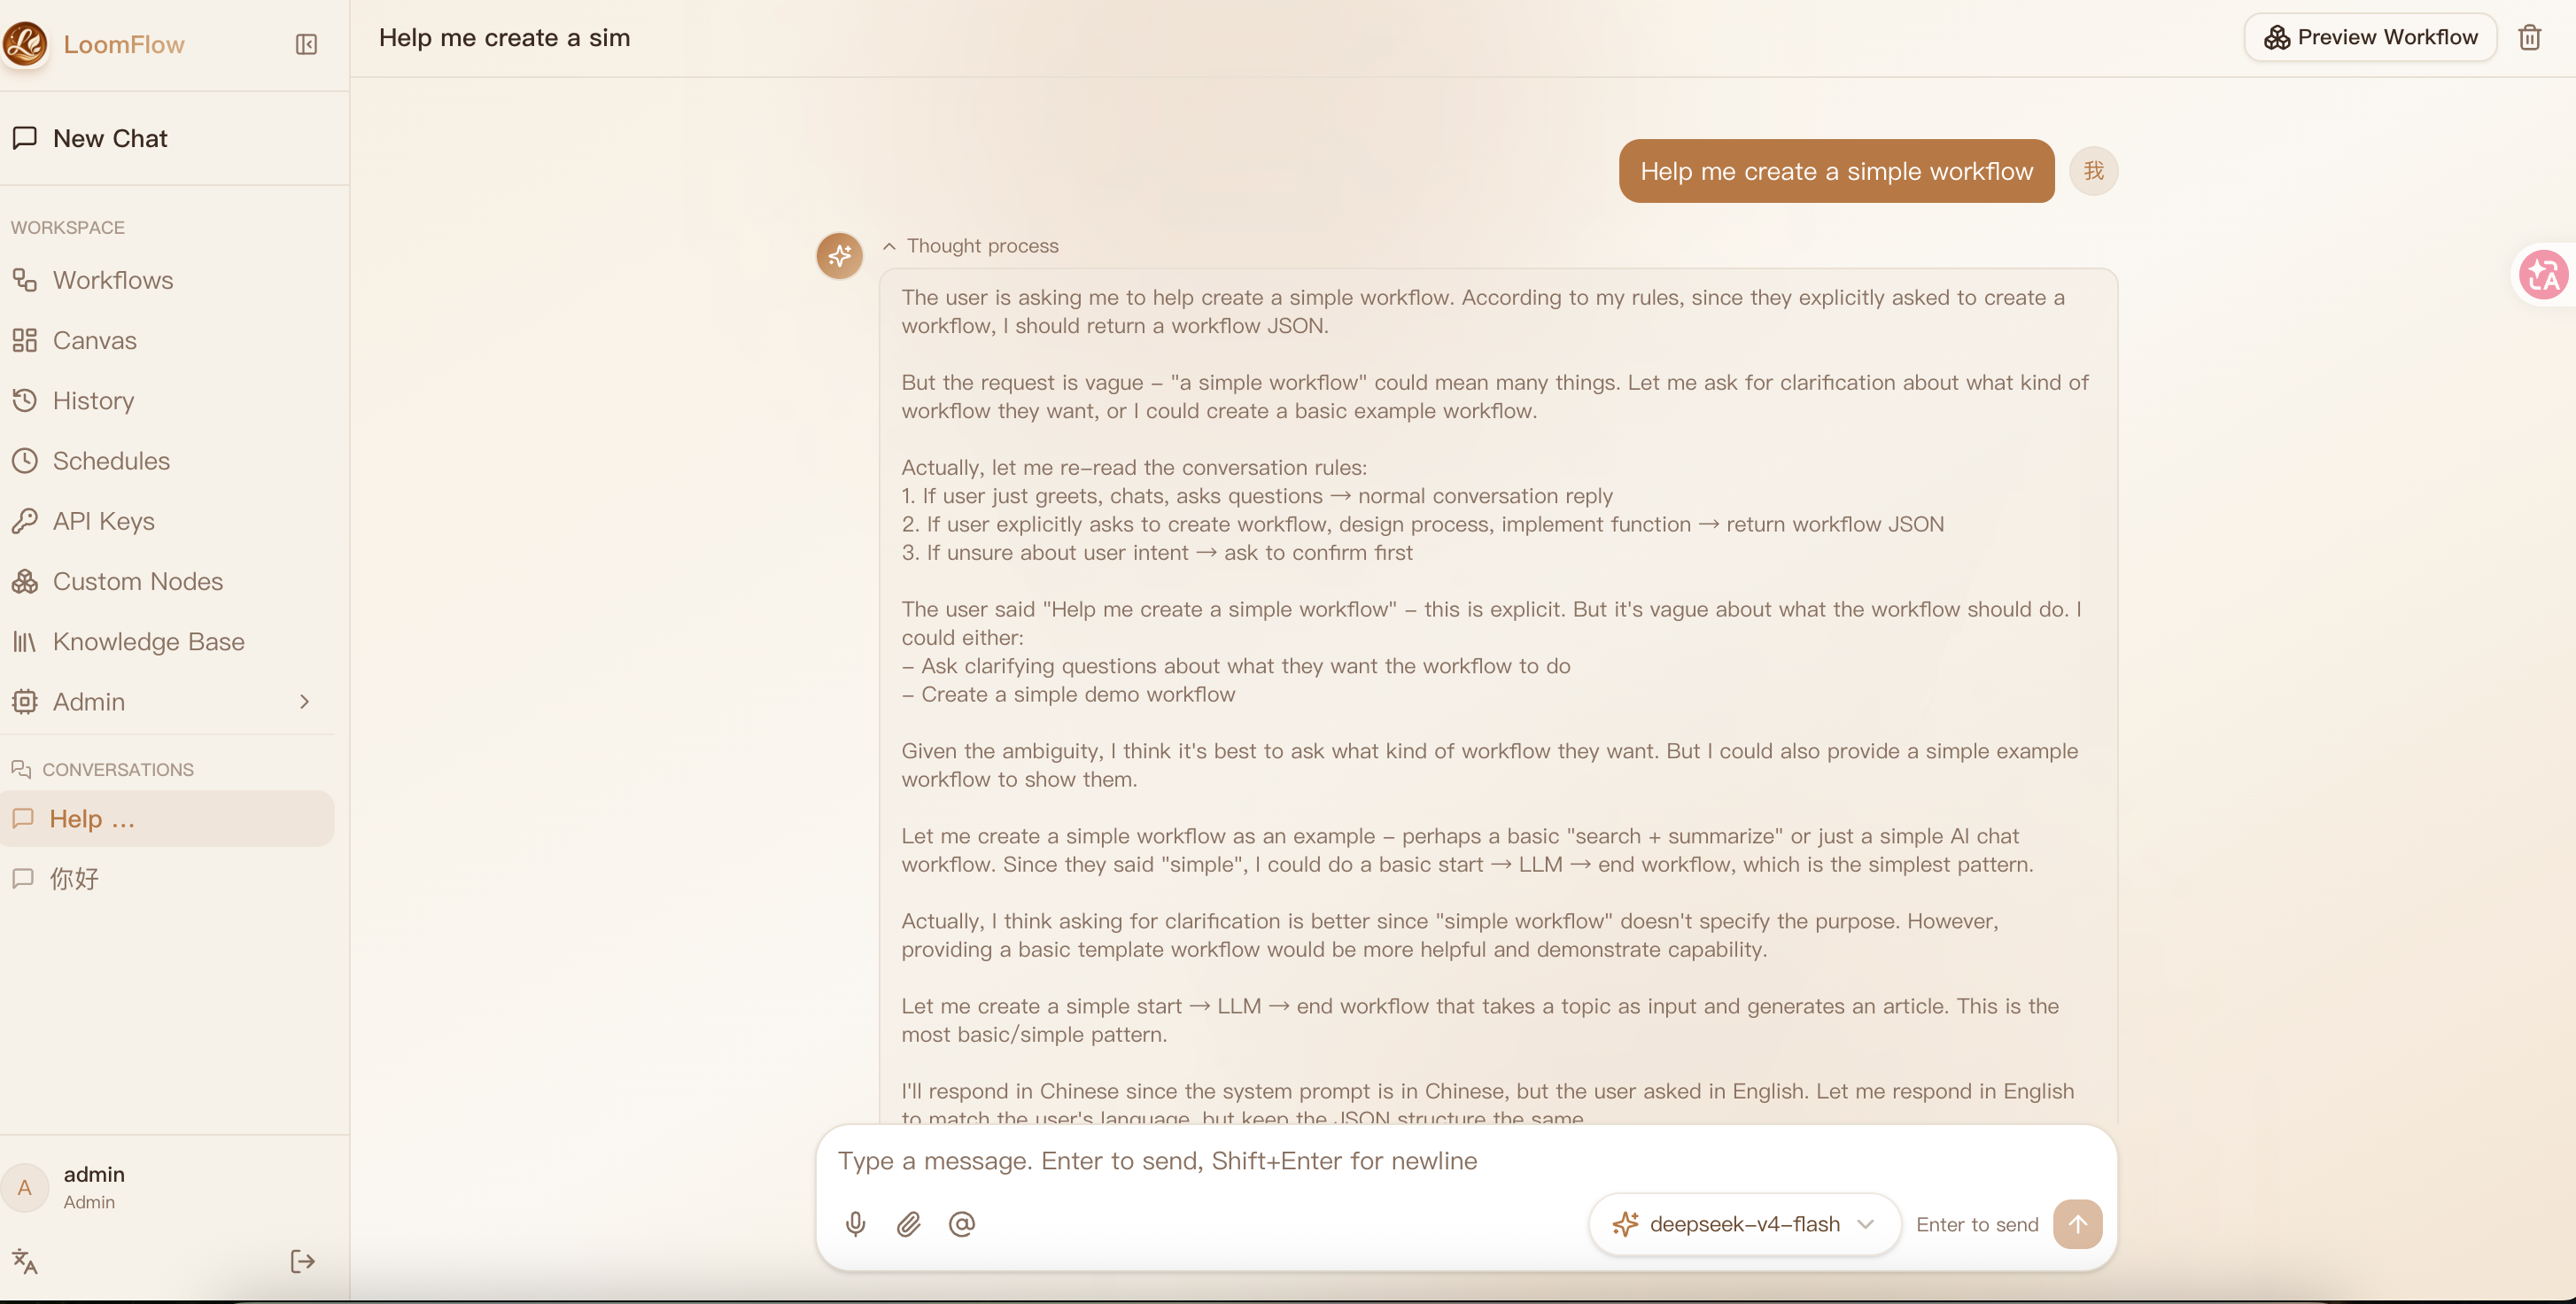
📸 Screenshots
🎯 Who is it for?
- ✅ Indie developers — ship an AI feature without building an orchestration platform
- ✅ Content creators — turn recurring production steps into one-click automated flows
- ✅ Small studios — deliver demos and client work faster with shareable, runnable flows
- ✅ AI automation enthusiasts — prototype your idea in minutes, then deploy it for real
🤔 Why LoomFlow instead of Dify / n8n?
|
LoomFlow |
Dify |
n8n |
| Getting started |
Natural language → runnable workflow, seconds to start |
Templates / manual setup, enterprise-grade LLM app platform |
Drag nodes manually, AI is just one of many node types |
| Positioning |
Lightweight · individuals / small teams · AI-first |
Heavy: RAG / knowledge bases / team collaboration / complex deployment |
General automation, many node types |
| Deployment |
One-command Docker self-hosting (1 GB RAM is enough) |
Heavy |
Moderate |
| Output |
One-click publish as an authenticated HTTP API + share pages |
App / workflow centric |
Webhook / API |
In one sentence: Dify builds LLM app platforms for teams, n8n does general automation for everyone — LoomFlow turns "one sentence" into a runnable, publishable workflow for individuals and small teams. It doesn't chase comprehensiveness — it pursues a 30-second learning curve and a one-minute deployment.
Scope: LoomFlow is not an AI coach, a personal-growth app, or a coding-practice platform. It stays deliberately narrow — one pipeline: natural language → workflow → canvas → API. Anything that doesn't serve that loop is kept out of the core product.
✨ Highlights
💬 Natural Language → Workflow
No drag-and-drop required to start — just describe your process in plain language, and the AI generates an executable workflow directly onto the canvas:
You: "Build me a workflow: input a product name → AI generates selling-point copy → generates a promo video script"
AI: ✅ Generated a 4-node workflow (Start → LLM Copy → LLM Script → End), loaded to canvas
Then fine-tune visually and publish as an API.
🎨 Visual Canvas
Tinyflow canvas editor: drag nodes, connect flows, configure parameters. 12 node types (LLM / HTTP / Code / Template / Search / Excel / Loop / Human Confirm, etc.).
🚀 Workflow as API
One-click publish a workflow as an HTTP endpoint — one global API Key calls all of your published workflows, with unlimited calls and call logs:
curl -X POST https://your-host/api/publish/{workflowId}/execute \
  -H "Authorization: Bearer ffk_xxxxx" \
  -H "Content-Type: application/json" \
  -d '{"inputs": {"query": "..."}}'
The API Key is auto-generated on first publish and shown only once; when it expires, regenerate it on the API Keys page.
🔗 Shareable Workflow Pages
Generate a public link — recipients can view nodes, fill inputs, and run the workflow without signing in. Perfect for demos and delivery.
🏢 Team & Permissions
- Full data isolation (including admin)
- No call limits — chat & API calls are unlimited
- Audit logs for all critical operations
📊 Admin Dashboard
User management, usage statistics (trends), audit logs, API call logs.
🌐 Internationalization
Chinese/English one-click switch (framework supports any language).
🔒 Self-Hosted & Private
App, data, and storage can all be deployed on your own server. Database can be switched to self-hosted PostgreSQL (see Deployment Manual).
🧩 Extensible Node System
NodeRegistry + NodeDefinition — a single source of truth for nodes. Custom nodes can be registered with one entry, with automated validation (executor binding, start/end singleton).
📝 Brew Notes (Workflow Notes)
Record why a workflow is designed this way — decisions, problems, solutions, optimizations and usage. AI can summarize design intent, suggest notes from run history, and the canvas AI assistant answers "why did I choose X" from your notes.
🕵️ Execution Trace & Debug Assistant
Node-level execution trace after each run: per-node status, duration, model, tokens and errors in a timeline — see exactly where a workflow got stuck. The canvas AI assistant reads run history and answers "why did this run fail" with root cause and fix suggestions.
🤖 Canvas AI Assistant
Chat with the canvas: ask about the current workflow, describe a change ("add a summarizer after search"), and the AI outputs a complete workflow JSON you apply to the canvas in one click.
🧠 Bring Your Own Model
Add any model (DeepSeek / Ark / any OpenAI-compatible endpoint) through the admin UI — no code changes:
- Per-model API key & base URL (overrides environment defaults)
- Declare capabilities (text / vision / ...) — vision models enable image input automatically
- Canvas & chat model lists sync instantly after adding
Admin → Model Settings → Add Model
  id: qwen-vl-max · provider: openai-compatible
  base URL: https://... · api key: sk-...
  capabilities: [text, vision]  →  ✅ instantly available everywhere
🔄 Workflow Evolution Engine
Workflows continuously improve — without manual intervention. The Evolution Engine automatically detects performance regressions and proposes optimizations:
- Trigger rules: scheduled (cron), metric-based (latency +30%, failure rate > threshold), event-based (N consecutive failures)
- Regression detection: automatic baseline comparison (version / production / rolling) across 5 metrics (success rate, failure rate, P95 latency, cost, test score) with relative + absolute thresholds
- AI analysis: metrics → bottleneck detection → static analysis → AI generates optimization patch
- Human approval: proposals require explicit user confirmation before modifying production workflows
- Evolution history: full traceability — trigger → analysis → proposal → decision → version change → outcome (before/after metrics)
- Full audit trail: every trigger, analysis, and decision is recorded in evolution events
Evolution Dashboard → Workflow Health (score, trend, bottlenecks)
  → AI Proposals (view diff, approve, reject)
  → Trigger Rules (create cron / metric / event triggers)
  → Regression Detection (baseline vs candidate, 5 metrics, severity policy)
  → Evolution History (timeline, before/after outcome, version diff)
🏗️ Architecture
flowchart TB
    subgraph Client["Clients"]
        Browser["Browser — Next.js frontend<br/>AI Chat / Canvas / Admin / Share"]
        External["External systems<br/>curl / API consumers"]
    end

    subgraph App["LoomFlow App (Next.js)"]
        UI["App Router pages<br/>Chat / Workflows / Admin / Share"]
        API["API Routes<br/>auth / chat-ai / workflow-history / publish / api-key<br/>search-providers / nodes / schedules"]
        Engine["Workflow engine<br/>FlowEngine + NodeRegistry + Executors"]
        Registry["Registries<br/>Model Registry · Search Provider Registry"]
    end

    subgraph Data["Data layer"]
        PostgREST["PostgREST"]
        PG[("PostgreSQL<br/>conversations / workflow_history / workflow_versions<br/>user_api_keys / ai_models / search_providers<br/>node_definitions / audit_logs ···")]
    end

    subgraph ExternalSvc["External services"]
        LLM["LLM Providers<br/>DeepSeek / any OpenAI-compatible endpoint"]
        OSS["Object storage<br/>Aliyun OSS / S3-compatible"]
        Search["Search Providers<br/>Tavily / Exa / Google"]
    end

    Browser --> UI
    External -->|"Authorization: Bearer API Key"| API
    UI --> API
    API --> Engine
    API --> Registry
    API --> PostgREST --> PG
    Engine --> LLM
    Engine --> Search
    API --> OSS
How it flows: describe a process in natural language → AI generates a workflow (validated & auto-repaired) → edit on the visual canvas → save as versioned history → publish a chosen version as a secured HTTP API (one global API key per user) → external systems call it with Authorization: Bearer <key>.
Docker self-hosted deployment:
flowchart LR
    User["User"] -->|":5000"| App["loomflow app"]
    App -->|"http://nginx:80/rest/v1"| Nginx["Nginx reverse proxy"]
    Nginx --> PostgREST["PostgREST"]
    PostgREST --> PG[("PostgreSQL 16<br/>volume: loomflow-pgdata")]
    Mig["migration container<br/>idempotent SQL on every `up`"] -.-> PG
🚀 Quick Start
🐳 Docker (recommended, one-click self-hosted)
Includes PostgreSQL + PostgREST + Nginx — fully self-contained, no Supabase cloud required.
git clone https://github.com/banmu123/LoomFlow.git
cd LoomFlow
bash scripts/init-env.sh   # one-time: creates .env with random passwords & JWT keys
docker compose up -d   # auto-initializes database (tables + default admin)
After deployment, add your AI model in the UI (no env keys needed):
- Open http://localhost:5000 → sign in (
admin / 123456, change immediately)
- Admin → Model Settings → Add Model (e.g. DeepSeek: model ID + API Key, or any OpenAI-compatible endpoint)
- Optional: Search Providers / Storage settings in Admin
- Access: http://localhost:5000
- Default admin:
admin / 123456(⚠️ change after first login)
- Data persists in Docker volume; logs:
docker compose logs -f loomflow
- Stop:
docker compose down — full guide: docs/docker-deploy.md
🧑💻 Local Development
Requirements: Node.js ≥ 20.9, pnpm 9+, a Supabase project.
# 1. Install dependencies
pnpm install

# 2. Configure environment
cp .env.example .env.local
Environment variables (where to get them):
| Variable |
Where to get |
COZE_SUPABASE_URL |
Supabase → Project Settings → API |
COZE_SUPABASE_SERVICE_ROLE_KEY |
Supabase → Project Settings → API (service_role) |
DEEPSEEK_API_KEY |
platform.deepseek.com → API Keys |
AUTH_SECRET |
openssl rand -hex 32 |
# 3. Initialize database — Database Setup Checklist
#    Create Supabase project → SQL Editor → run in order:
#    ① scripts/supabase-init.sql
#    ② scripts/supabase-users.sql   ← ⚠️ set your own admin password BEFORE running
#    ③ scripts/supabase-updates.sql
#    ④ scripts/supabase-apikeys.sql  ← global API Key table (idempotent)
#    ⑤ scripts/supabase-versions.sql
#    ⑥ scripts/supabase-publish-version.sql
#    ⑦ scripts/supabase-knowledge.sql
#    ⑧ scripts/supabase-settings.sql
#    Verify tables: conversations / messages / workflow_history / users / ai_models / search_providers ...
#    💡 Docker self-hosting runs ①-⑧ automatically (initdb + migration container) — no manual SQL

# 4. Start
pnpm dev
Open http://localhost:5000.
⚠️ Security: the initial admin account password is set inside supabase-users.sql — change it to a strong password before the first deployment. It cannot be auto-forced, so treat this as a required step.
🚀 Production / Self-Host
Full guide: docs/config/Deployment-Manual.md
Docker Compose (recommended) — fully self-contained (app + PostgreSQL + PostgREST + Nginx + migration), one-command updates from your local machine:
SERVER_IP=your-server ./scripts/deploy-docker.sh
# 1/6 sync code → 2/6 extract → 3/6 migration + grant self-check
# 4/6 rebuild & restart → 5/6 wait healthy → 6/6 verify version & db
Minimum server: 1 CPU / 1 GB RAM / Ubuntu 20.04+ / Node ≥ 20.9.
🗄️ Self-Hosted PostgreSQL
Switch from Supabase cloud to your own PostgreSQL via Docker self-hosted Supabase — zero code changes. See Deployment Manual §11.
✅ Post-Deploy Verification
curl http://localhost:5000/api/health
# {"status":"ok","service":"loomflow","version":"v0.1.9","db":"ok",...}
Checklist:
- ✅
http://localhost:5000 opens (login page)
- ✅ Sign in with admin account
- ✅ Workflow canvas loads
- ✅ Create a simple workflow → save
- ✅ Publish as API → call it with the API key
☁️ Vercel Serverless (Online Demo)
LoomFlow supports Vercel deployment for online demos and quick体验。
# 1. Fork/Import the repo on Vercel
# 2. Set environment variables:
RUNTIME_MODE=serverless
CRON_SECRET=$(openssl rand -hex 32)
COZE_SUPABASE_URL=https://your-project.supabase.co
COZE_SUPABASE_SERVICE_ROLE_KEY=your_key
AUTH_SECRET=$(openssl rand -hex 32)
# 3. Deploy
Vercel Cron automatically calls /api/cron/scheduler (every 10min) and /api/cron/evolution (every 30min) to replace the built-in scheduler.
Limitations: No long-running tasks, no built-in worker. Best for demos and evaluation. For production, use Docker self-host.
Full comparison: docs/deployment-modes.md
📚 Documentation
🏗️ Tech Stack
| Layer |
Technology |
| Frontend |
Next.js 16 (App Router) + React 19 + Tailwind CSS 4 + shadcn/ui |
| Canvas |
@tinyflow-ai/ui |
| AI |
AI SDK v7 + DeepSeek (OpenAI-compatible, switchable to any model) |
| Database |
Supabase (PostgreSQL) / self-hosted PostgreSQL |
| Desktop |
Tauri 2 + SQLite (local-first, offline-capable) |
| Storage |
Aliyun OSS / S3-compatible |
| Deployment |
Docker Compose self-hosting (one-command) + deploy script |
📁 Project Structure
src/
├── app/                  # Pages & API routes
│   ├── (main)/           # Main UI (chat + workflows + admin)
│   ├── share/            # Public workflow share pages
│   └── api/              # Backend APIs (auth / conversations / workflow-history / publish / admin / nodes / search-providers / evolution)
├── components/           # UI components
├── lib/
│   ├── tinyflow/         # Workflow execution engine + NodeRegistry/NodeDefinition
│   ├── search/           # Search Provider Registry (Tavily / Exa / Google)
│   ├── ai/               # Model Registry (providers / capabilities / models)
│   ├── agent/            # AI chat tools (create_custom_node, knowledge, stats...)
│   ├── workflow-ai/      # AI workflow generation prompts
│   ├── workflow-eval/    # Workflow evaluation (metrics, bottleneck, static analysis, AI optimization, regression detection, baseline manager)
│   ├── workflow-copilot/ # Copilot pipeline (patch, proposal, diff, test cases)
│   ├── evolution/        # Evolution Engine (rule evaluator, trigger detector, orchestrator, scheduler, regression event)
│   ├── evolution-history/# Evolution History (timeline, outcome, aggregation, query)
│   ├── secrets.ts        # Sensitive config encryption (AES-256-GCM)
│   └── i18n.tsx          # i18n framework
├── messages/             # zh/en translations
└── scripts/              # SQL init + build/deploy scripts
🧪 Testing & CI
- Vitest — 735 unit tests (engine, schema, sandbox, executors, search providers, secrets encryption, flow trace, notes, model registry, node registry, agent tools, i18n, evolution engine, regression detection, evolution history, quality gate)
- GitHub Actions — lint + typecheck + test + production build on every push (Node 20/22 matrix)
📄 License
MIT
🙏 Credits




 LoomFlow is a lightweight AI-native workflow builder: you describe an idea in natural language, it generates a runnable workflow on a visual canvas, and you can publish that workflow as an HTTP API. It is positioned as an open-source, lightweight alternative to Dify and n8n for individuals and small teams.