

281 ·GitHub
What is this?
 ALL SET (all-set-tw) is a self-hosted personal finance hub for Taiwan that automatically syncs your bank accounts, credit cards, brokerage holdings, and government e-invoices into one dashboard, so you can stop bookkeeping by hand.
ALL SET (all-set-tw) is a self-hosted personal finance hub for Taiwan that automatically syncs your bank accounts, credit cards, brokerage holdings, and government e-invoices into one dashboard, so you can stop bookkeeping by hand.Is this something I install on my computer, or does it run online?It runs online: a web app you deploy to your own Cloudflare account (Workers plus a D1 database) and open in a desktop or mobile browser — nothing to install locally, and typical low-frequency personal use fits the free plan.
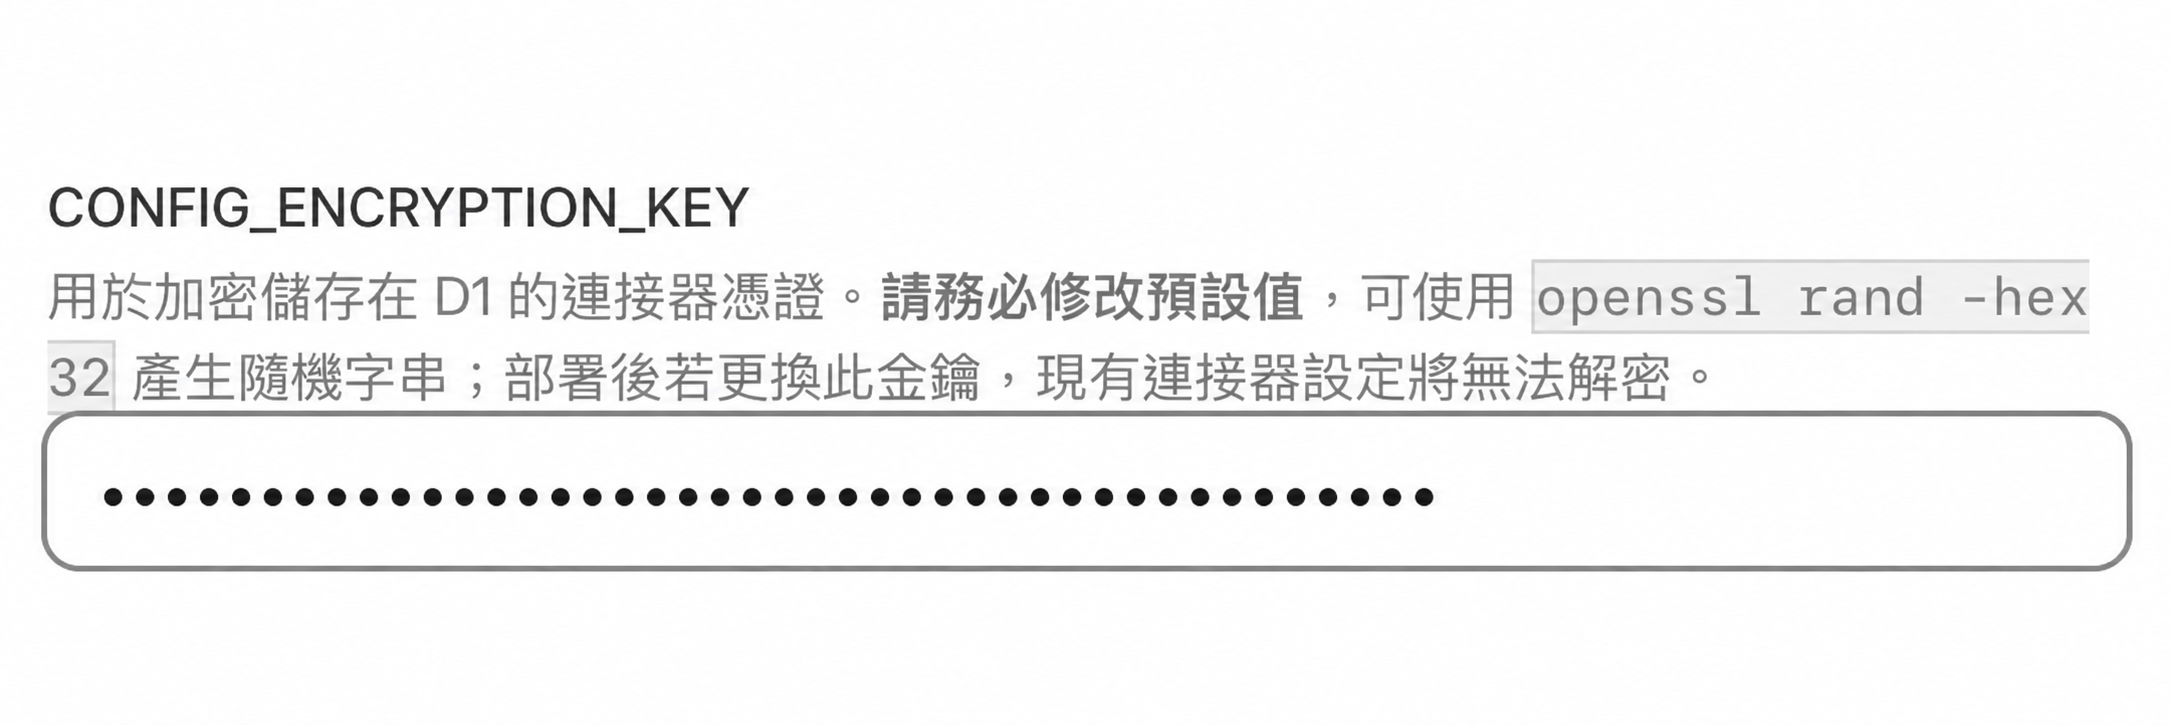
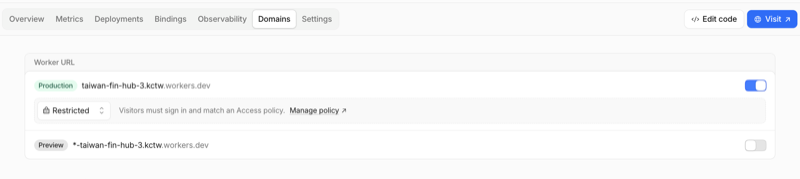
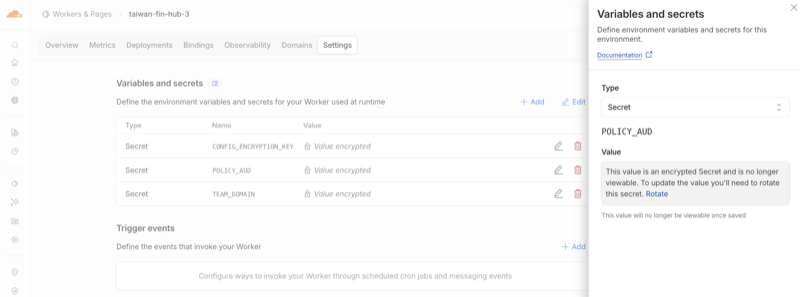
It runs online: a web app you deploy to your own Cloudflare account (Workers plus a D1 database) and open in a desktop or mobile browser — nothing to install locally, and typical low-frequency personal use fits the free plan.How do I get it running?Click the one-click Deploy to Cloudflare button: it creates a repo under your GitHub, provisions the D1 database and deploys the Worker. Then set your own random CONFIGENCRYPTIONKEY, enable Cloudflare Access login protection, and add connectors under Settings.
Click the one-click Deploy to Cloudflare button: it creates a repo under your GitHub, provisions the D1 database and deploys the Worker. Then set your own random CONFIGENCRYPTIONKEY, enable Cloudflare Access login protection, and add connectors under Settings.What do I need before deploying it?Just a Cloudflare account and a GitHub account. The Workers, D1, Queues, Workers AI and Browser Run quotas it uses all have free tiers, though exceeding limits pauses features until quotas reset.
Just a Cloudflare account and a GitHub account. The Workers, D1, Queues, Workers AI and Browser Run quotas it uses all have free tiers, though exceeding limits pauses features until quotas reset.Will the syncing always work reliably?No. Connectors depend on external web pages and app APIs, so a source redesign can break sync until an update; the system never bypasses CAPTCHA, OTP or device verification (manual steps pause sync), auto-login may interrupt your official banking sessions, and data is not an official real-time record.
No. Connectors depend on external web pages and app APIs, so a source redesign can break sync until an update; the system never bypasses CAPTCHA, OTP or device verification (manual steps pause sync), auto-login may interrupt your official banking sessions, and data is not an official real-time record.Which banks and data sources does it support?Taiwan-centric: e-invoice carriers, the TDCC passbook (brokerage balances, stock/ETF/fund holdings and trades), and about ten banks — CTBC, E.SUN, Cathay United, Taishin, SinoPac, Hua Nan, Shin Kong, O-Bank, First Bank and KGI — linked via app or web-bank logins, some with AI-assisted CAPTCHA recognition.
Taiwan-centric: e-invoice carriers, the TDCC passbook (brokerage balances, stock/ETF/fund holdings and trades), and about ten banks — CTBC, E.SUN, Cathay United, Taishin, SinoPac, Hua Nan, Shin Kong, O-Bank, First Bank and KGI — linked via app or web-bank logins, some with AI-assisted CAPTCHA recognition.How does my deployment stay up to date?After a one-time step (adding the sync-upstream workflow file to your fork), GitHub Actions merges the latest upstream version daily at 04:15 Taiwan time and Cloudflare Builds redeploys. If your own code changes conflict, the workflow stops and you resolve it manually.
After a one-time step (adding the sync-upstream workflow file to your fork), GitHub Actions merges the latest upstream version daily at 04:15 Taiwan time and Cloudflare Builds redeploys. If your own code changes conflict, the workflow stops and you resolve it manually.What is the one thing I should not lose?Your CONFIGENCRYPTIONKEY. Rotation isn't supported: rebuilding the Worker, migrating, or reusing an existing D1 requires the exact same key, or every connector must be set up again — the README suggests storing it in a password manager.
Your CONFIGENCRYPTIONKEY. Rotation isn't supported: rebuilding the Worker, migrating, or reusing an existing D1 requires the exact same key, or every connector must be set up again — the README suggests storing it in a password manager.Is it officially connected to banks or the government?No. The disclaimer states there is no cooperation with or endorsement from the TDCC, Ministry of Finance, FSC or any bank, data comes from your own credentials without accuracy guarantees, and commercial use is forbidden.
No. The disclaimer states there is no cooperation with or endorsement from the TDCC, Ministry of Finance, FSC or any bank, data comes from your own credentials without accuracy guarantees, and commercial use is forbidden.What are similar projects?react-starter-kit, talorys, ResolveHQ, company-brain, agentic-inbox, open-compute, manychat-lite-cloudflare, deepcrawl
react-starter-kit, talorys, ResolveHQ, company-brain, agentic-inbox, open-compute, manychat-lite-cloudflare, deepcrawlWhich topics is it in?invoice, hono, investment, personal-finance, shadcn-ui, fintech, svelte, cloudflare-workers, serverless, cloudflare, tailwindcss, github-actions
invoice, hono, investment, personal-finance, shadcn-ui, fintech, svelte, cloudflare-workers, serverless, cloudflare, tailwindcss, github-actions