 Hackathon Starter

Live Demo: Link
Jump to What's new?
A boilerplate for Node.js web applications.
If you have attended any hackathons in the past, then you know how much time it takes to get a project started: decide on what to build, pick a programming language, pick a web framework, pick a CSS framework. A while later, you might have an initial project up on GitHub, and only then can other team members start contributing. Or how about doing something as simple as Sign in with Facebook authentication? You can spend hours on it if you are not familiar with how OAuth 2.0 works.
When I started this project, my primary focus was on simplicity and ease of use.
I also tried to make it as generic and reusable as possible to cover most use cases of hackathon web apps, without being too specific. In the worst case, you can use this as a learning guide for your projects, if for example you are only interested in Sign in with Google authentication and nothing else.
Testimonials
"Nice! That README alone is already gold!"
— Adrian Le Bas
"Awesome. Simply awesome."
— Steven Rueter
"I'm using it for a year now and many projects, it's an awesome boilerplate and the project is well maintained!"
— Kevin Granger
"Small world with Sahat's project. We were using his hackathon starter for our hackathon this past weekend and got some prizes. Really handy repo!"
— Interview candidate for one of the companies I used to work with.
Modern Theme

Flatly Bootstrap Theme

API Examples
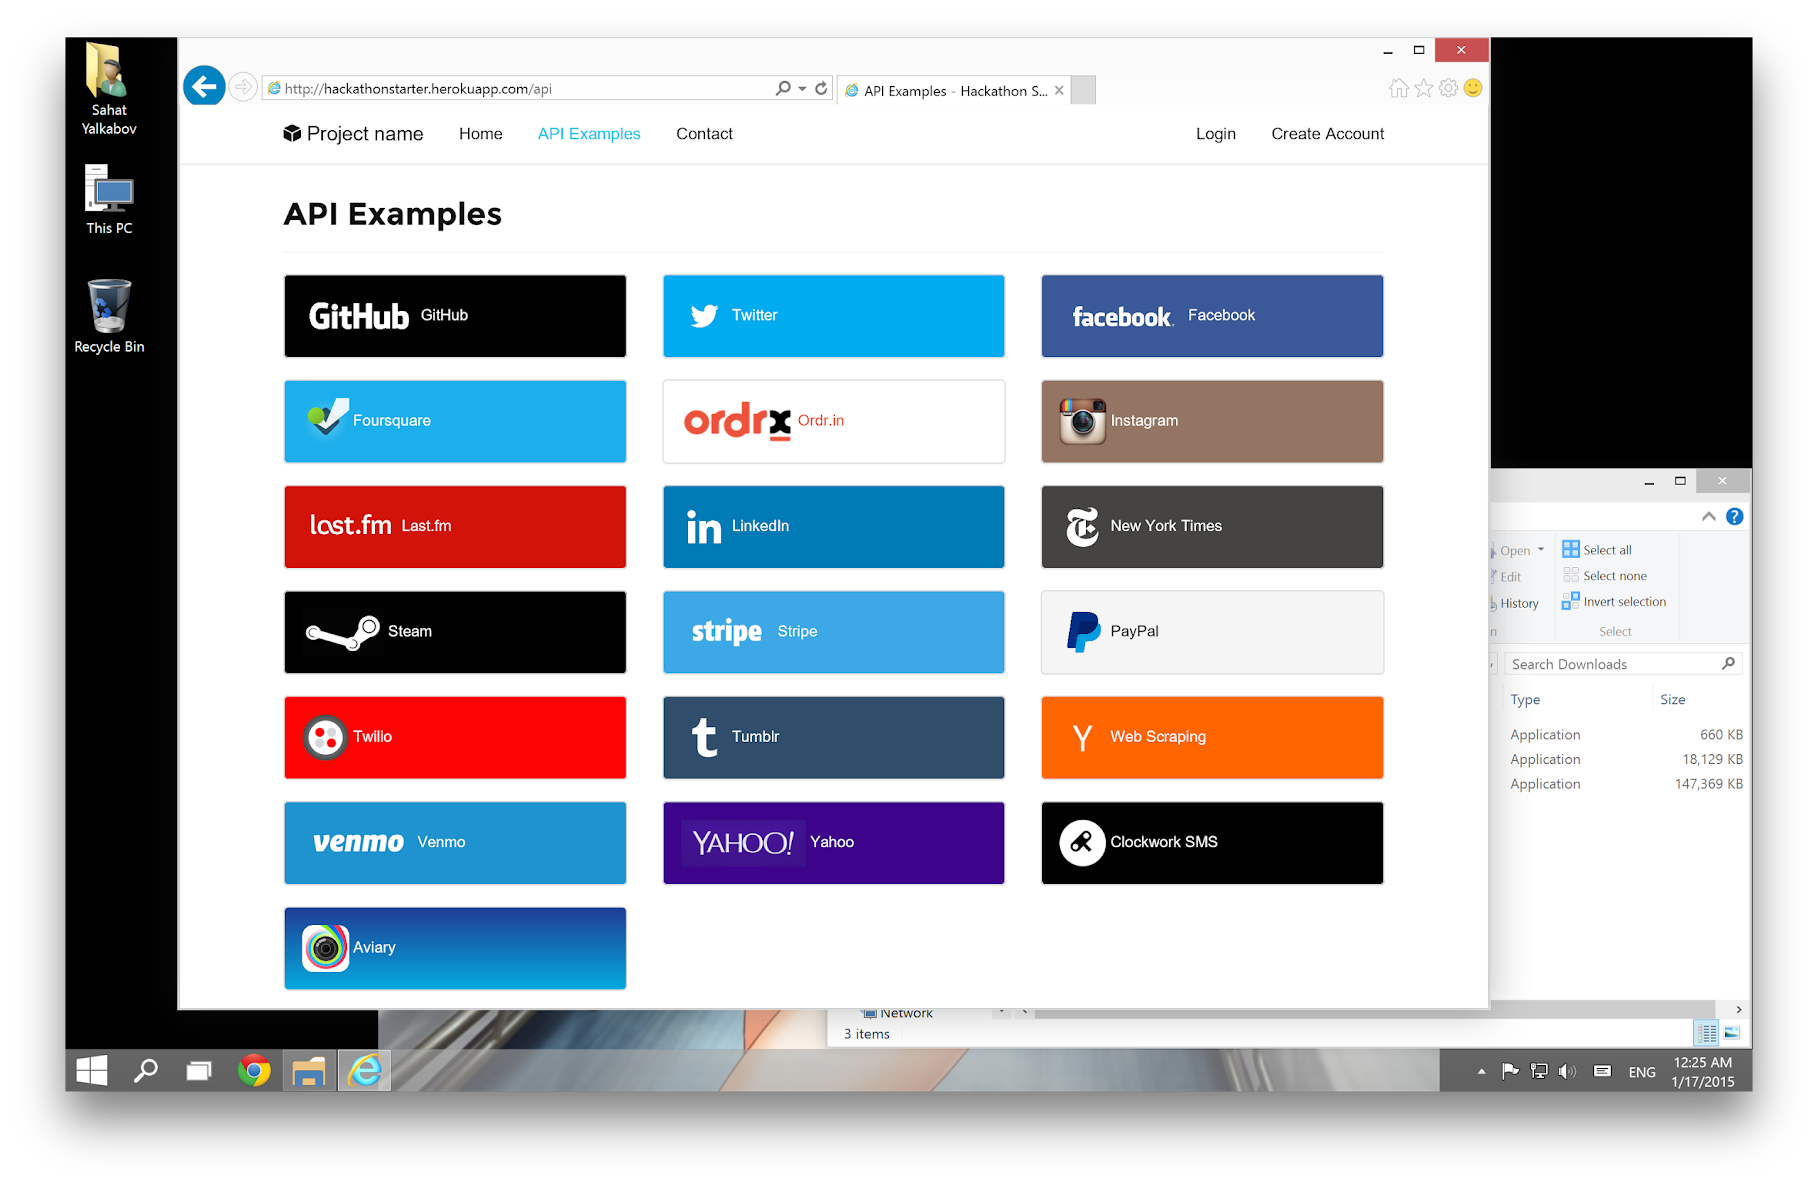
Table of Contents
Features
Login
- Local Authentication Sign in with Email and Password, Passwordless, Passkey / Biometrics
- OAuth 2.0 Authentication: Sign in with Google, Microsoft, Facebook, LinkedIn, X (Twitter), Twitch, GitHub, Discord
User Profile and Account Management
- Gravatar
- Profile Details
- Password management (Change, Reset, Forgot)
- Verify Email
- Two-Factor Authentication (2FA) Email codes and Authenticator apps
- Link multiple OAuth provider accounts to one account
- OAuth token revocation
- Delete Account
Contact Form (powered by SMTP via Mailgun, AWS SES, etc.)
File upload
Device camera
AI Examples and Boilerplates
- AI Agent ReAct (Reasoning + Acting) with tool calling, MongoDB session persistence, and input guardrails
- RAG with semantic and embedding caching
- Text and Image LLMs - GPT-OSS, Qwen3.6
- Support for a range of foundational and embedding models (Qwen, DeepSeek, Kimi, MiniMax, OpenAI OSS, Mistral, Sentence Transformers, etc.) via LangChain, Groq, and Hugging Face
API Examples
- Backoffice: Lob (USPS Mail), Paypal, Quickbooks, Stripe, Twilio (text messaging)
- Data, Media & Entertainment: Alpha Vantage (stocks and finance info) with ChartJS, Github, Foursquare, Last.fm, New York Times, PubChem (chemical information), Trakt.tv (movies/TV), Twitch, Tumblr (OAuth 1.0a example), Steam (OpenID), Web Scraping, GIPHY
- Maps and Location: Google Maps, HERE Maps
- Productivity: Google Drive, Google Sheets
Flash notifications
Dark mode toggle (defaults to OS-preference)
reCAPTCHA and rate limit protection
CSRF protection
MVC Project Structure
Node.js clusters support
HTTPS Proxy support (via ngrok, Cloudflare, etc.)
Sass stylesheets
Bootstrap 5.3
"Go to production" checklist
Prerequisites
MongoDB (local install OR hosted)
- Local Install: MongoDB
- Hosted: No need to install, see the MongoDB Atlas section
Node.js LTS 24
- Highly recommended: Use/Upgrade your Node.js to the latest Node.js LTS version.
Command Line Tools
 Mac OS X: Xcode (or OS X 10.9+:
 xcode-select --install)
 Windows: Visual Studio Code + Windows Subsystem for Linux - Ubuntu OR Visual Studio
 Ubuntu /
  Linux Mint:
 sudo apt-get install build-essential
 Fedora:
 sudo dnf groupinstall "Development Tools"
 OpenSUSE:
 sudo zypper install --type pattern devel_basis
Note: If you are new to Node or Express, you may find Node.js & Express From Scratch series helpful for learning the basics of Node and Express. Alternatively, here is another great tutorial for complete beginners - Getting Started With Node.js, Express, MongoDB.
Getting Started
Step 1: The easiest way to get started is to clone the repository:
# Get the latest snapshot
git clone https://github.com/sahat/hackathon-starter.git myproject

# Change directory
cd myproject

# Install NPM dependencies
npm install

# Then simply start your app
npm start
Note: I highly recommend installing Nodemon. It watches for any changes in your node.js app and automatically restarts the server. Once installed, instead of node app.js use nodemon app.js. It will
save you a lot of time in the long run, because you won't need to manually restart the server each time you make a small change in code. To install, run sudo npm install -g nodemon.
Step 2: Obtain API Keys and change configs if needed
After completing step 1 and locally installing MongoDB, you should be able to access the application through a web browser and use local user accounts. However, certain functions like API integrations may not function correctly until you obtain specific keys from service providers. The keys provided in the project serve as placeholders, and you can retain them for features you are not currently utilizing. To incorporate the acquired keys into the application, you have two options:
- Set environment variables in your console session: Alternatively, you can set the keys as environment variables directly through the command prompt. For instance, in bash, you can use the
export command like this: export FACEBOOK_SECRET=xxxxxx. This method is considered a better practice as it reduces the risk of accidentally including your secrets in a code repository.
- Replace the keys in the
.env.example file: Open the .env.example file and update the placeholder keys with the newly acquired ones. This method has the risk of accidental checking-in of your secrets to code repos.
What to get and configure:
Step 3: Setup an HTTPS proxy to access the app with an https address:
See
Step 4: Develop your application and customize the experience
Step 5: Optional - deploy to production
See:
HTTPS Proxy:
If you want to use an API that requires HTTPS (for example, GitHub or Facebook), you need to run the app with an HTTPS URL. You can do this by setting up an HTTPS proxy using either ngrok or Cloudflare.
Note: When using an HTTPS proxy, you may get a CSRF mismatch error if you try to directly access the app at http://localhost:8080 instead of the HTTPS proxy address.
ngrok
- Download ngrok.
- Start ngrok.
- Set your BASE_URL to the forwarding address from ngrok (i.e.,
https://3ccb-1234-abcd.ngrok-free.app). This will be the HTTPS address for accessing the app.
Cloudflare
- Download and install cloudflared.
- For a quick, free tunnel with a random subdomain under
trycloudflare.com, execute:
cloudflared tunnel --url http://localhost:8080
- Set BASE_URL to the HTTPS address for the tunnel.
Cloudflare with your own domain name
If you own a domain managed by Cloudflare, you can use Cloudflare's Zero Trust portal to set up a tunnel to your app that is activated by a system service. Alternatively, you can create a tunnel and route a subdomain you like to your app using their CLI:
cloudflared tunnel login
cloudflared tunnel create myapptunnel
cloudflared tunnel route dns myapptunnel myappsubdomain.mydomain.com
cloudflared tunnel --url http://localhost:8080 run myapptunnel
Then set BASE_URL to the HTTPS address for the tunnel.
Note that the tunnel and DNS route are a one-time setup. To reactivate the HTTPS tunnel to your app later, such as after a system restart, just rerun:
cloudflared tunnel --url http://localhost:8080 run myapptunnel
To clean up your own domain's related configurations when you're done:
- Delete the tunnel by executing
cloudflared tunnel delete myapptunnel
- Remove the
myappsubdomain DNS entry from your domain through the Cloudflare web UI.
- Remove
%USERPROFILE%\.cloudflared (Windows) or ~/.cloudflared (Linux/macOS) if you want to clear local credentials.
Obtaining API Keys
You will need to obtain appropriate credentials (Client ID, Client Secret, API Key, or Username & Password) for API and service providers which you need. See Step 2 in the Getting started section for more info.
SMTP
Obtain SMTP credentials from a provider for transactional emails. Set the SMTP_USER, SMTP_PASSWORD, and SMTP_HOST environment variables accordingly. When picking the SMTP host, keep in mind that the app is configured to use secure SMTP transmissions over port 465 out of the box. You have the flexibility to select any provider that suits your needs or take advantage of one of the following providers, each offering a free tier for your convenience.

Facebook
- Visit Facebook Developers
- Click My Apps, then select *Add a New App from the dropdown menu
- Enter a new name for your app
- Click on the Create App ID button
- Find the Facebook Login Product and click on Facebook Login
- Instead of going through their Quickstart, click on Settings for your app in the top left corner
- Copy and paste App ID and App Secret keys into
.env
- Note: App ID is FACEBOOK_ID, App Secret is FACEBOOK_SECRET in
.env
- Enter
localhost under App Domains
- Choose a Category that best describes your app
- Click on + Add Platform and select Website
- Enter your BASEURL value (i.e.
http://localhost:8080, etc) under _Site URL
- Click on the Settings tab in the left nav under Facebook Login
- Enter your BASE_URL value followed by /auth/facebook/callback (i.e.
http://localhost:8080/auth/facebook/callback ) under Valid OAuth redirect URIs
Note: After a successful sign-in with Facebook, a user will be redirected back to the home page with appended hash #_=_ in the URL. It is not a bug. See this Stack Overflow discussion for ways to handle it.

Foursquare
Go to Foursquare for Developers and log in
Click on Create a new project button
Enter your Organization and Project Name
Click Create
Navigate to your project
Click Settings in the left-hand-side menu
Generate a Service API Key
Copy and paste the Service API Key as FOURSQUARE_APIKEY in your .env file

GitHub
- Go to Account Settings
- Select Developer settings from the sidebar
- Then click on OAuth Apps and then on Register new application
- Enter Application Name and Homepage URL. Enter your BASE_URL value (i.e.
http://localhost:8080, etc) as the homepage URL.
- For Authorization Callback URL: your BASE_URL value followed by /auth/github/callback (i.e.
http://localhost:8080/auth/github/callback )
- Click Register application
- Now copy and paste Client ID and Client Secret keys into
.env file

GIPHY
- Go to GIPHY Developers website
- Login or create a new account and login.
- Select Dashboard from the navigation bar
- Then click on Create an API Key and then select API and click on Next Step.
- Enter App Name and App Description. Select Web and create a beta key.
- Now copy and paste the API key into
.env file as GIPHY_API_KEY.

Google
- Visit Google Cloud Console
- Click on the Create Project button
- Enter Project Name, then click Create
- Copy the Project ID for your project and add it as GOOGLE_PROJECT_ID in your
.env file.
- Then add the APIs and services that apply to your application. If the UI doesn't let you add them during project creation, you can add them later via the APIs & Services page (left sidebar) or by searching for them in the top search bar.
Sign in with Google:
- Go to the Credentials tab, click Create credentials, and choose OAuth client ID.
- Select Web application, and for Authorized redirect URI use your BASE_URL value followed by
/auth/google/callback (for example http://localhost:8080/auth/google/callback).
- Copy and paste the Client ID and Client secret into your
.env file.
- Update the OAuth consent screen if needed.
Other APIs:
Open the Enabled APIs & services page for your project in the Google Cloud Console (APIs & Services). Click + Enable APIs and services (top of the page), find the services you need, and enable them:
- reCAPTCHA Enterprise API (recommended for the contact form)
- Google Drive API
- Google Sheets API
- Maps JavaScript API
Next, create API keys for the services you enabled:
- For backend API calls (Google Drive and Sheets), create a single API key and restrict it to those APIs. Copy the key as
GOOGLE_API_KEY into your .env file.
- For reCAPTCHA, follow the instructions at Google Cloud reCAPTCHA Docs and create a web checkbox reCAPTCHA key. No code changes are required. Just copy the reCAPTCHA site key into
.env as GOOGLE_RECAPTCHA_SITE_KEY.
- For the Google Maps JavaScript API, use a separate API key from your backend key because the key is sent to the front end and can be exposed. Restrict this key to your website on the credentials page. Do NOT use "localhost" as the restriction since it is not unique to your application. Once configured, copy the API key as
GOOGLE_MAP_API_KEY into your .env file.

Discord
- Go to Teams tab in the Discord Developer Portal and create a new team. This allows you to manage your Discord applications under a team name instead of your personal account.
- After creating a team, switch to the Applications tab in the Discord Developer Portal.
- Click on New Application and give your app a name. When prompted, select your team as the owner.
- In the left sidebar, click on OAuth2 > General.
- Copy the Client ID and Client Secret (you may need to "reset" the client secret to obta

 Hackathon Starter is a boilerplate for Node.js web applications that bundles login, OAuth, and dozens of API integrations so you don't have to set them up from scratch during a hackathon.