FRANK 386
Official page: frank.rh1.tech — hub for all FRANK boards and firmware.
i386 PC Emulator for RP2350 (Raspberry Pi Pico 2) with VGA/HDMI output, SD card storage, PS/2 and USB keyboard/mouse, NES gamepad, and audio output.
Based on Tiny386 by Chunhui He.
Features
- Full i386 (and partially i486/i586) CPU emulation with optional x87 FPU
- Up to 8MB RAM (using 8MB PSRAM)
- VGA and HDMI graphics output (text modes and graphics up to 640x480)
- Sound: AdLib OPL2, Sound Blaster 16, PC Speaker, Tandy, Covox, Disney Sound Source
- SD card support for floppy, hard disk, and CD-ROM images
- Runtime disk manager (Win+F12) for hot-swapping disk images
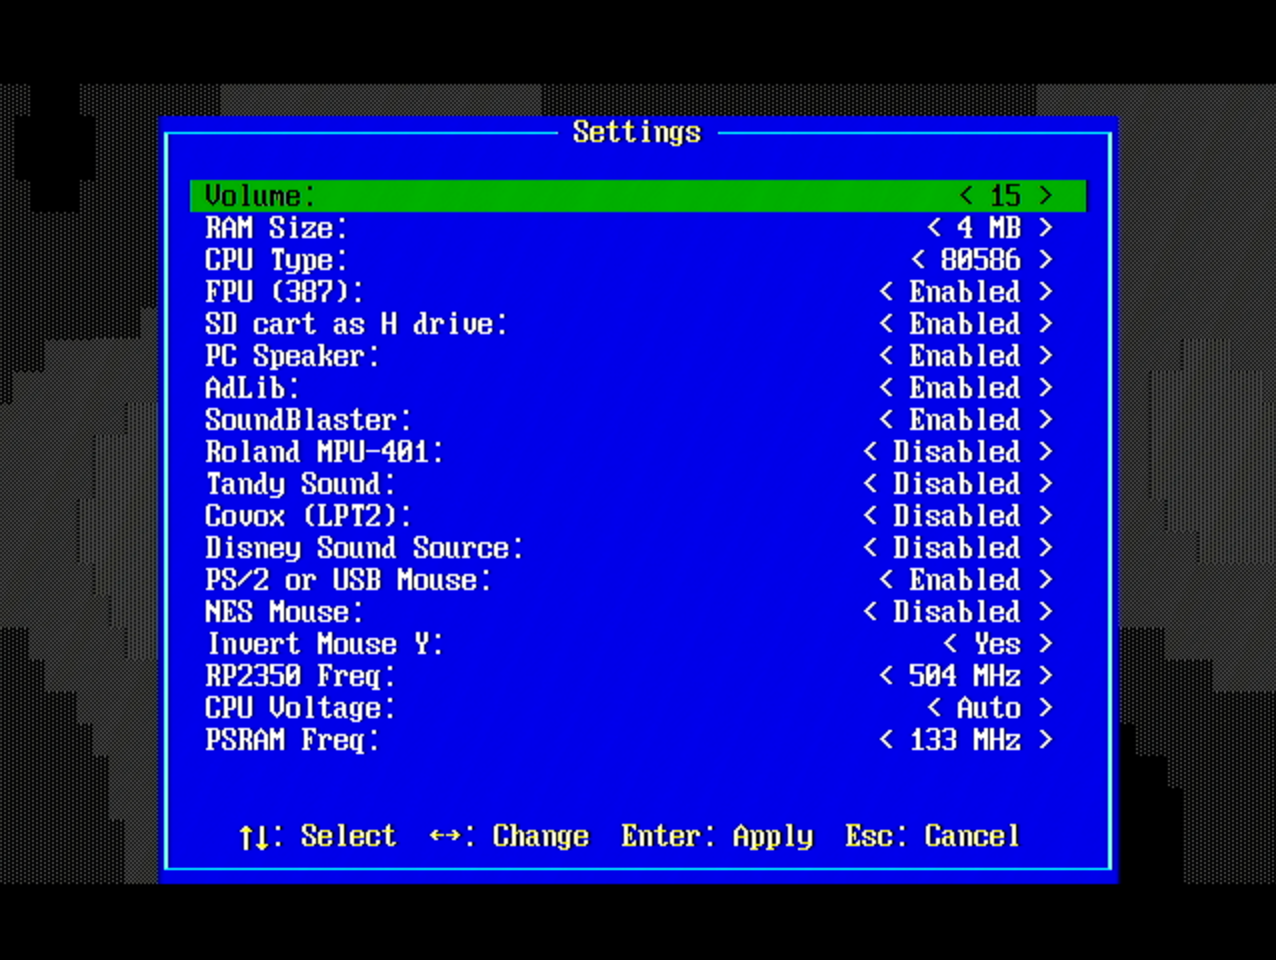
- Settings menu (Win+F11) for changing emulator configuration
- PS/2 keyboard and mouse input
- USB keyboard and mouse input (via native USB Host)
- NES gamepad support with mouse emulation mode
- Boots DOS, Windows 3.x, Windows 95, Linux, and more
Screenshots
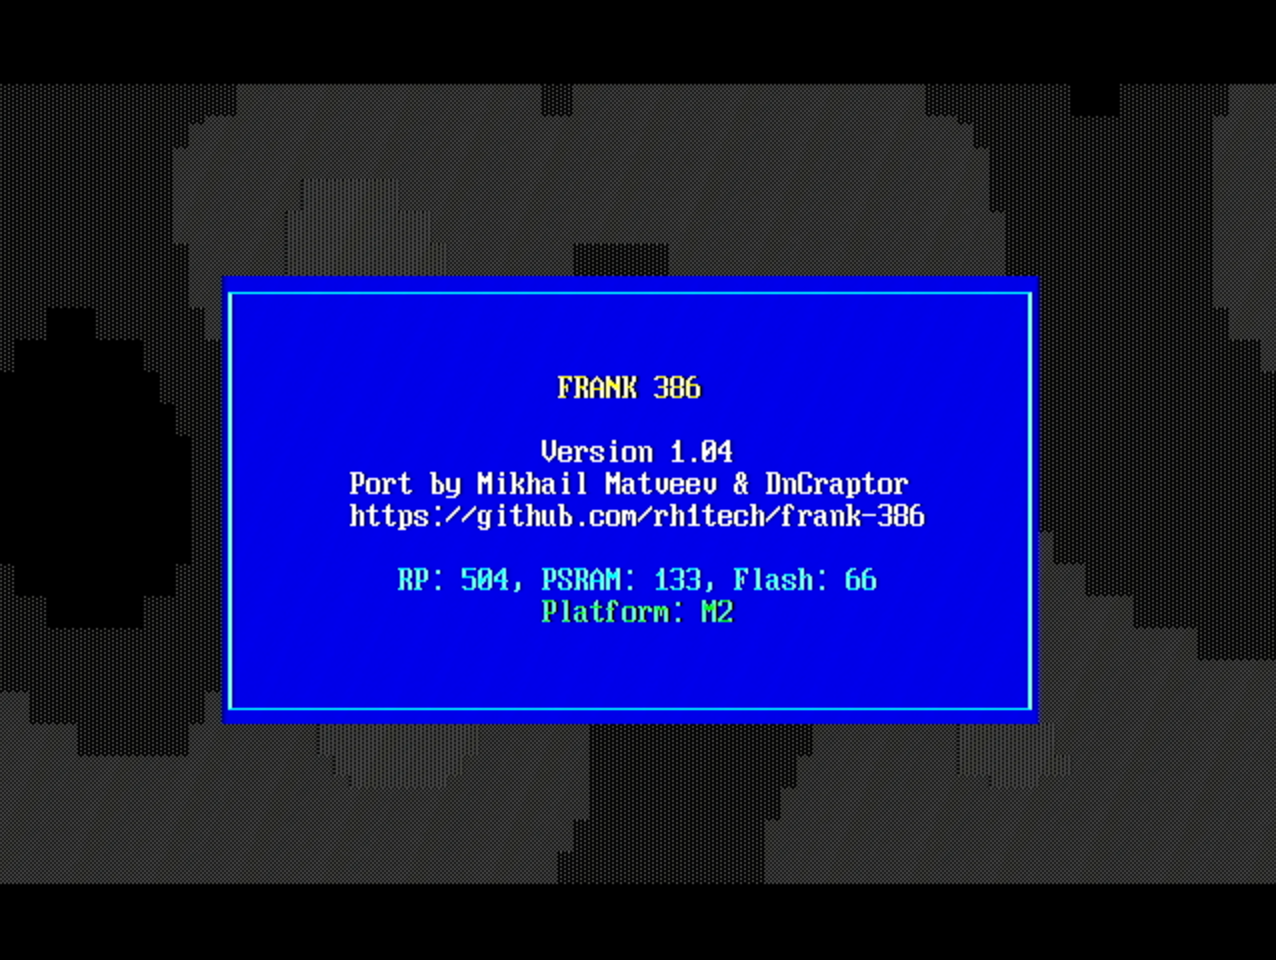
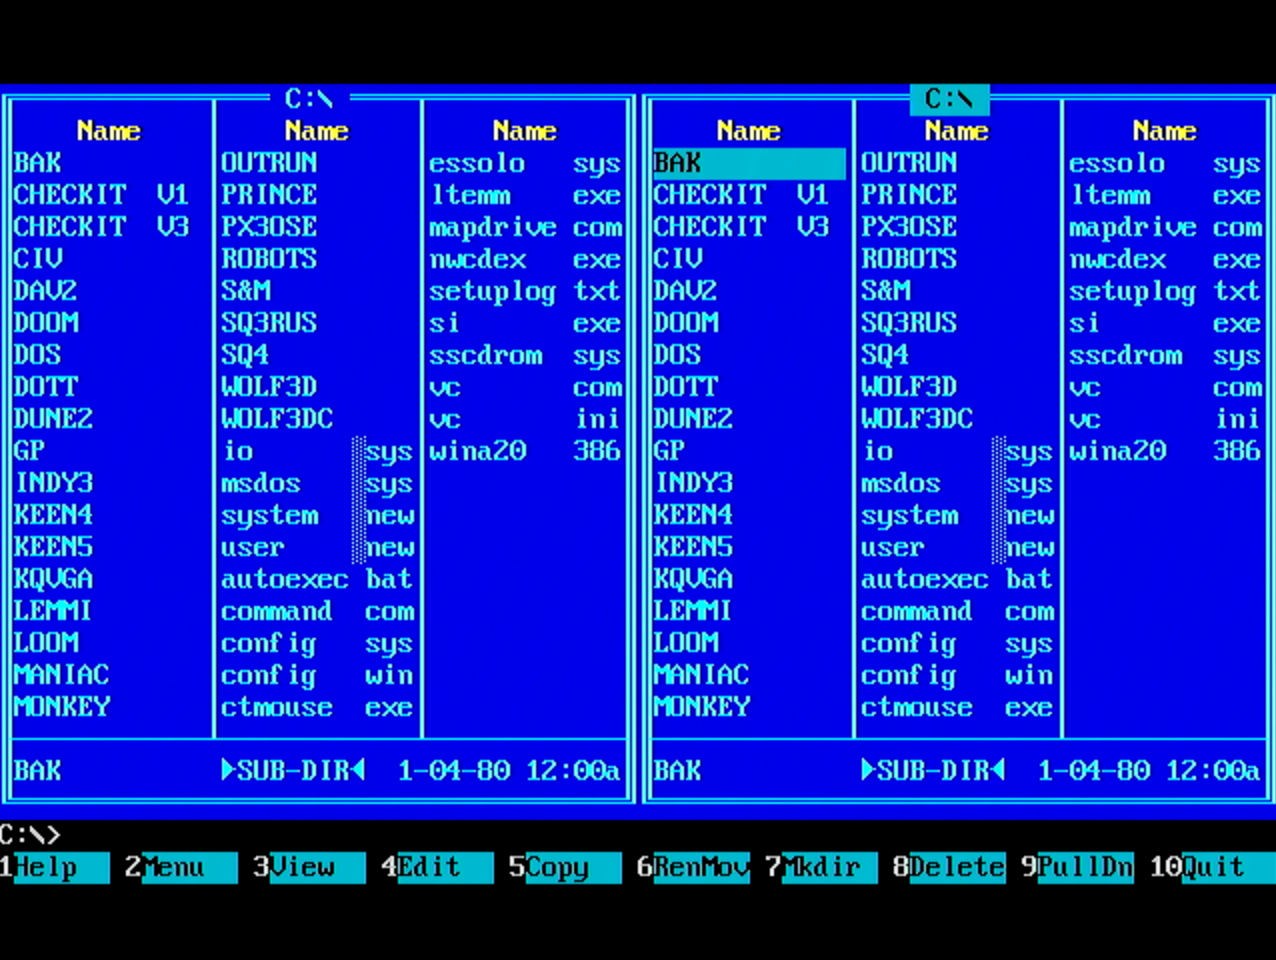
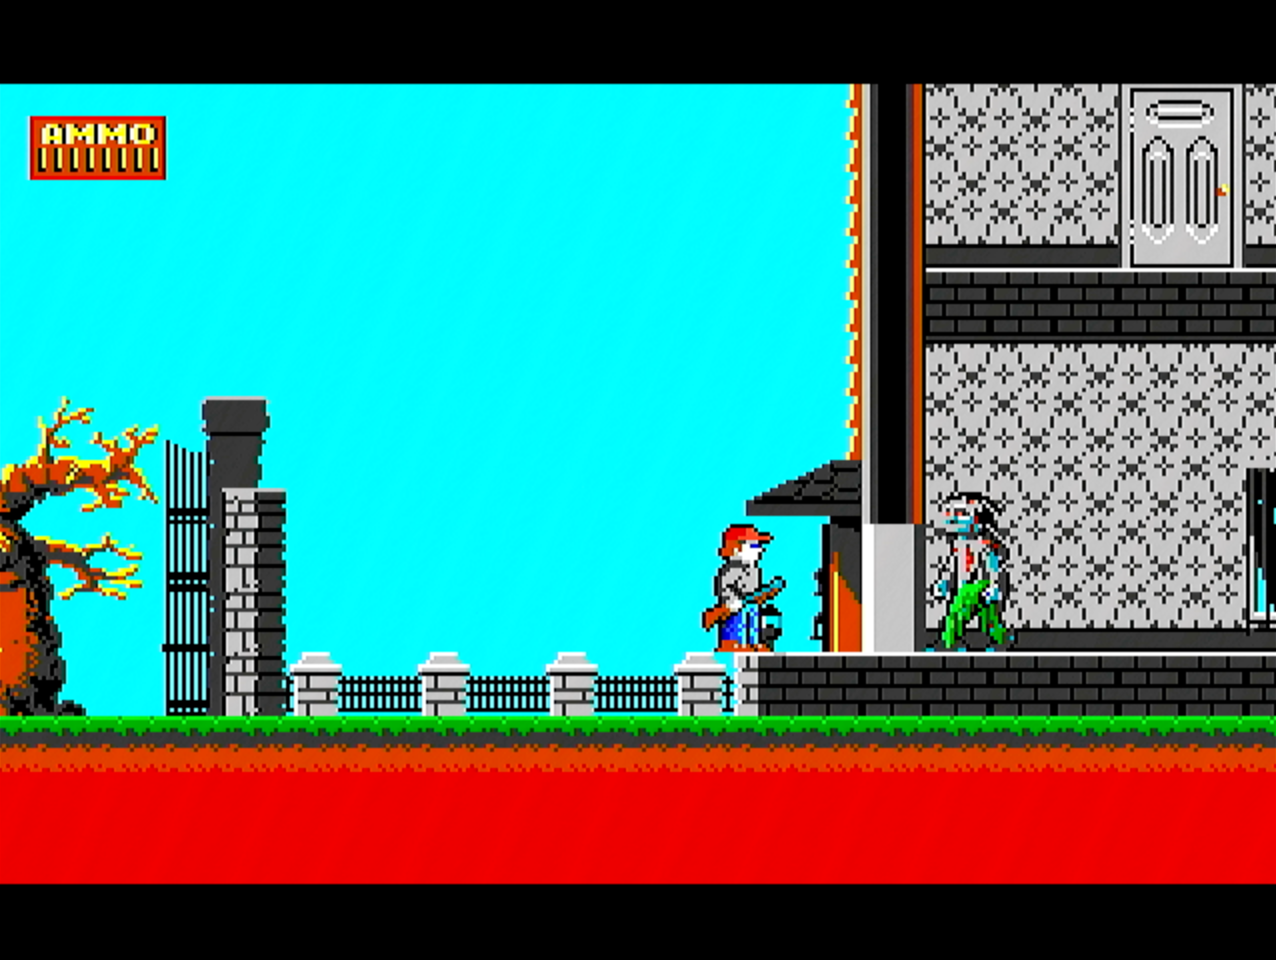
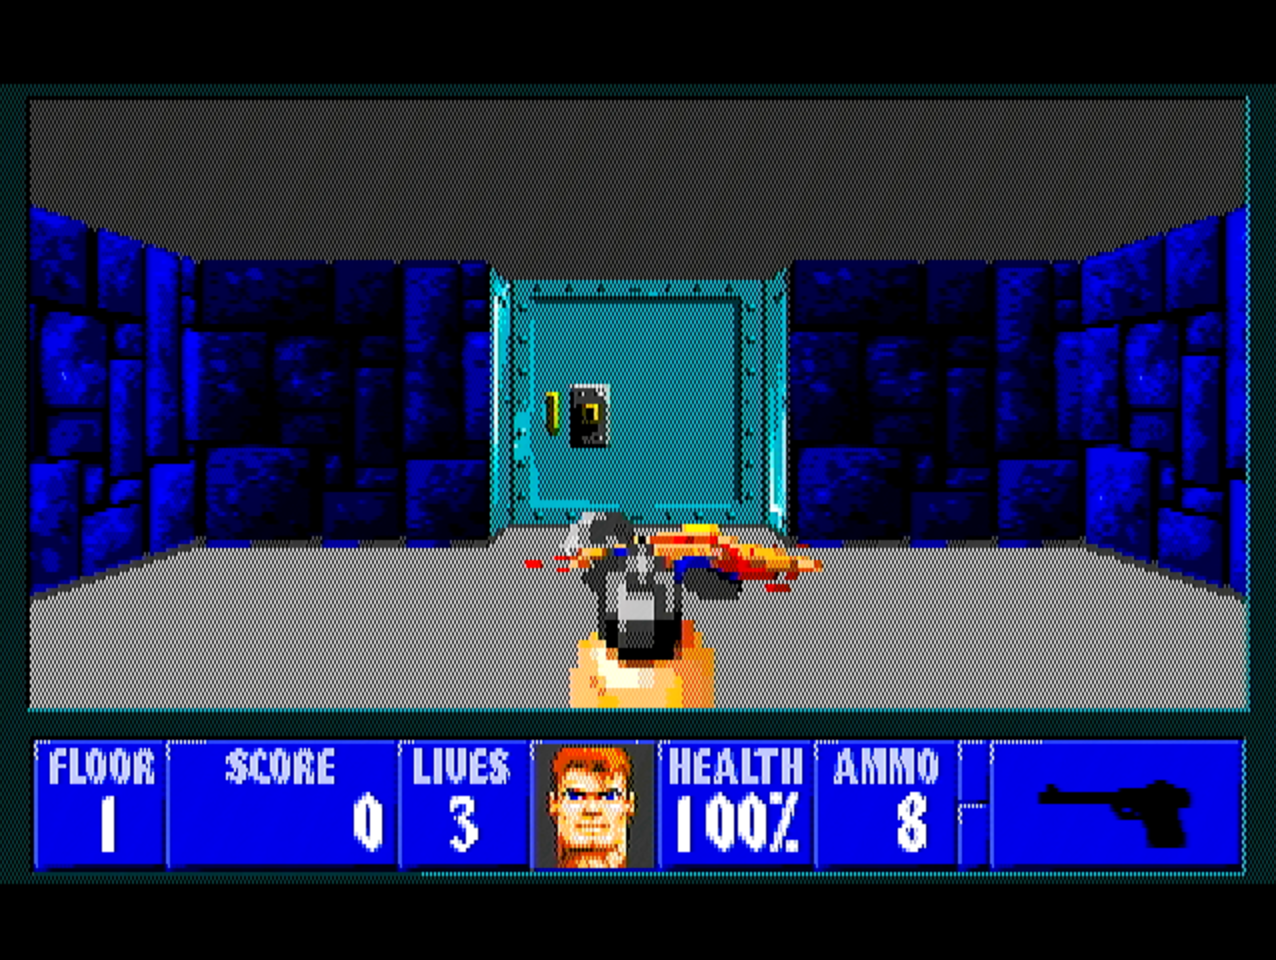
FRANK 386 in Action
Supported Boards
This firmware is designed for RP2350-based boards with integrated VGA/HDMI, SD card, and keyboard input:
Hardware Requirements
- Raspberry Pi Pico 2 (RP2350) or compatible board
- 8MB PSRAM (required for extended memory)
- VGA or HDMI connector
- SD card module (SPI mode)
- PS/2 keyboard (directly connected) - OR - USB keyboard (via native USB port)
- Audio output (optional): I2S DAC or PWM
Note: When USB HID is enabled, the native USB port is used for keyboard/mouse input. USB serial console (CDC) is disabled in this mode; use UART for debug output.
Board Configurations
Four GPIO layouts are supported: M1, M2, PC (Olimex), and Z2 (Waveshare).
VGA / HDMI
| Signal |
M1 GPIO |
M2 GPIO |
| Base |
6 |
12 |
| Range |
6-13 |
12-19 |
SD Card (SPI mode)
| Signal |
M1 GPIO |
M2 GPIO |
| CLK |
2 |
6 |
| CMD |
3 |
7 |
| DAT0 |
4 |
4 |
| DAT3/CS |
5 |
5 |
PS/2 Keyboard
| Signal |
M1 GPIO |
M2 GPIO |
| CLK |
0 |
2 |
| DATA |
1 |
3 |
PS/2 Mouse
| Signal |
M1 GPIO |
M2 GPIO |
| CLK |
14 |
0 |
| DATA |
15 |
1 |
NES/SNES Gamepad
| Signal |
M1 GPIO |
M2 GPIO |
| CLK |
14 |
20 |
| DATA |
16 |
26 |
| LATCH |
15 |
21 |
I2S Audio
| Signal |
M1 GPIO |
M2 GPIO |
| DATA |
26 |
9 |
| BCLK |
27 |
10 |
| LRCLK |
28 |
11 |
SD Card Setup
Directory Structure
Create a 386/ directory on your SD card:
SD Card Root/
└── 386/
    ├── config.ini      # Configuration file
    ├── bios.bin        # SeaBIOS ROM (required)
    ├── vgabios.bin     # VGA BIOS ROM (required)
    ├── dos622.img      # Hard disk image
    ├── boot.img        # Floppy image
    └── ...             # Other disk images
BIOS Files
Download SeaBIOS and VGA BIOS from the SeaBIOS releases or use bios.bin/vgabios.bin from sdcard/386.
Configuration File (config.ini)
Create 386/config.ini:
[pc]
mem=8M
bios=bios.bin
vga_bios=vgabios.bin

[frank-386]
cpu_freq=504
psram_freq=166
Preparing Disk Images
Floppy Images (.img):
- Standard 1.44MB floppy images (1474560 bytes)
- Create with:
dd if=/dev/zero of=floppy.img bs=512 count=2880
- Format with DOS or use pre-made DOS boot disks
Hard Disk Images (.img):
- Raw disk images up to 2GB
- Create with:
dd if=/dev/zero of=hdd.img bs=1M count=512
- Use FDISK and FORMAT from DOS to partition and format
CD-ROM Images (.iso):
- Standard ISO 9660 images
- Use CD burning software to create ISOs from CDs
Loading Disk Images
At Boot:
Configure disk images in config.ini as shown above.
At Runtime (Disk Manager):
- Press Win+F12 to open the Disk Manager
- Use arrow keys to select a drive (A:, B:, C:, D:, E:)
- Press Enter to browse disk images in the
386/ directory
- Select an image file to insert, or eject the current disk
- Press Escape to close the Disk Manager
Changes made via Disk Manager are saved to config.ini automatically.
Controls
Keyboard Shortcuts
| Shortcut |
Action |
| Win+F12 |
Open Disk Manager |
| Win+F11 |
Open Settings Menu |
| Ctrl+Alt+Delete |
System reset (sent to guest OS) |
Configure emulator settings at runtime:
- Memory size (1-8 MB)
- CPU generation (386/486/586)
- FPU emulation on/off
- Sound devices (AdLib, SB16, PC Speaker, Tandy, Covox, MPU-401, DSS)
- PS/2 or USB Mouse on/off
- NES Mouse on/off (emulate mouse with NES gamepad D-pad, B=left click, A=right click)
- RP2350 CPU frequency and voltage
- PSRAM / Flash frequency
Settings are saved to config.ini and take effect after restart.
Disk Manager (Win+F12)
Manage disk images without restarting:
- Insert/eject floppy images (A:, B:)
- Insert/eject hard disk images (C:, D:)
- Insert/eject CD-ROM images (E:)
Building
Prerequisites
- Install the Raspberry Pi Pico SDK (version 2.0+)
- Set environment variable:
export PICO_SDK_PATH=/path/to/pico-sdk
- Install ARM GCC toolchain
Build Steps
# Clone the repository
git clone https://github.com/rh1tech/frank-386.git
cd frank-386

# Build with default settings (M2 board, 378MHz, PS/2 keyboard)
./build.sh

# Build for M1 board
./build.sh -M1

# Build with USB keyboard support
./build.sh --usb-hid

# Custom build
./build.sh -b M1 -c 504 -p 166 --debug
Build Options (build.sh)
| Option |
Description |
-b, --board <M1|M2|PC|Z2> |
Board variant (default: M2) |
-c, --cpu <MHz> |
CPU speed: 378 (default), 504 |
-p, --psram <MHz> |
PSRAM speed: 133 (default), 166 |
--usb-hid |
Enable USB keyboard (disables USB serial) |
--hdmi |
Force HDMI output |
--debug |
Enable debug output |
-clean |
Clean build directory first |
Build Options (CMake)
| Option |
Description |
-DPICO_BOARD=pico2 |
Build for RP2350 (default) |
-DBOARD=M1 |
Use M1 GPIO layout |
-DBOARD=M2 |
Use M2 GPIO layout (default) |
-DBOARD=PC |
Use Olimex PICO-PC layout |
-DBOARD=Z2 |
Use Waveshare RP2350-PiZero layout |
-DCPU_SPEED=378 |
CPU clock in MHz (378, 504) |
-DPSRAM_SPEED=133 |
PSRAM clock in MHz (133, 166) |
-DUSB_HID_ENABLED=ON |
Enable USB keyboard (disables USB serial) |
-DDEBUG_ENABLED=ON |
Enable verbose debug logging |
-DFORCE_HDMI=ON |
Force HDMI output |
Release Builds
To build all firmware variants:
# Interactive (prompts for version)
./release.sh

# With version number
./release.sh 1.02
This creates firmware files in the release/ directory:
frank-386_m1_<version>.uf2 - M1 board (Murmulator)frank-386_m2_<version>.uf2 - M2 board (Murmulator)frank-386_pc_<version>.uf2 - Olimex PICO-PCfrank-386_z2_<version>.uf2 - Waveshare RP2350-PiZero
Flashing
# With device in BOOTSEL mode:
picotool load build/frank-386.uf2

# Or use the flash script:
./flash.sh
Troubleshooting
"0 bytes of memory" during Windows 95 setup
Use setup /im to bypass memory check.
"Protection error" during Windows 95 startup
Use patcher9x.
Set redirector = 1 in config.ini.
- For PS/2: Check keyboard connection and GPIO pins
- For USB: Ensure firmware was built with
--usb-hid option
SD card not detected
- Ensure SD card is formatted as FAT32
- Check SD card module connections
- Verify
386/ directory exists on SD card
License
MIT License. See LICENSE for details.
Authors & Contributors
Mikhail Matveev & DnCraptor
Acknowledgments
This project is based on the following open-source projects:
Tiny386
- Project: Tiny386 - x86 PC Emulator
- Author: Chunhui He
- License: BSD 3-Clause
- Description: The core i386 CPU emulator and PC peripheral emulation (8259 PIC, 8254 PIT, 8042 keyboard controller, VGA, sound devices).
Pico-286
- Project: Pico-286
- Author: xrip
- License: MIT
- Description: RP2350 platform integration, disk management, VGA driver concepts.
QuakeGeneric
- Project: QuakeGeneric
- Author: DnCraptor
- License: GPL v2
- Description: RP2350 hardware integration patterns, Murmulator platform support, and PS/2 mouse driver implementation.
QEMU
- Project: QEMU
- Authors: Fabrice Bellard (2003-2017), Vassili Karpov "malc" (2003-2005), Joachim Henke (2006)
- License: MIT
- Description: PC peripheral emulation code including 8259 PIC, 8254 PIT, 8257 DMA, 8042 keyboard controller, PCI bus, PC speaker, VGA, and AdLib OPL2 proxy.
MAME FM Sound Generator
- Project: MAME
- Author: Tatsuyuki Satoh (1999-2000)
- License: LGPL 2.1+
- Description: FM OPL sound generator (fmopl) for AdLib emulation, forked from MAME and relicensed under LGPL.
inih
- Project: inih
- Author: Ben Hoyt (2009-2020)
- License: BSD 3-Clause
- Description: Simple INI file parser for configuration file handling.
SeaBIOS
- Project: SeaBIOS
- Authors: Kevin O'Connor and contributors
- License: GNU LGPL v3
- Description: x86 BIOS and VGA BIOS firmware.
FatFs
- Project: FatFs
- Author: ChaN (2014, 2021)
- License: FatFs License (BSD-style)
- Description: Generic FAT filesystem module for SD card access.
FatFs Utilities
- Author: Carl John Kugler III (2021)
- License: Apache 2.0
- Description: FatFs utility functions for error handling and result string conversion.
Raspberry Pi Pico SDK
- Project: Pico SDK
- Author: Raspberry Pi (Trading) Ltd. (2020)
- License: BSD 3-Clause
- Description: PIO SPI driver for SD card communication.

 FRANK 386 是一个 i386 PC 模拟器,以固件形式运行在 Raspberry Pi Pico 2(RP2350)上,把这块开发板变成一台迷你复古 PC,带有 VGA/HDMI 视频、SD 卡存储、键盘鼠标输入和声音。它是 Chunhui He 的 Tiny386 的移植版。