
Hermes Workspace
Your AI agent's command center — chat, files, memory, skills, and terminal in one place.


Not a chat wrapper. A complete workspace — orchestrate agents, browse memory, manage skills, and control everything from one interface.
v2 — zero-fork. Clone, don't fork. Runs on vanilla NousResearch/hermes-agent installed via Nous's own installer. Chat, sessions, memory, skills, jobs, MCP, terminal, dashboard, Agent View, and Operations are all in vanilla parity. Conductor uses the dashboard mission API when available and falls back to Workspace-native Swarm dispatch (mode: native-swarm) when the dashboard endpoint is absent, preserving zero-fork behavior (#262).
Swarm Mode
Hermes Agent Swarm turns the workspace into a live control plane: unlimited Hermes Agents, 1 orchestrator, 0 humans manually dispatching.
Persistent tmux workers keep context across tasks, rotate safely, and report proof-bearing checkpoints.
Role-based dispatch routes builders, reviewers, docs, research, ops, triage, QA, and lab lanes without turning Eric into the task router.
A byte-verified review gate protects release branches before PRs ship.
Autonomous PR/issue lanes, lab experiments, and the repair playbook keep the machine moving while humans handle judgment.
Start here: docs/swarm/
- Orchestrator Chat — ask the control plane for one task, a decomposed mission, or a full broadcast.
- Multi-Agent Control Plane — see persistent Hermes Agents, roles, state, runtime, and routing wires in one surface.
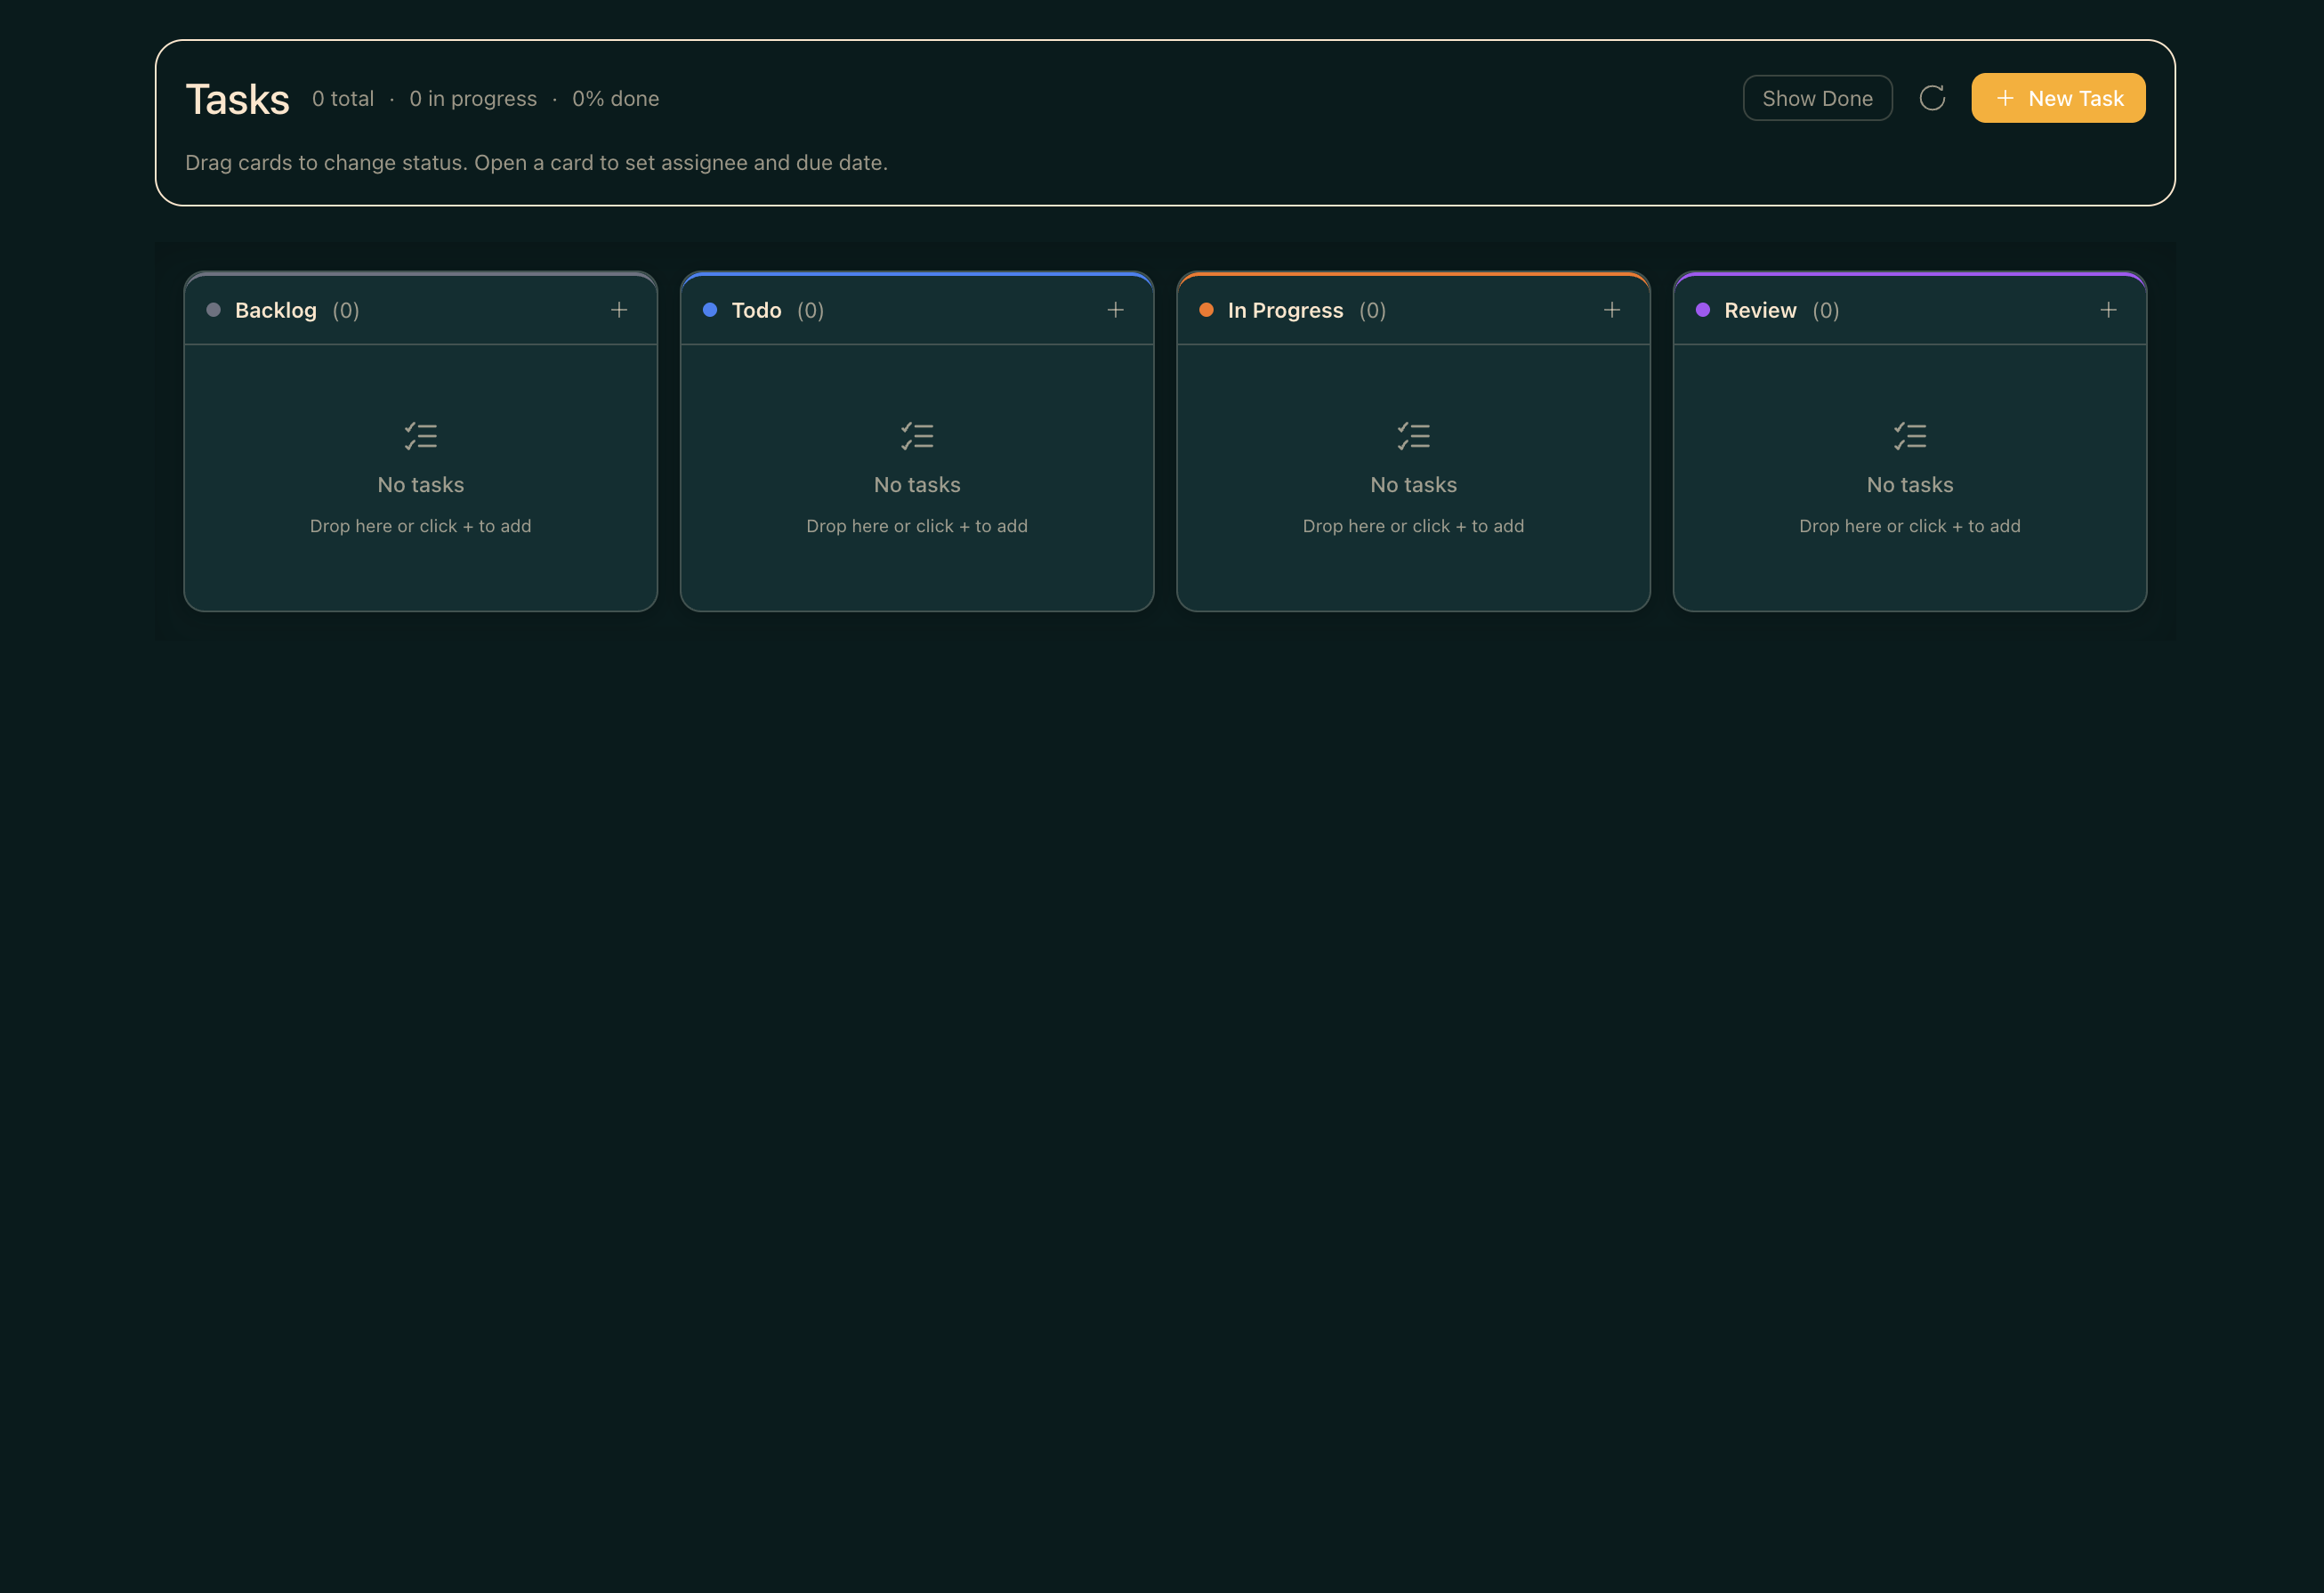
- Kanban TaskBoard — plan backlog, ready, running, review, blocked, and done lanes without leaving the workspace.
- Reports + Inbox — review checkpoints, blockers, handoffs, and ready-for-human decisions.
- TUI View built in — attach to tmux-backed workers or fall back to a live shell/log stream.
✨ What's inside
- 💬 Chat — Real-time SSE streaming, tool call rendering, multi-session, markdown + syntax highlighting
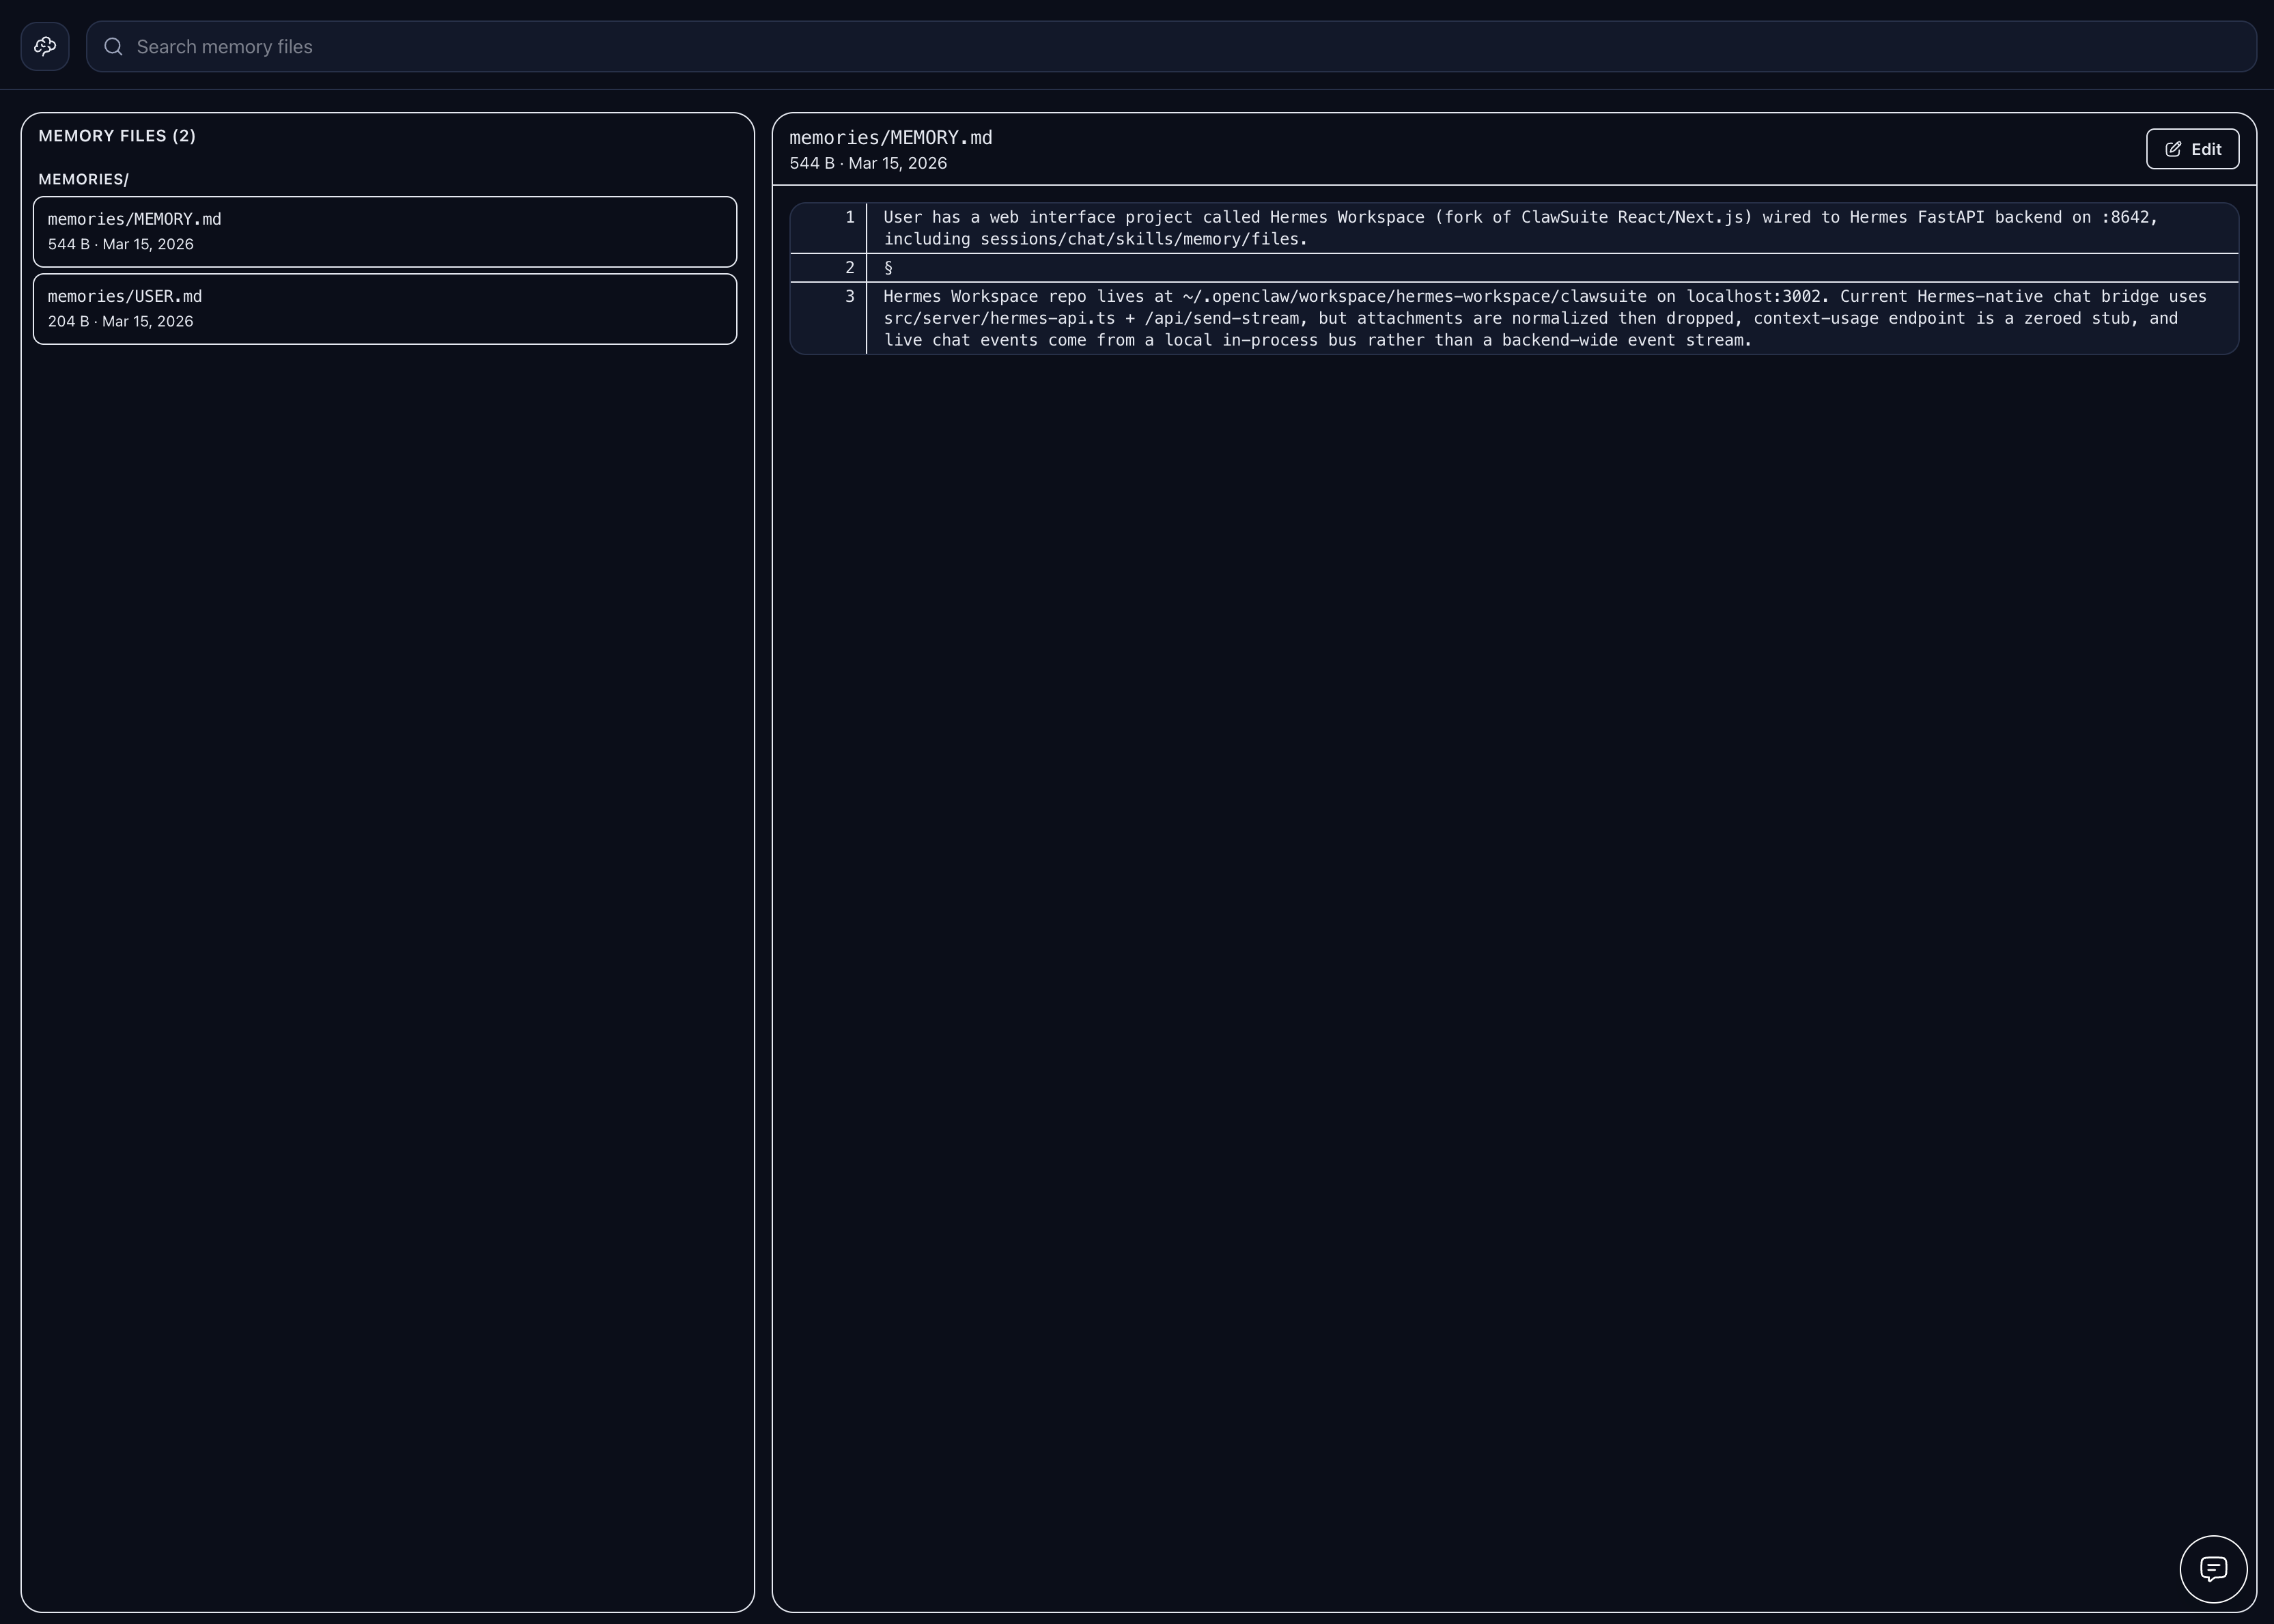
- 🧠 Memory — Browse, search, and edit agent memory; markdown live editor
- 🧩 Skills — Browse 2,000+ skills with origin badges, filters, source paths, marketplace
- 🔌 MCP — Full /mcp page (catalog + marketplace + sources), or fallback to local config CRUD
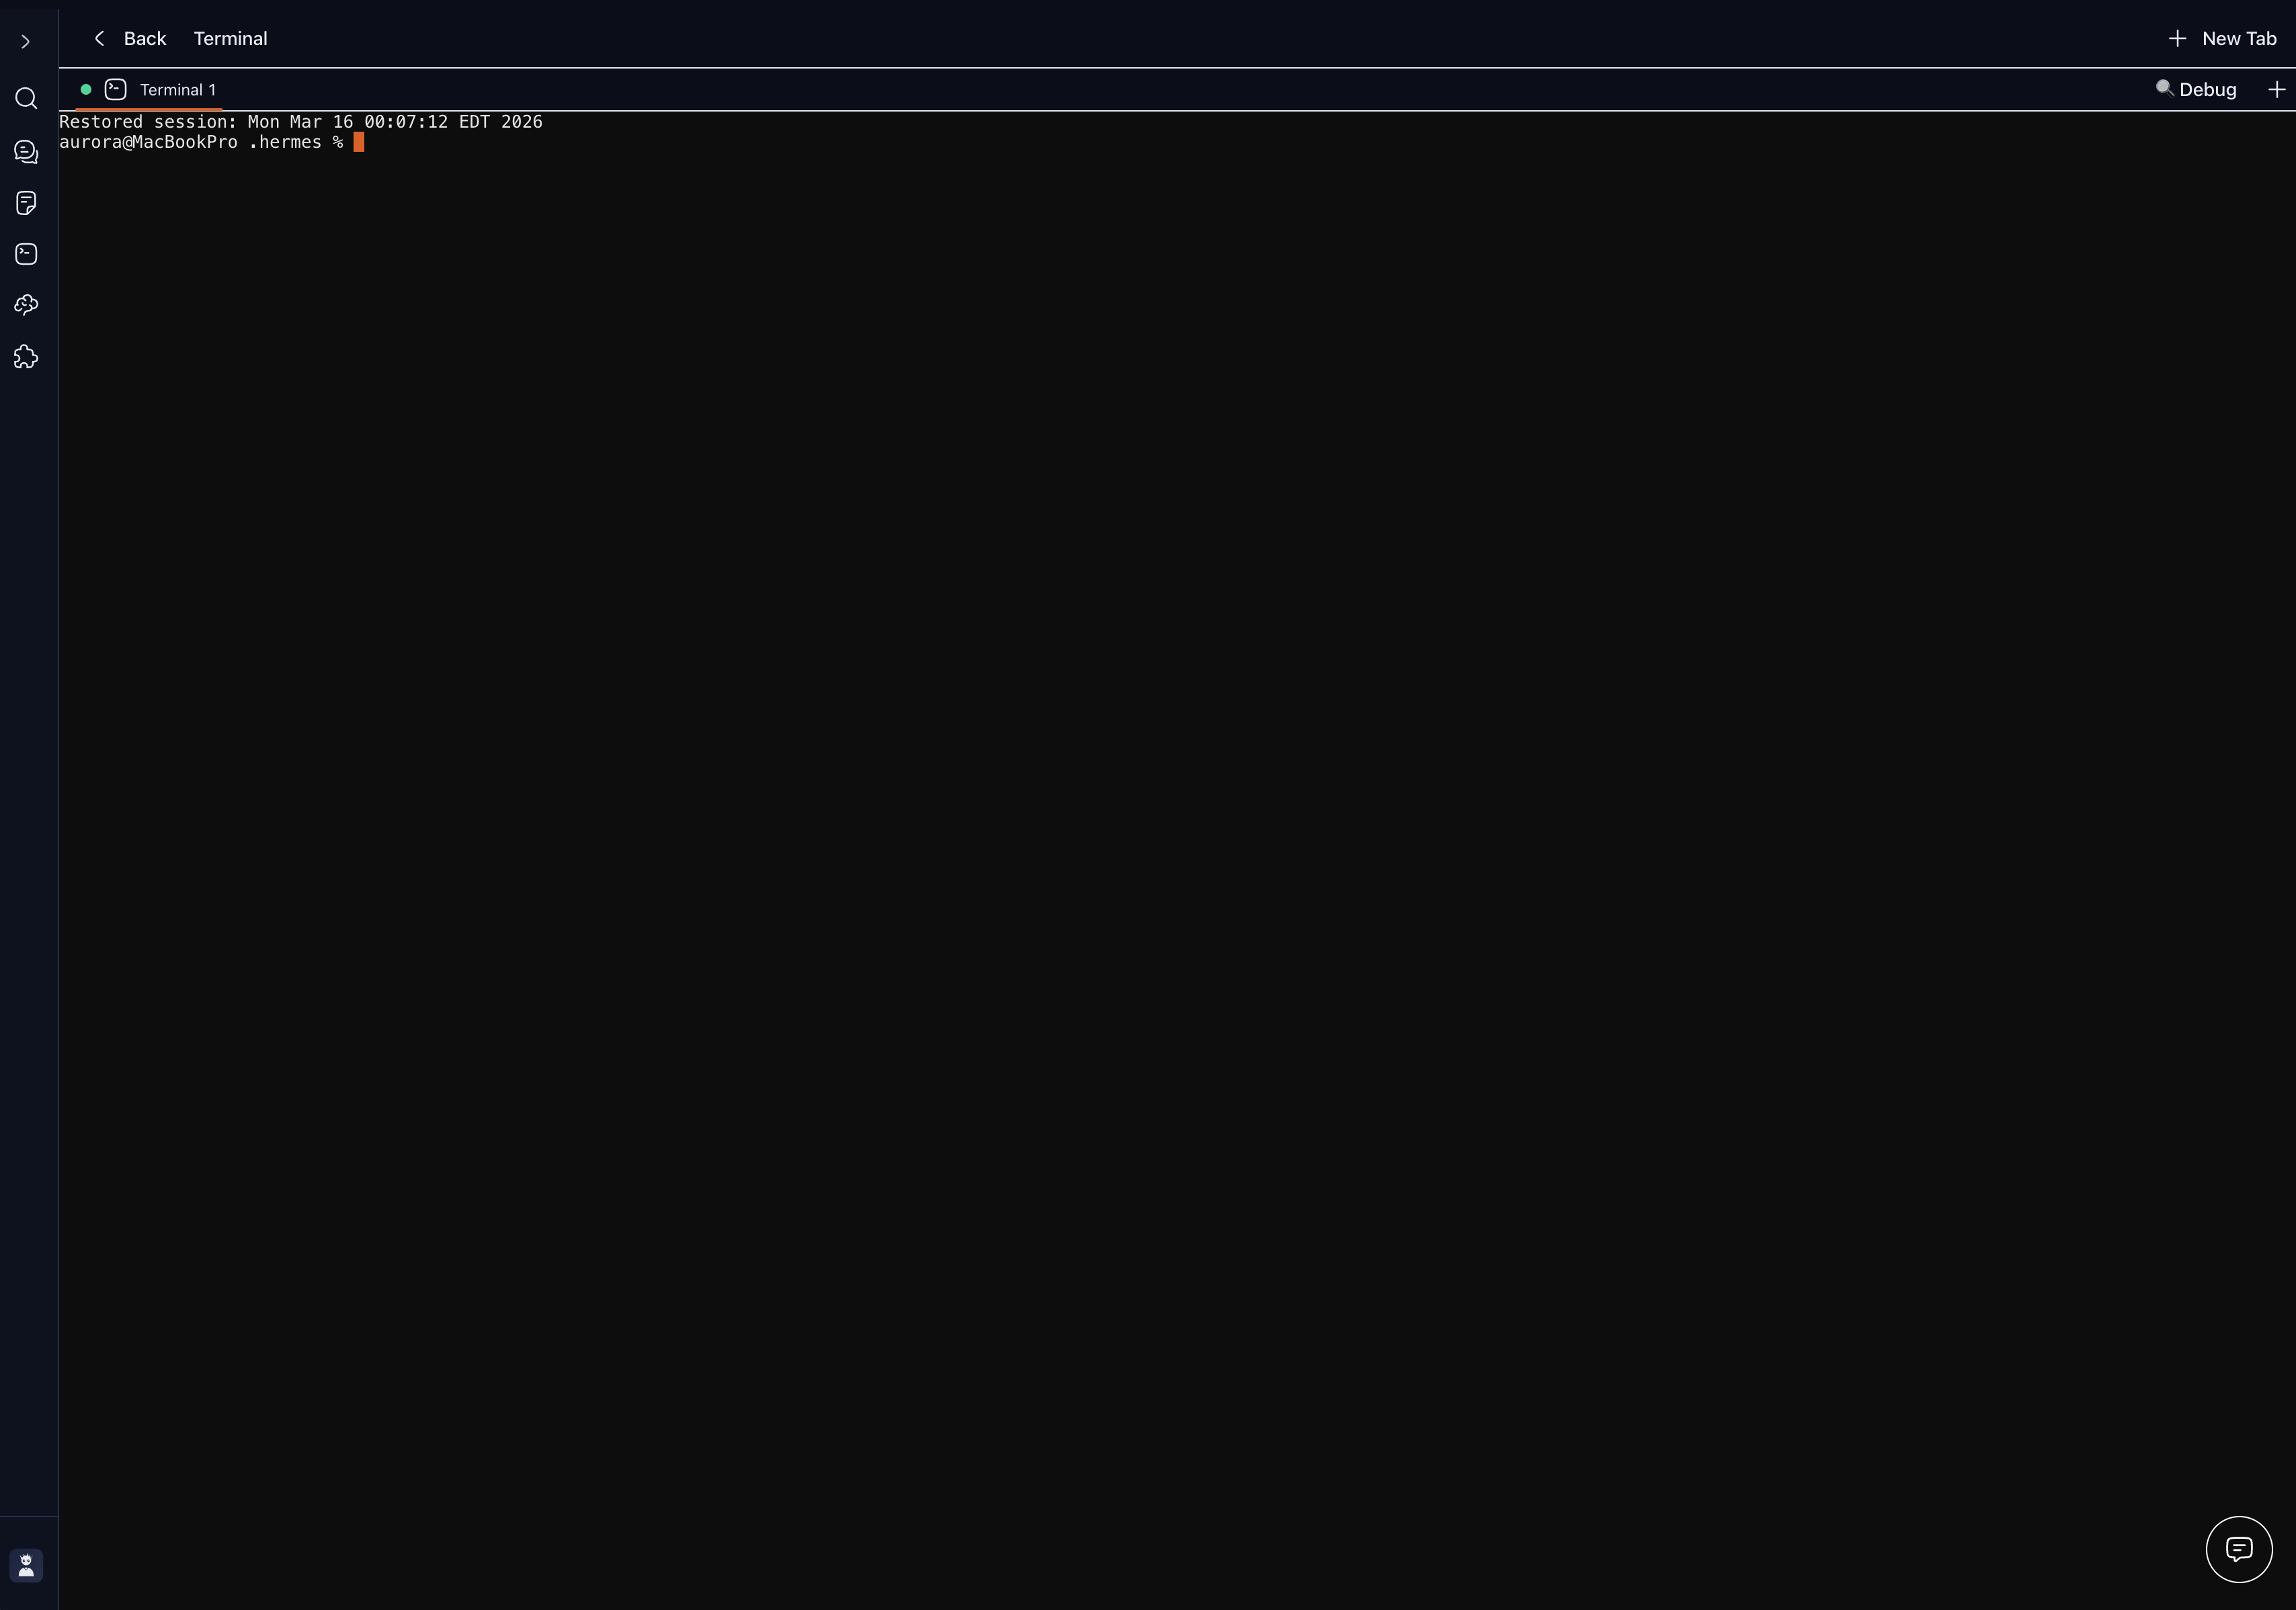
- 📁 Files + Terminal — Full workspace file browser with Monaco; cross-platform PTY terminal
- 🎮 Operations — Multi-agent dashboard with profile presets (Sage/Trader/Builder/Scribe/Ops) and 'Needs setup' detection
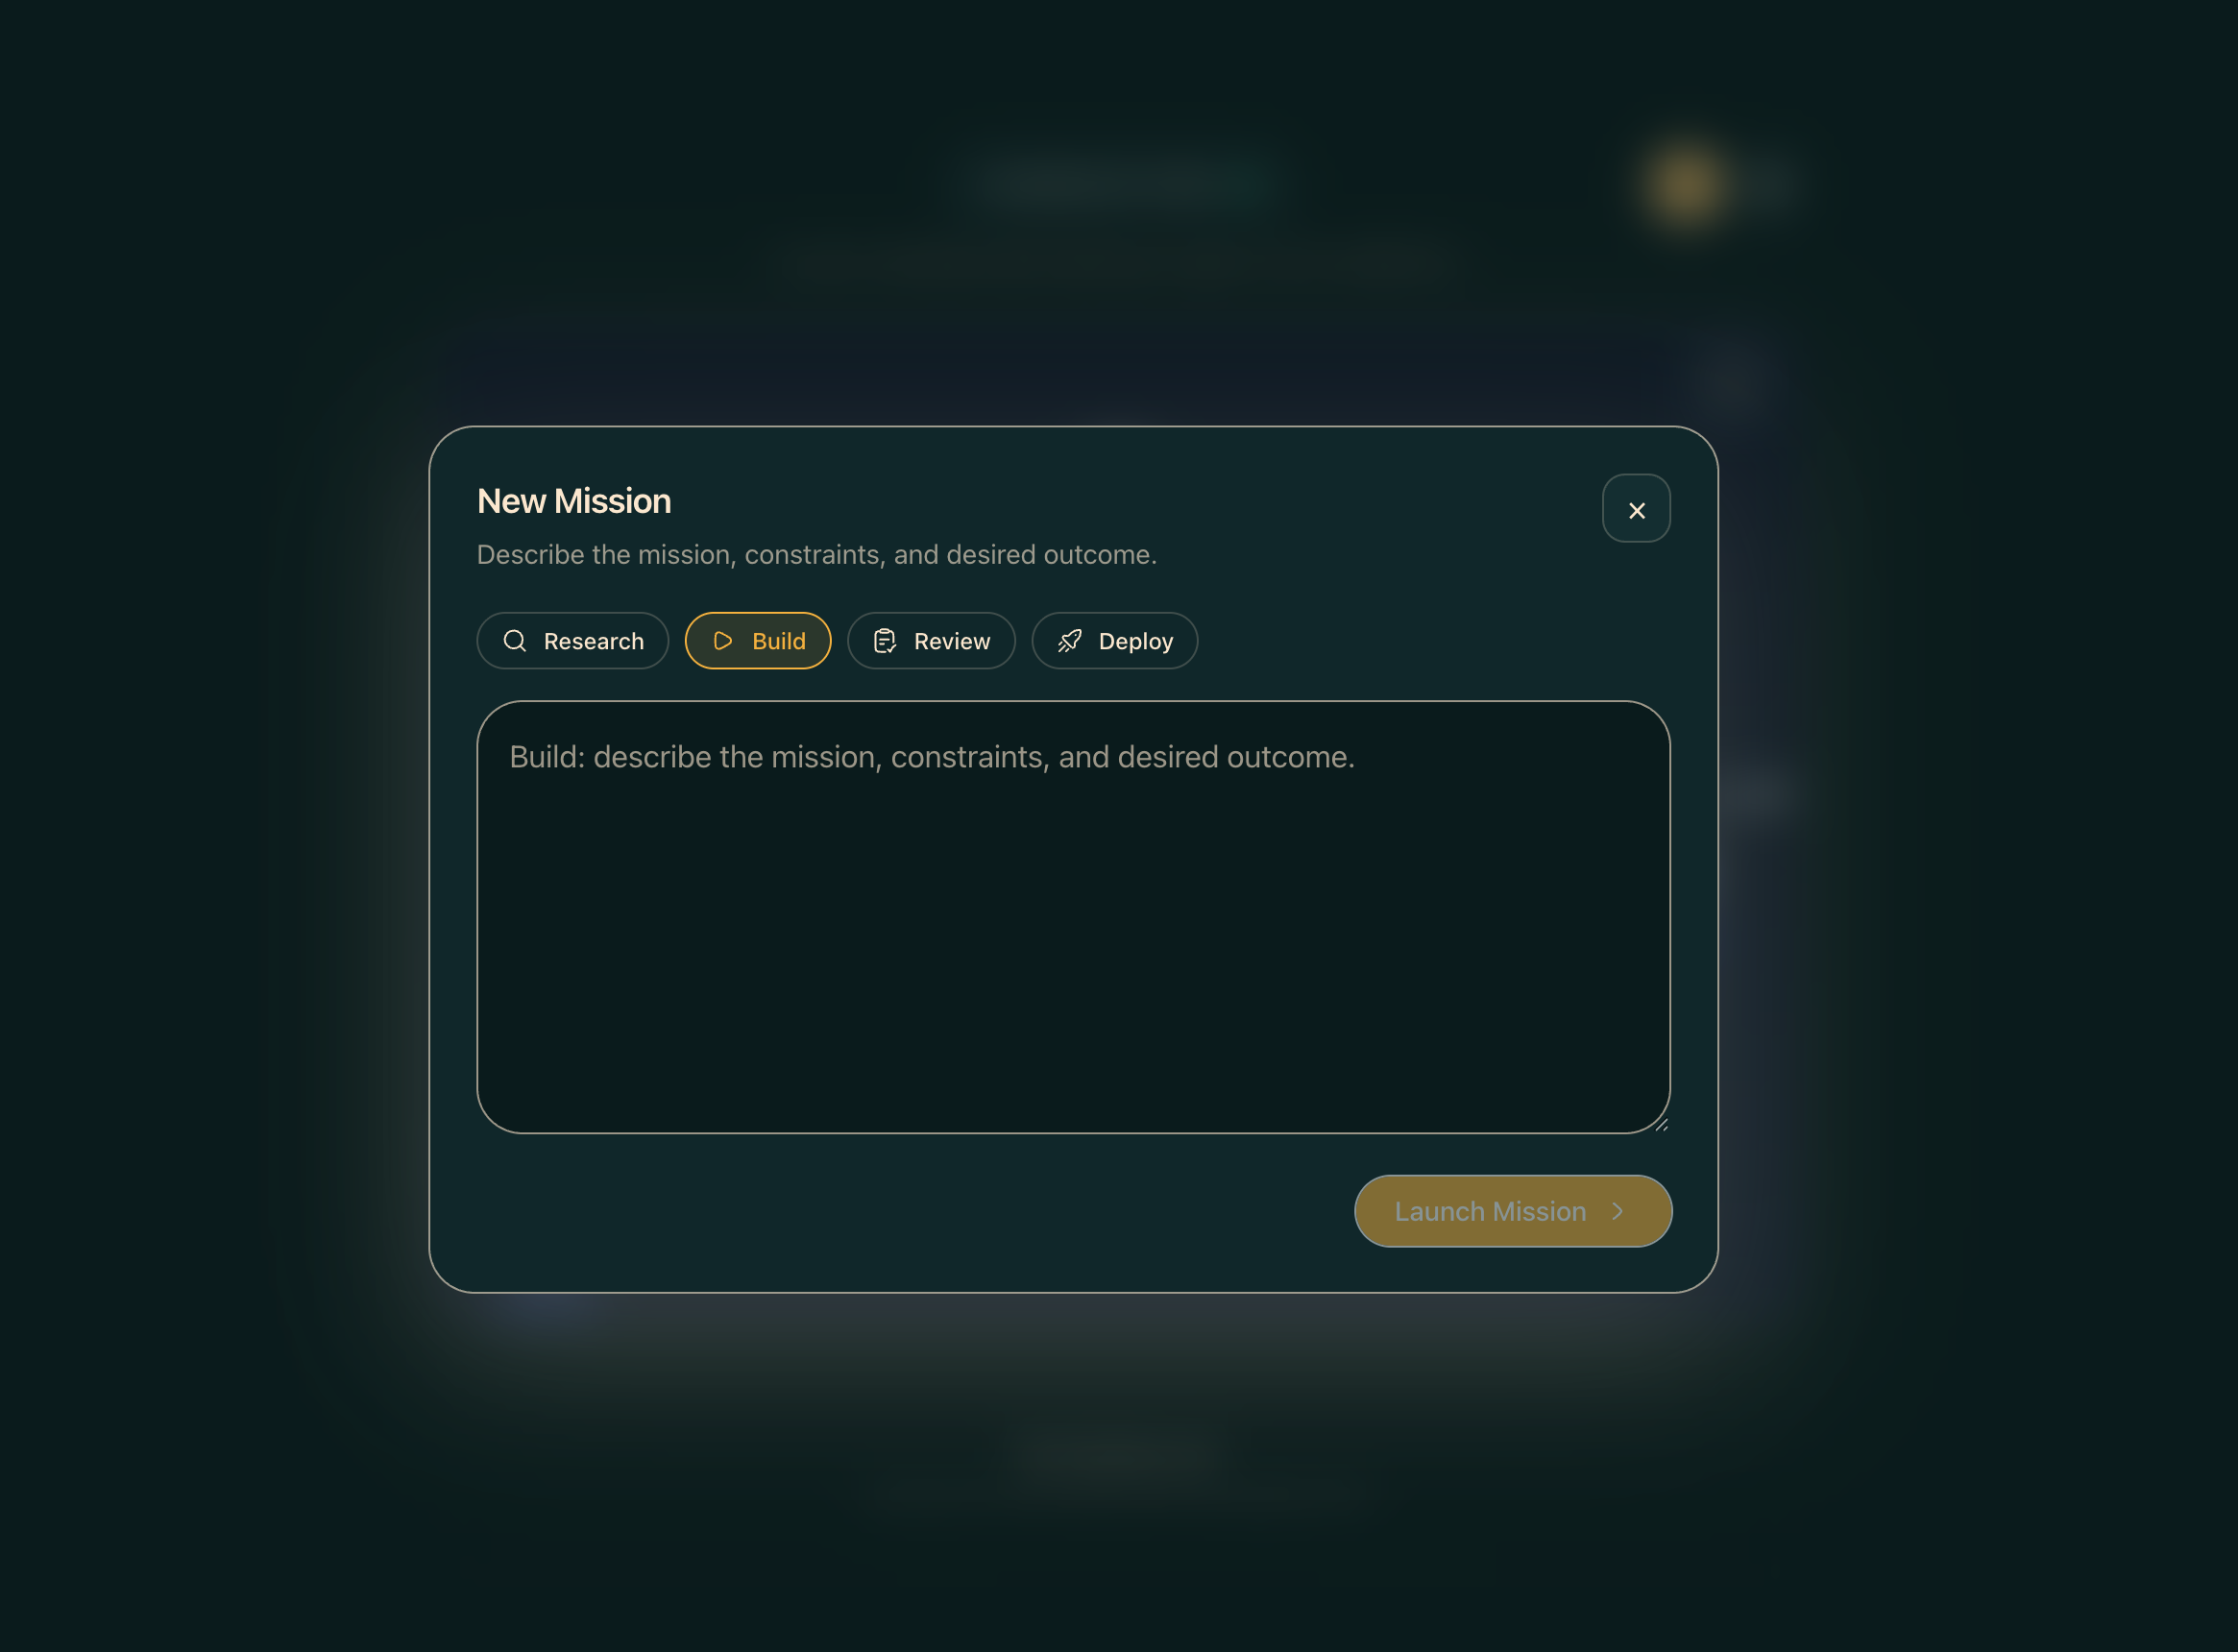
- 📡 Conductor — Mission dispatch + decomposition with dashboard-backed missions when available and Workspace-native Swarm fallback otherwise
- 👥 Agent View — Live agent panel in chat with avatar, queue, history, usage meter
- 🐝 Swarm Mode — Persistent tmux-backed Hermes Agent workers with role-based dispatch
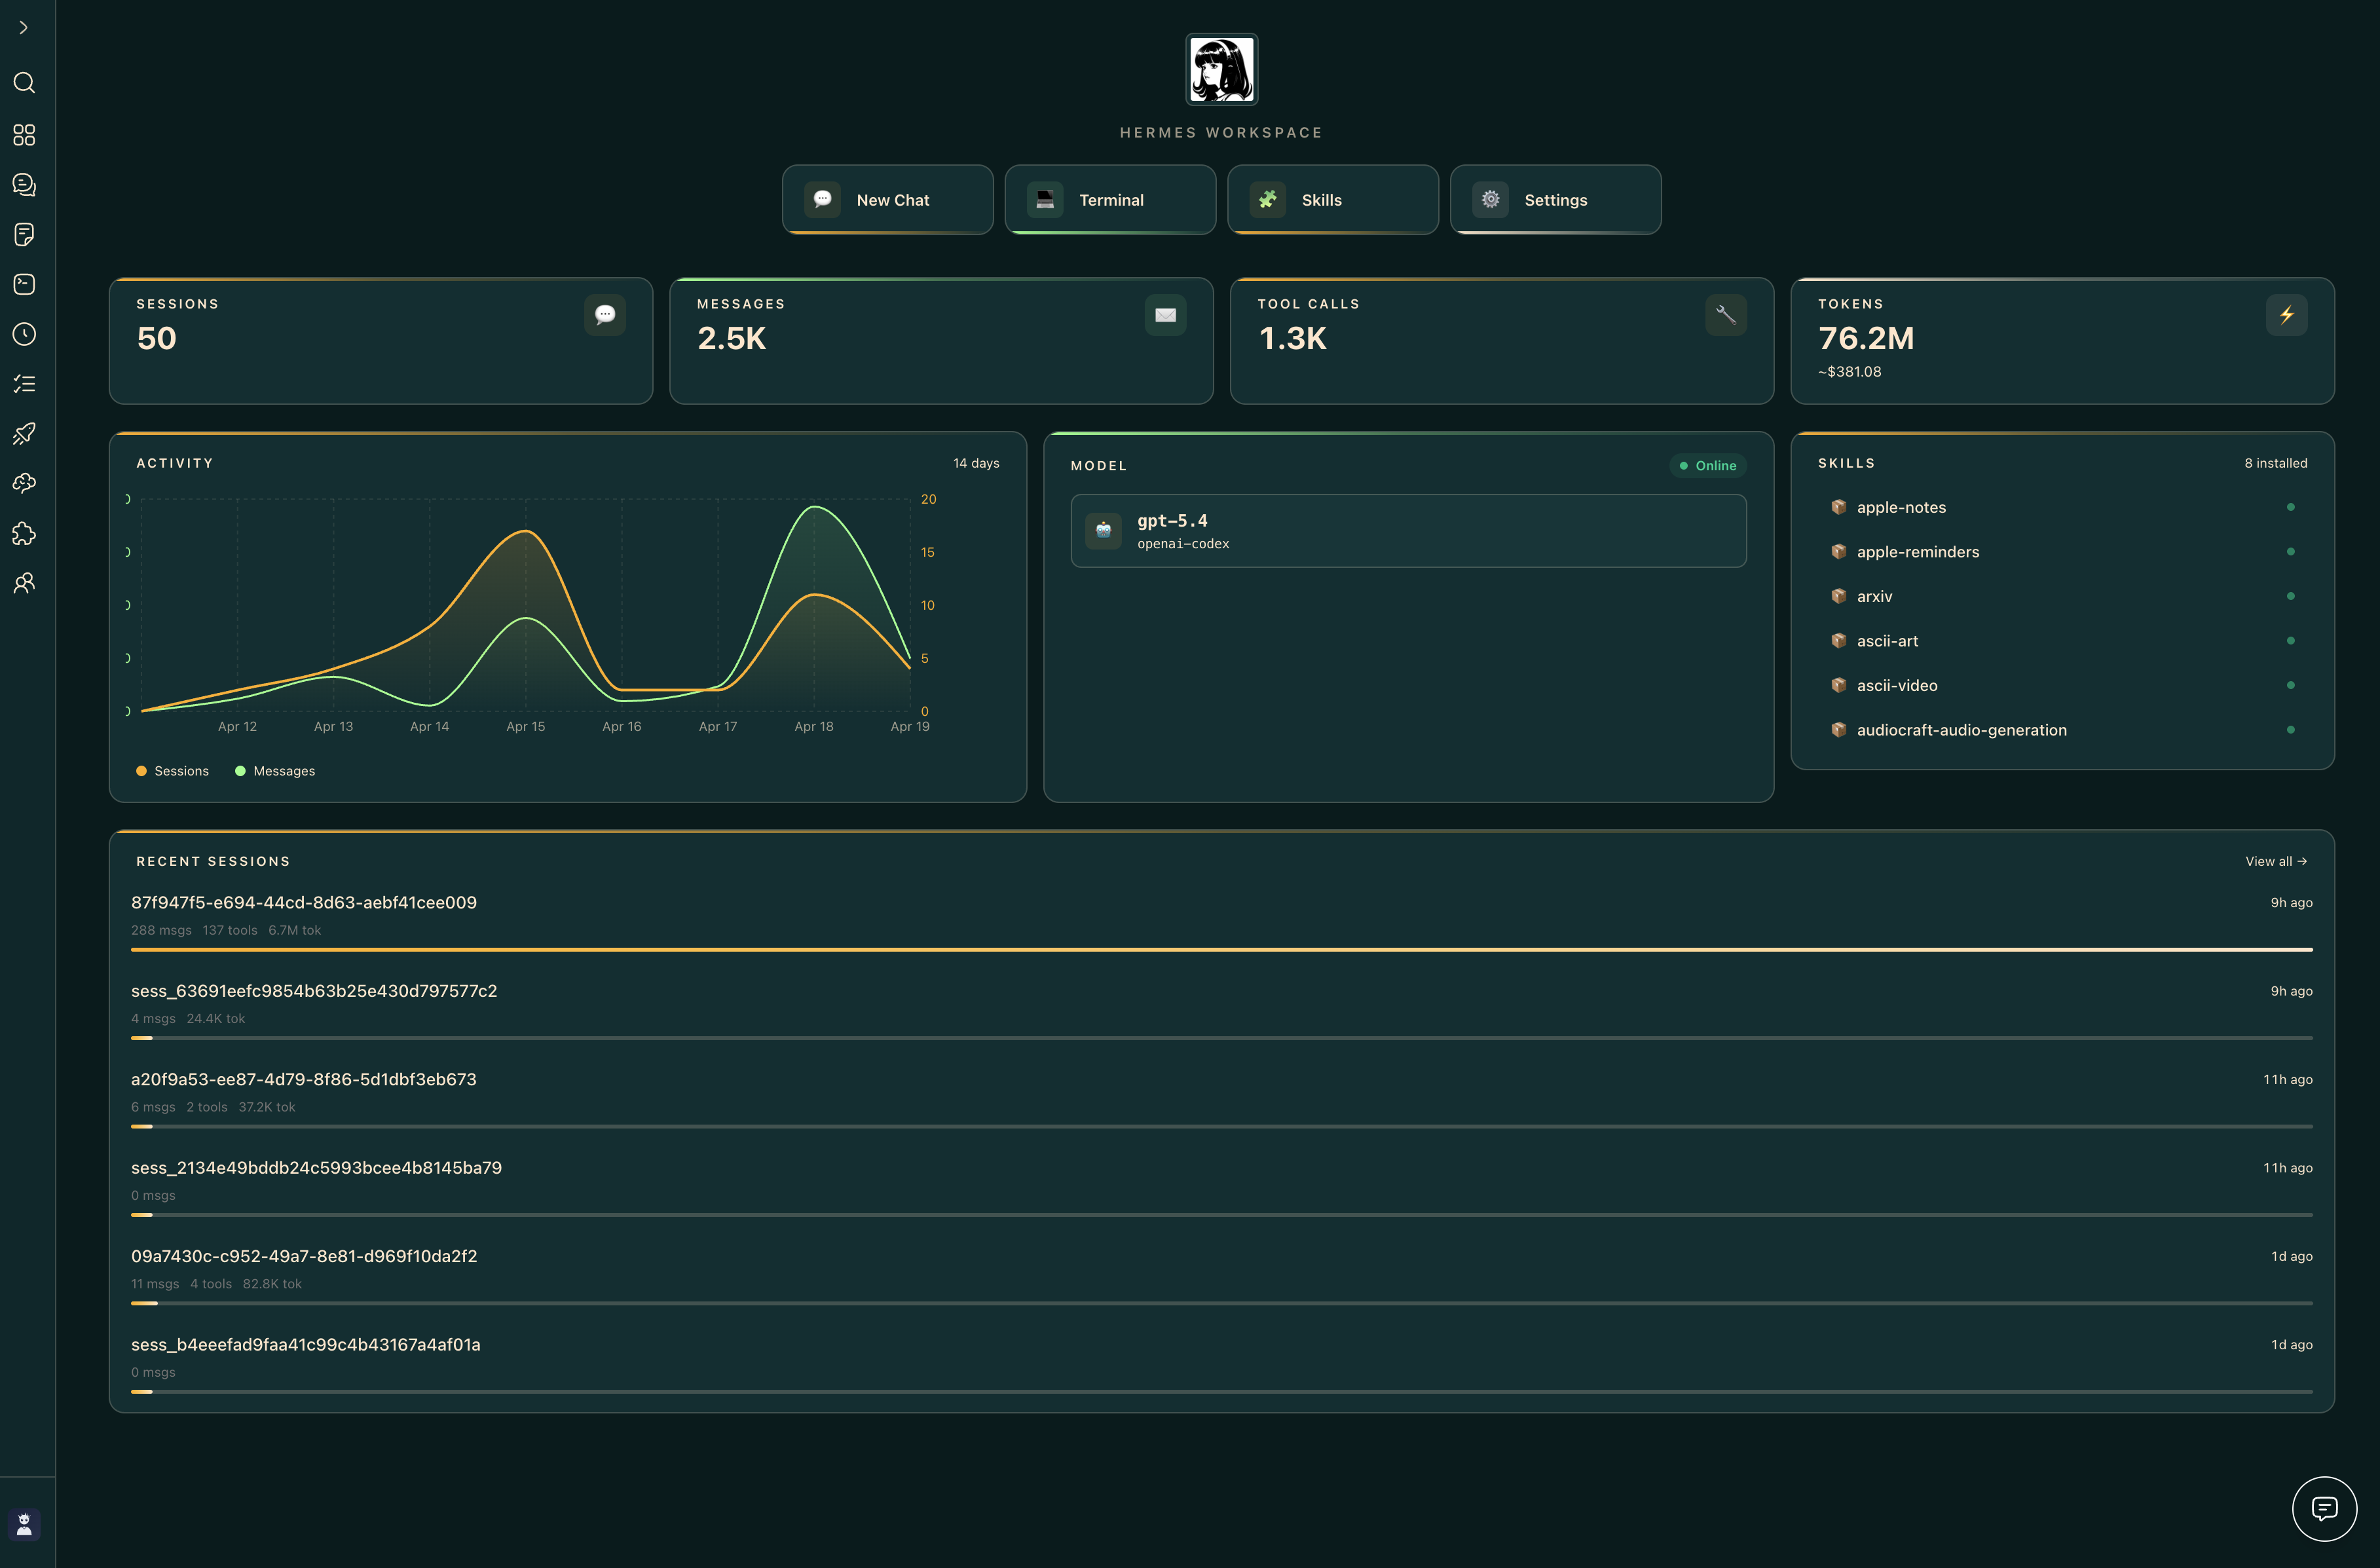
- 🗄️ Dashboard — Aggregated overview: sessions, model mix, cost ledger, attention card, ops strip
- 🎨 Themes — Hermes, Nous, Bronze, Slate, Mono (light + dark)
- 🔒 Security — Auth middleware on every route, CSP, path-traversal guard, fail-closed remote bind
- 📱 PWA + Tailscale — Install as a native-feeling app; access from any device on your tailnet
- ⚙️ Capability gates — Features that need upstream endpoints (Conductor) show a clean placeholder instead of failing mid-action
📸 Screenshots
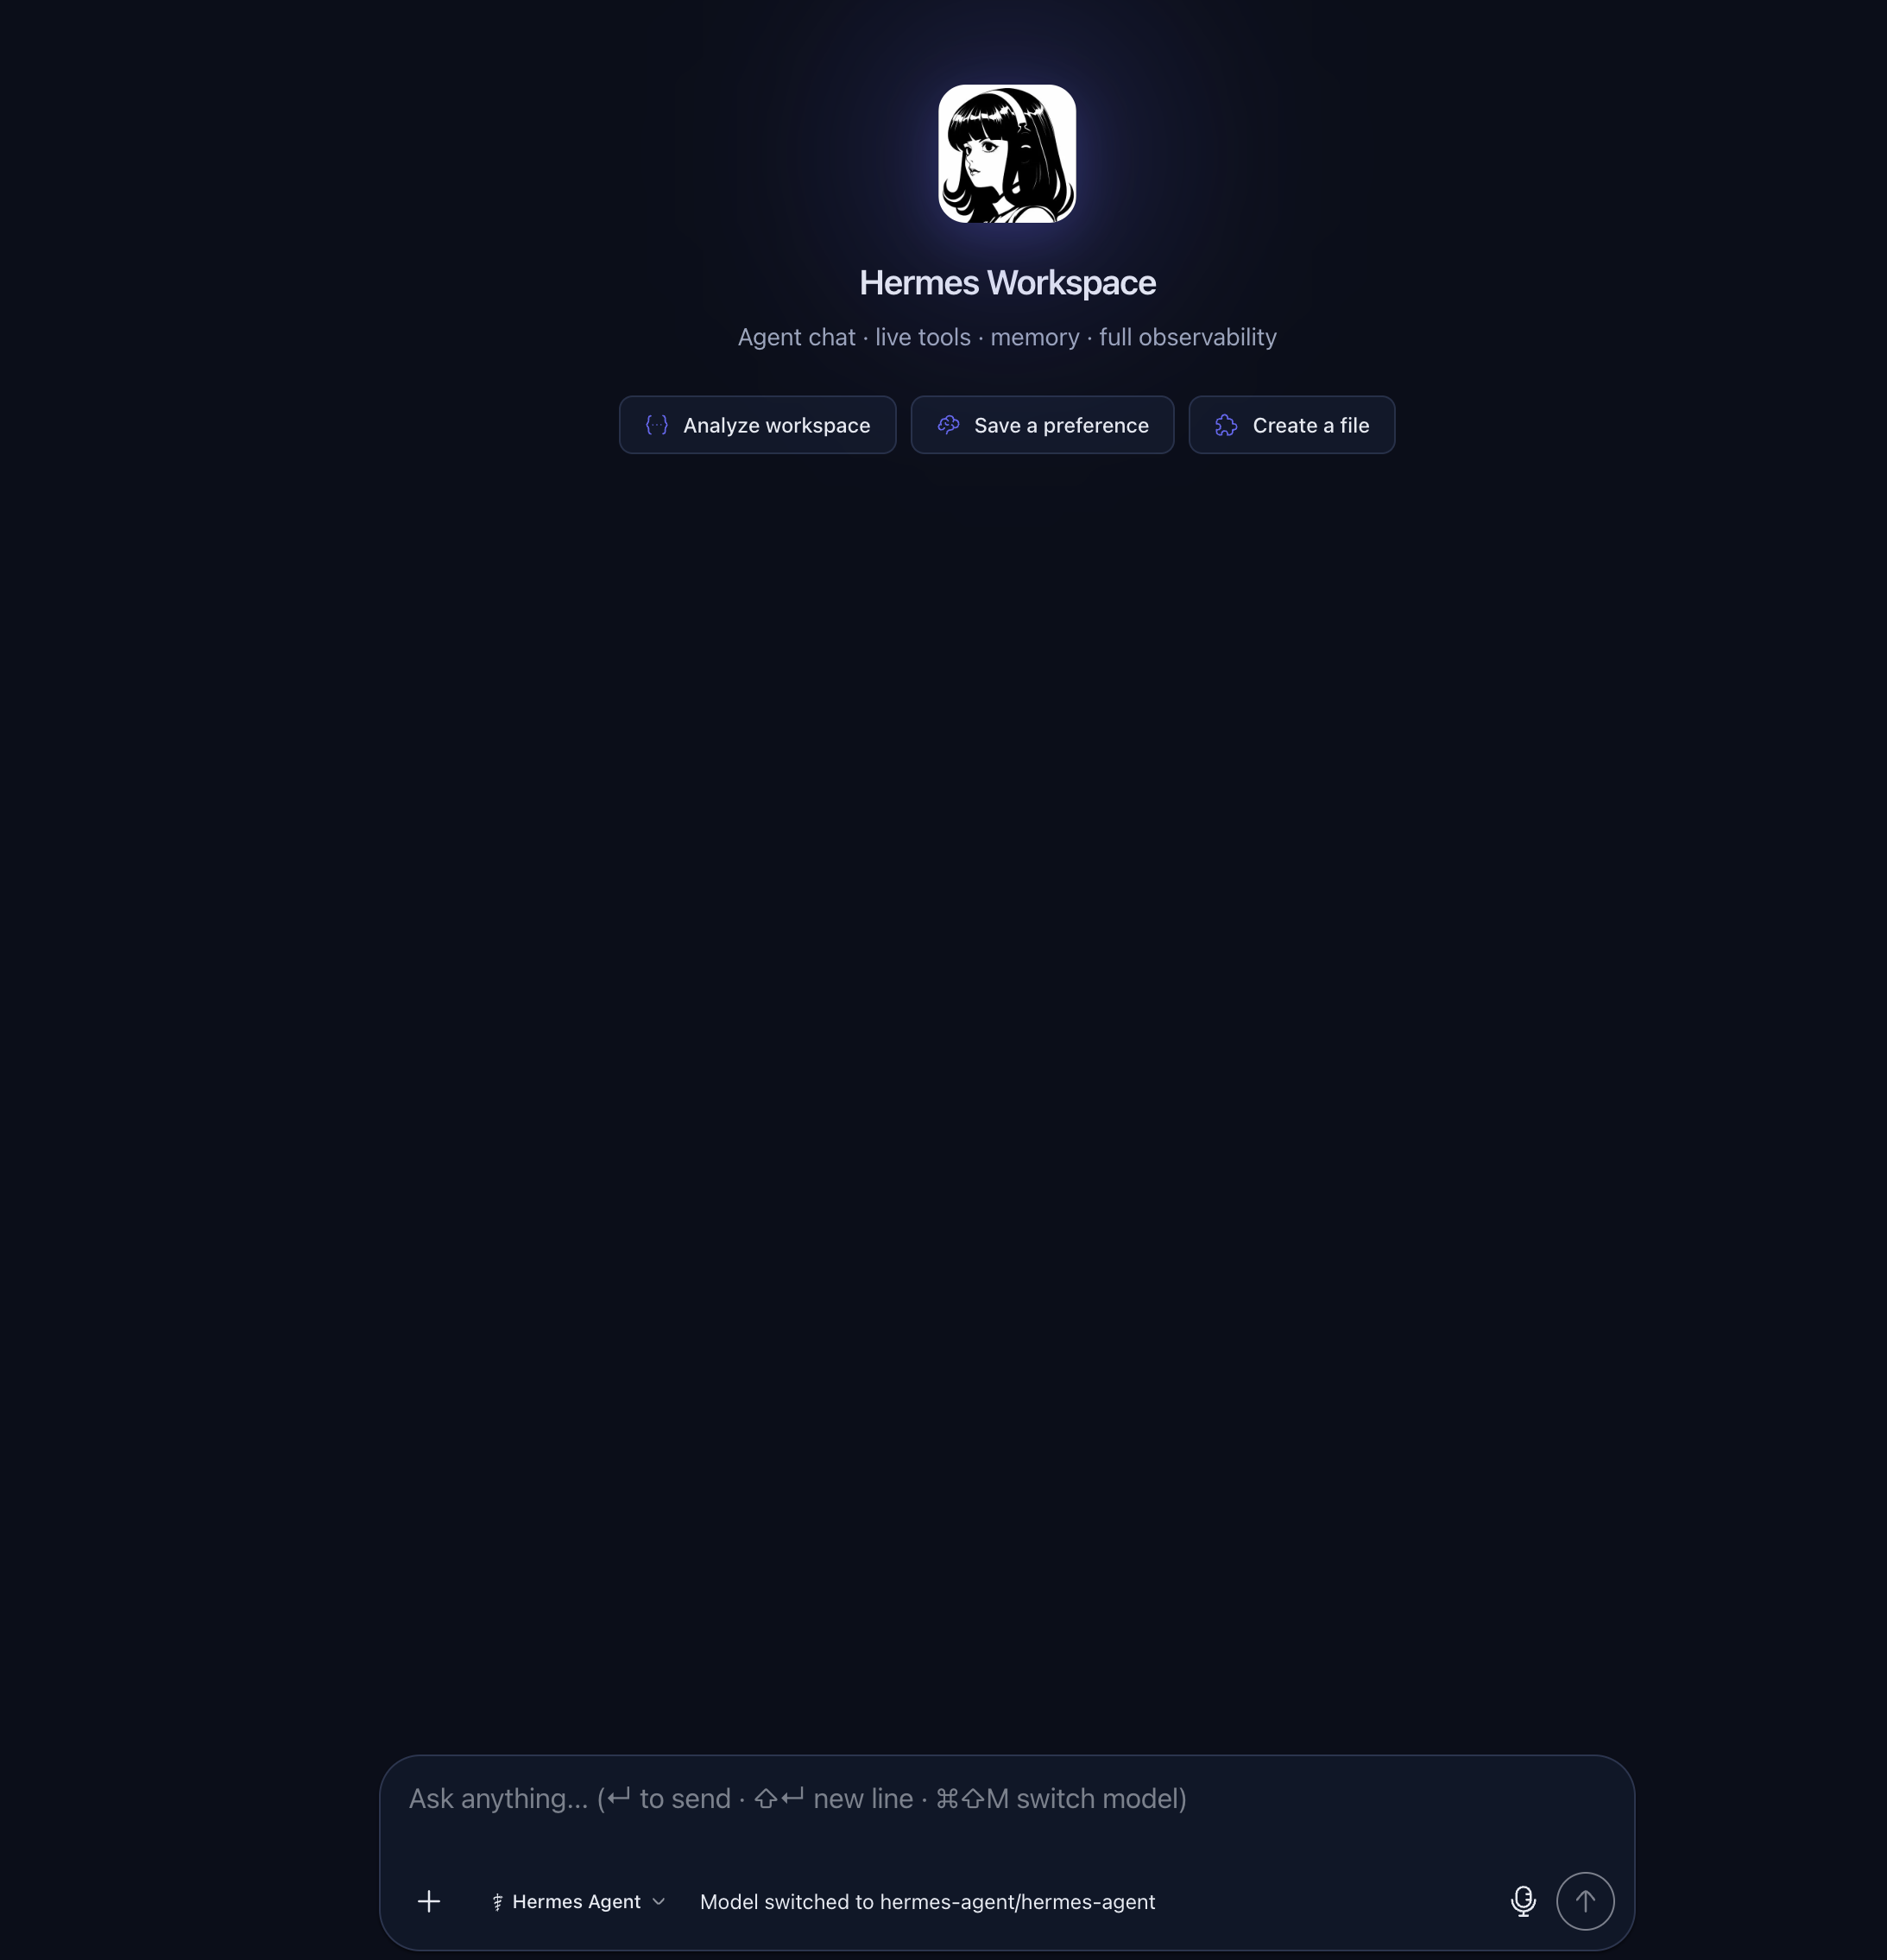
| Chat |
Conductor |
 |
 |
| Dashboard |
Memory |
 |
 |
| Terminal |
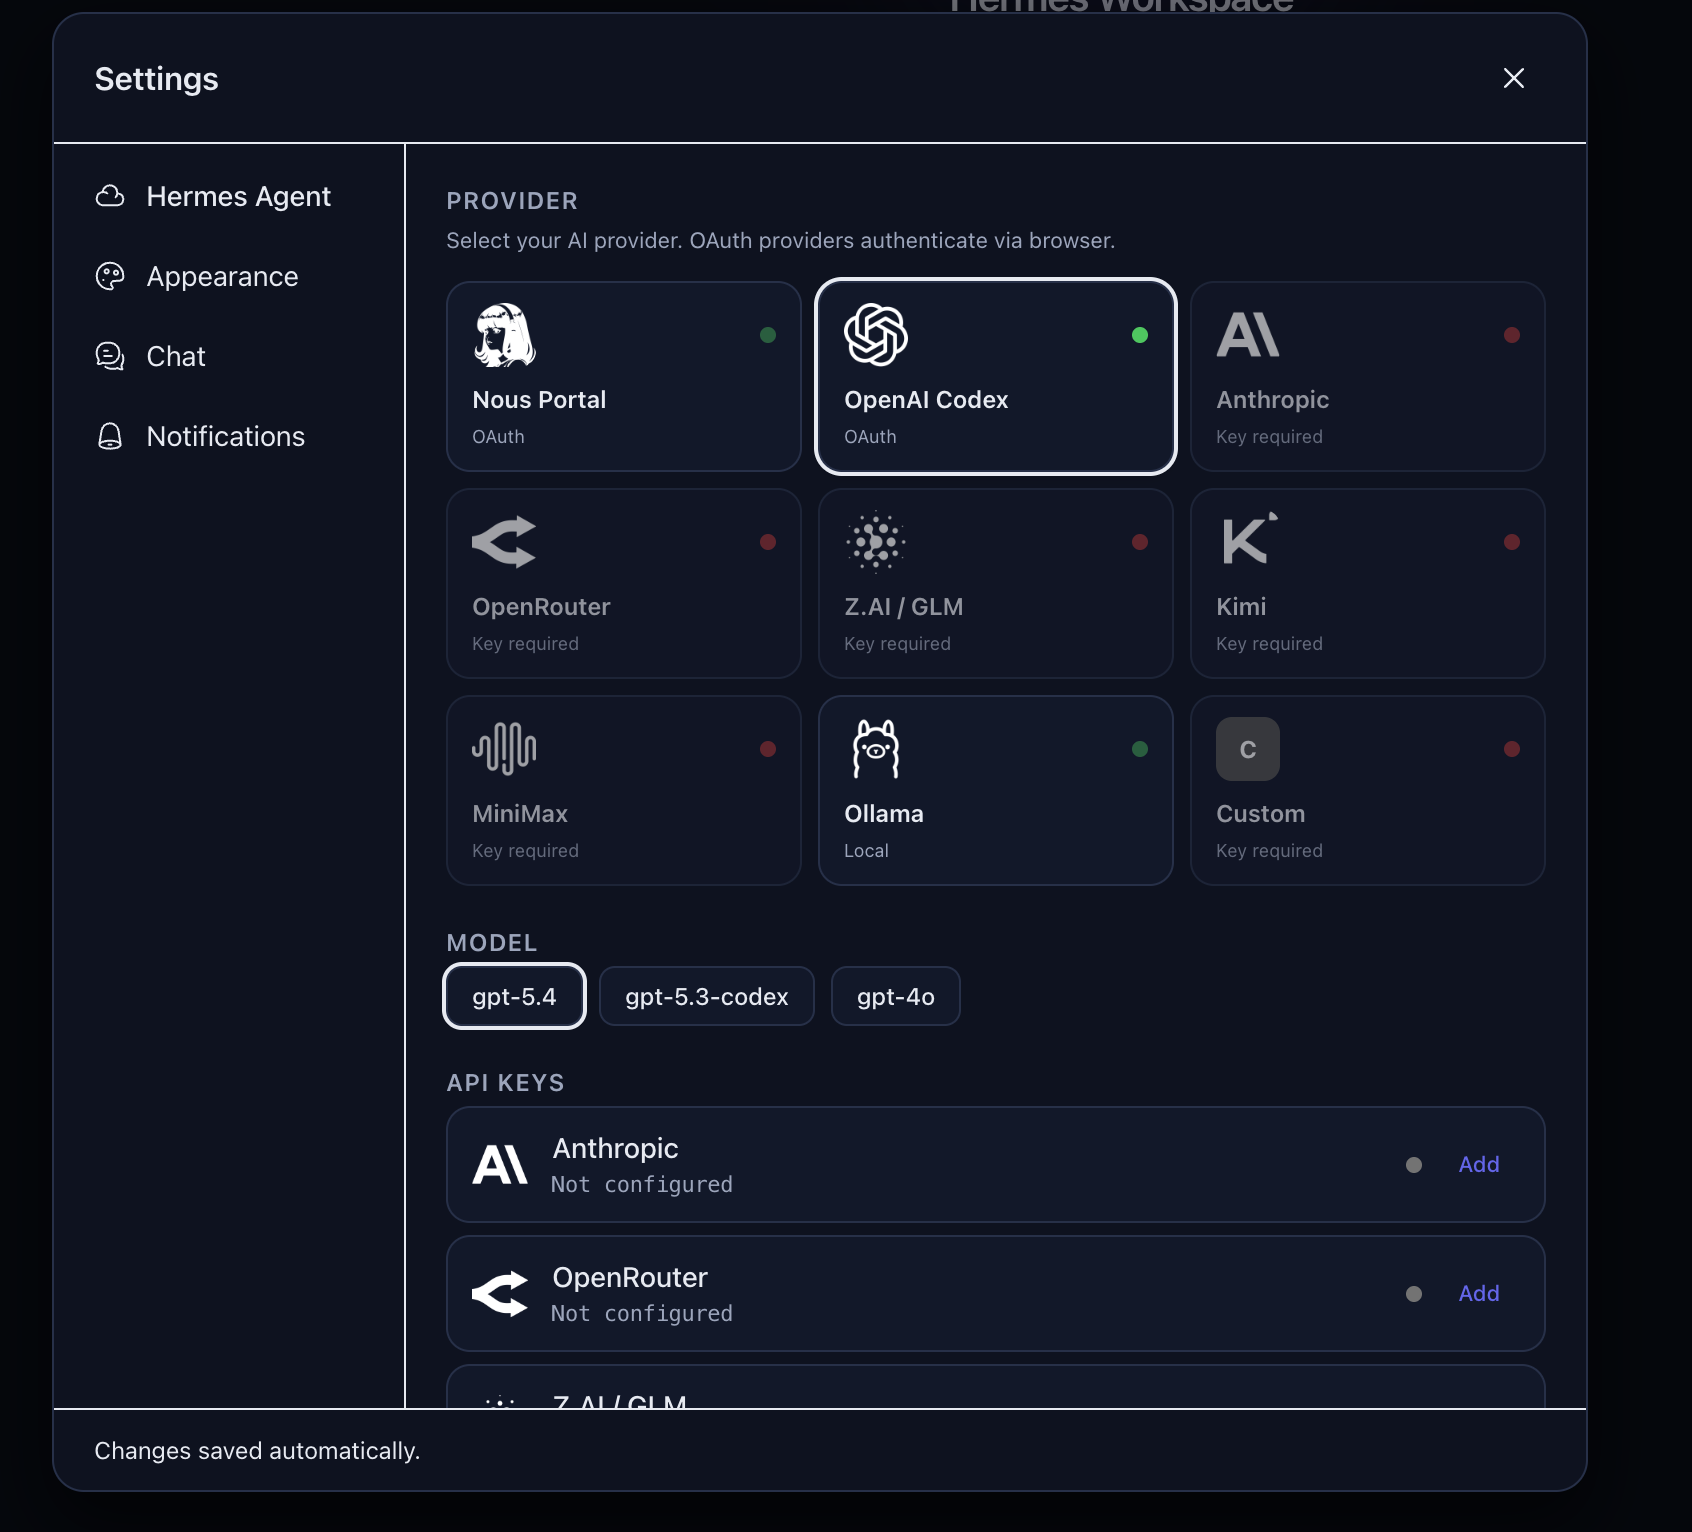
Settings |
 |
 |
| Tasks |
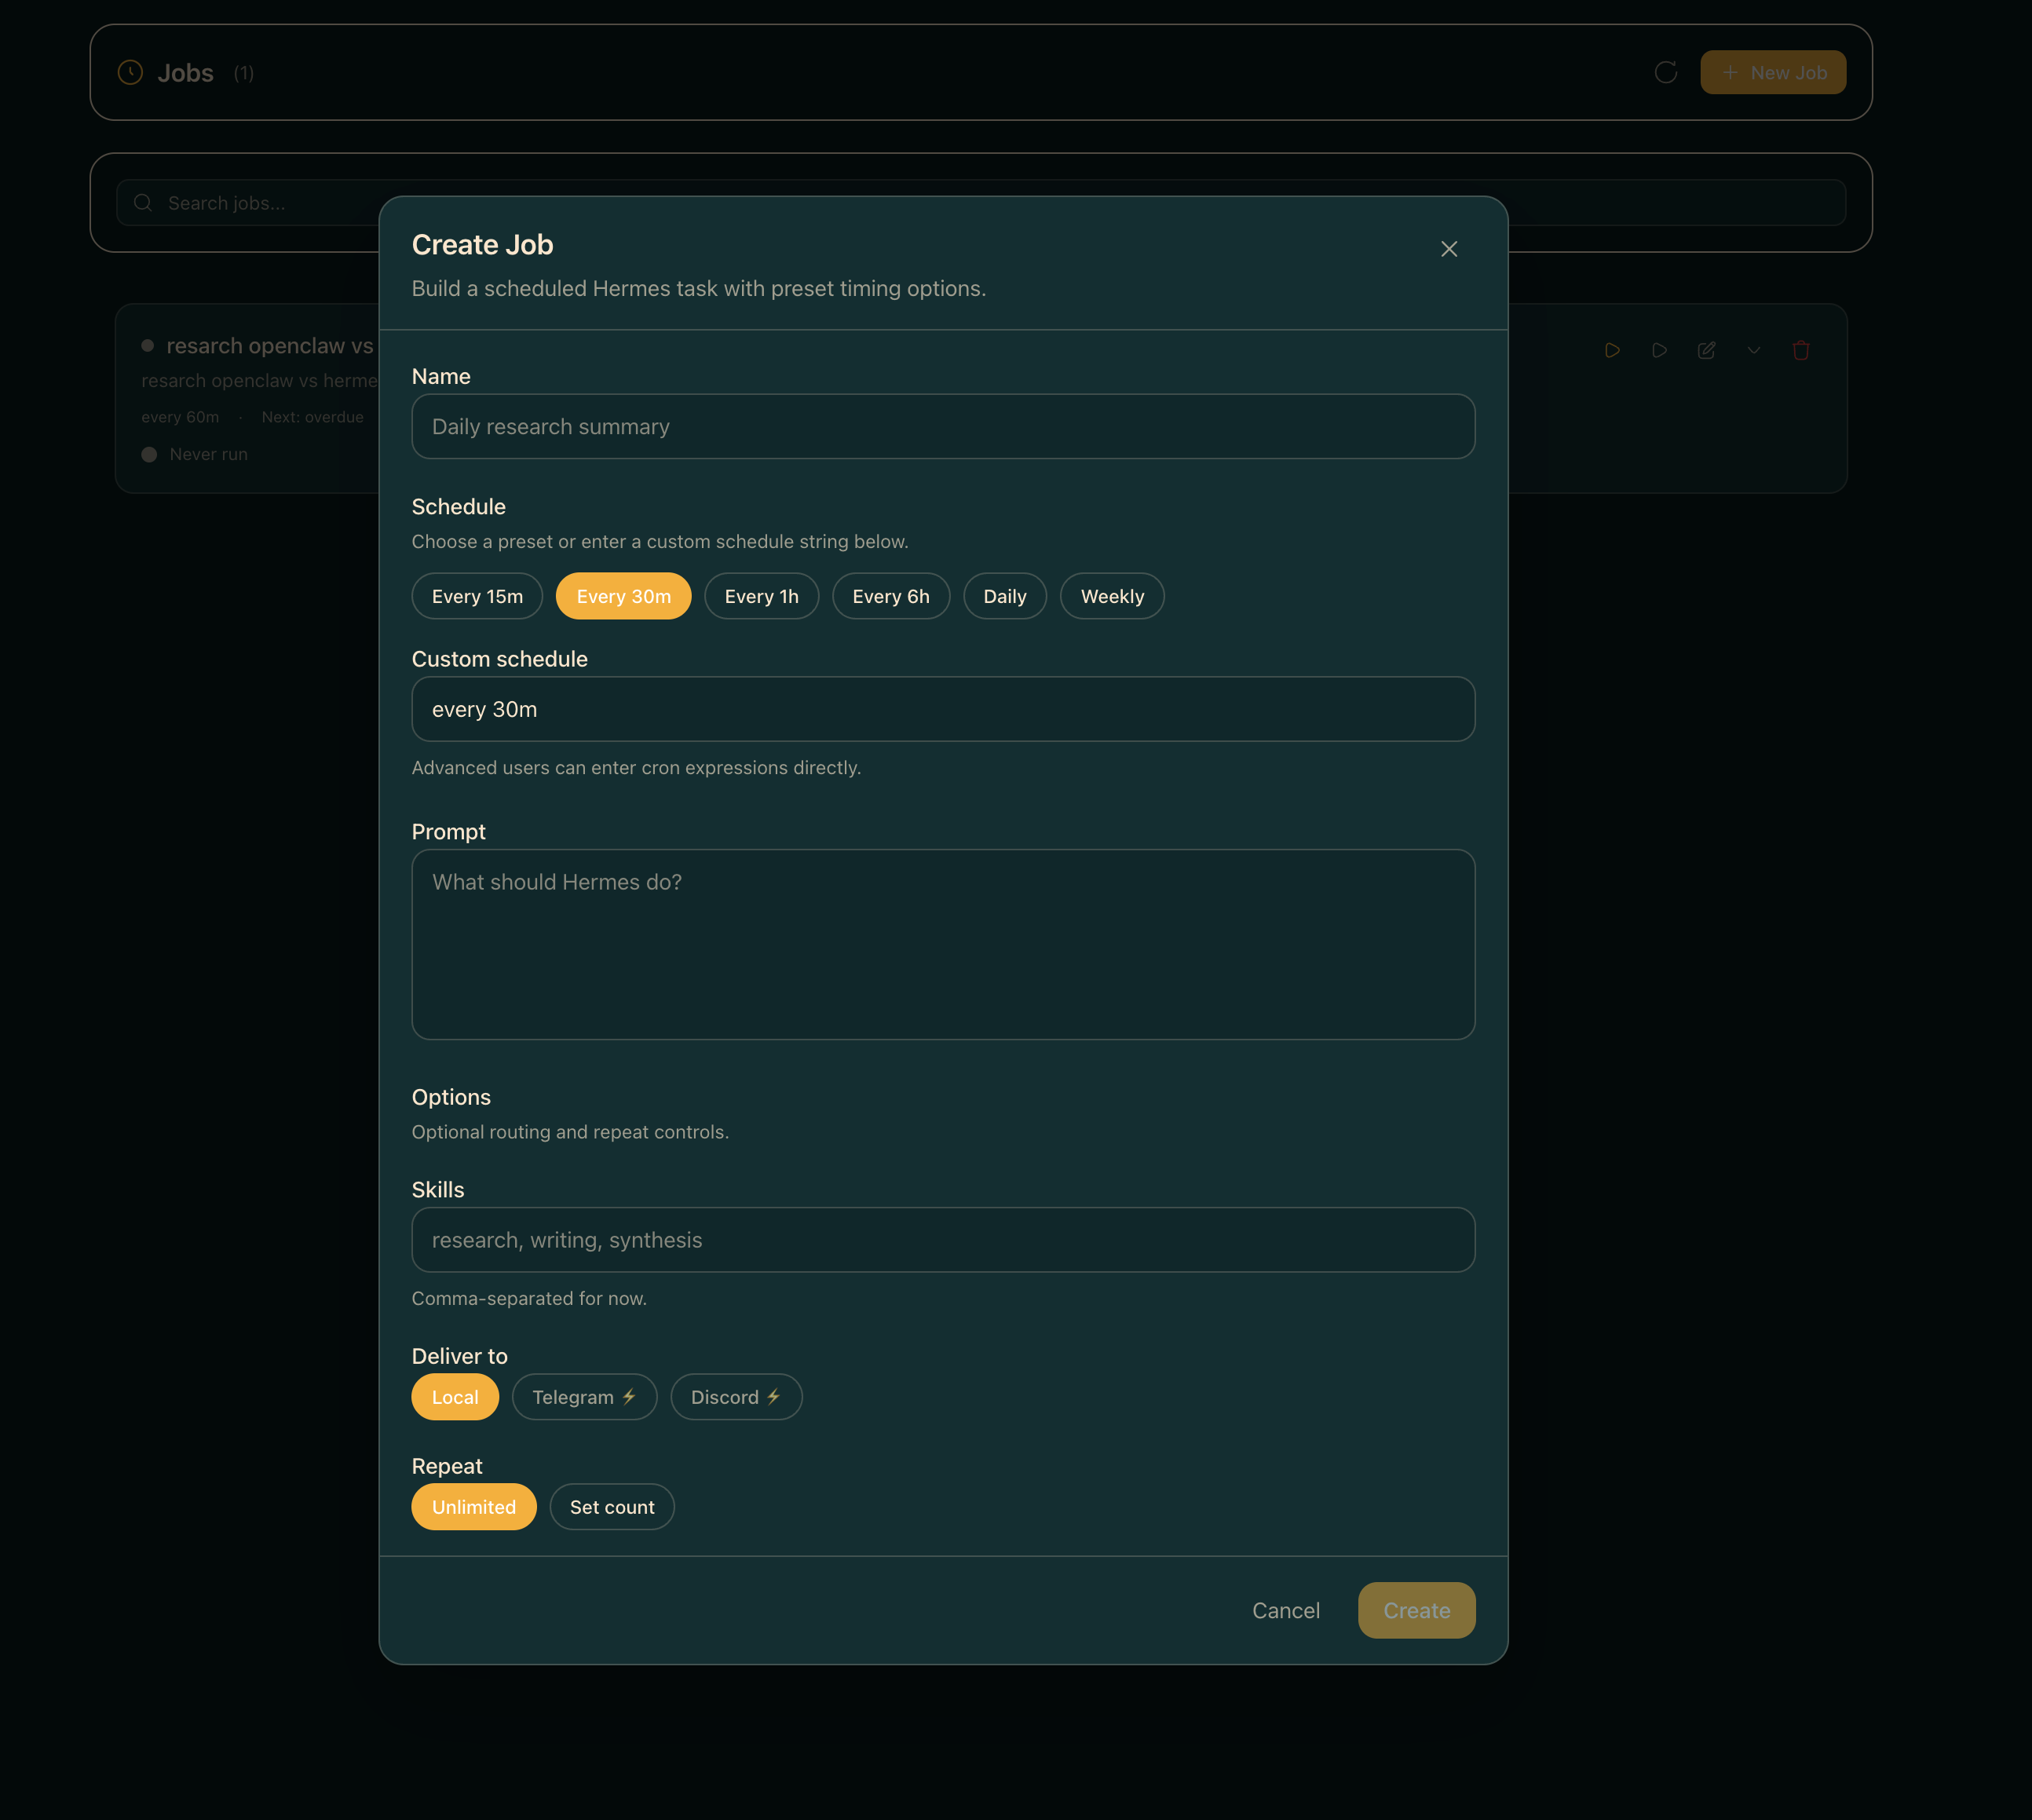
Jobs |
 |
 |
🚀 Quick Start
Three paths — pick the one that matches you:
| Path |
Best for |
Time |
| 🐳 Docker Compose |
Self-hosters, home labs, "give me a compose gig" |
~2 min |
| 🌐 One-line install |
Local dev on macOS/Linux |
~3 min |
🔌 Attach to existing hermes-agent |
You already run Hermes Agent |
~1 min |
One-line install
curl -fsSL https://raw.githubusercontent.com/outsourc-e/hermes-workspace/main/install.sh | bash
This installs hermes-agent via Nous's official installer, clones this repo, sets up .env, and installs dependencies. Then:
hermes gateway run                  # terminal 1
cd ~/hermes-workspace && pnpm dev   # terminal 2
Open http://localhost:3000. That's it.
Already running hermes-agent? Attach the workspace to it
If you already have hermes-agent installed (via Nous's official installer, a source checkout, systemd, Docker, or another existing setup) and it's serving the gateway at http://<host>:8642, you don't need to reinstall anything — just point the workspace at it.
git clone https://github.com/outsourc-e/hermes-workspace.git
cd hermes-workspace
pnpm install
cp .env.example .env

# Point at your existing Hermes Agent services.
echo 'HERMES_API_URL=http://127.0.0.1:8642' >> .env
# Zero-fork installs also need the separate dashboard API for config/sessions/skills/jobs.
echo 'HERMES_DASHBOARD_URL=http://127.0.0.1:9119' >> .env

# If your gateway was started with API_SERVER_KEY (auth enabled), set the same value:
# echo 'HERMES_API_TOKEN=***' >> .env

pnpm dev                            # http://localhost:3000 (override with PORT=4000 pnpm dev)
Requirements on the agent side:
- Gateway bound to an address the workspace can reach (typically
API_SERVER_HOST=0.0.0.0 + the port exposed).
API_SERVER_ENABLED=true in ~/.hermes/.env (or the agent's env) so the gateway serves core APIs on :8642.hermes dashboard running (default http://127.0.0.1:9119) for zero-fork installs. The dashboard provides config, sessions, skills, and jobs APIs.- If
API_SERVER_KEY is set, the workspace must pass the same value via HERMES_API_TOKEN — otherwise leave both unset.
Verify both services before opening the workspace:
curl http://127.0.0.1:8642/health should return ok.curl http://127.0.0.1:9119/api/status should return dashboard metadata.curl http://127.0.0.1:3000/api/sessions (after the workspace boots) should return a sessions payload or an empty list.
If /api/sessions is already returning data, do not start another gateway just because the UI still says Offline — refresh or reprobe the Workspace UI first.
If your default model is gpt-5.4 / openai-codex, make sure Codex CLI auth is live before testing chat:
codex login
Then start the workspace and complete onboarding — it should detect the gateway + dashboard pair and unlock the enhanced panes automatically.
Running on a remote host (Tailscale / VPN / LAN)
If the workspace and its browser live on different machines — e.g. the workspace runs on a Pi/Mac/home server and you access it from your phone over Tailscale — point HERMES_API_URL at the reachable backend address, not 127.0.0.1:
# On the server running the workspace + gateway:
echo 'HERMES_API_URL=http://100.x.y.z:8642' >> .env
echo 'HERMES_DASHBOARD_URL=http://100.x.y.z:9119' >> .env

# Also tell the gateway to listen on all interfaces so Tailscale peers can reach it.
# In ~/.hermes/.env (or wherever the gateway reads config):
echo 'API_SERVER_HOST=0.0.0.0' >> ~/.hermes/.env
Then restart the gateway, dashboard, and workspace. Hit the workspace from the remote device and the connection probe will use the Tailscale IP instead of localhost. Both HERMES_API_URL and HERMES_DASHBOARD_URL must be set to Tailscale/LAN-reachable URLs — setting only one will leave the other probing 127.0.0.1 and failing.
If you've already started the workspace, you can update both URLs from Settings → Connection without restarting. The values are persisted to ~/.hermes/workspace-overrides.json and take effect immediately (gateway capabilities are reprobed on save). Editing .env still works for pre-start config and for CI/containers.
Manual install
Hermes Workspace works with any OpenAI-compatible backend. If your backend also exposes Hermes Agent gateway APIs, enhanced features like sessions, memory, skills, and jobs unlock automatically.
Prerequisites
- Node.js 22+ — nodejs.org
- An OpenAI-compatible backend — local, self-hosted, or remote
- Optional: Python 3.11+ if you want to run a Hermes Agent gateway locally
Step 1: Start your backend
Point Hermes Workspace at any backend that supports:
POST /v1/chat/completionsGET /v1/models recommended
Example Hermes Agent gateway setup (from scratch):
# Install hermes-agent via Nous's official installer
curl -fsSL https://raw.githubusercontent.com/NousResearch/hermes-agent/main/scripts/install.sh | bash

# Configure a provider + start the gateway
hermes setup
hermes gateway run
Our one-liner installer (below) does both steps automatically. If you're using another OpenAI-compatible server, just note its base URL.
Step 2: Install & Run Hermes Workspace
# In a new terminal
git clone https://github.com/outsourc-e/hermes-workspace.git
cd hermes-workspace
pnpm install
cp .env.example .env
printf '\nHERMES_API_URL=http://127.0.0.1:8642\n' >> .env
pnpm dev                   # Starts on http://localhost:3000
Verify: Open http://localhost:3000 and complete the onboarding flow. First connect the backend, then verify chat works. If your gateway exposes Hermes Agent APIs, advanced features appear automatically.
Run without an open terminal
After pnpm build, install Workspace as a user-level launchd/systemd service:
chmod +x scripts/install-dashboard-service.sh
scripts/install-dashboard-service.sh
See docs/dashboard-service.md for macOS launchd, Linux systemd, logs, overrides, and uninstall steps.
Environment Variables
# OpenAI-compatible backend URL
HERMES_API_URL=http://127.0.0.1:8642

# Optional: provider keys the Hermes Agent gateway can read at runtime.
# You only need the key(s) for whichever provider(s) you actually use.
# OPENAI_API_KEY=sk-...                # GPT / o-series / OpenAI-compatible
# OPENROUTER_API_KEY=sk-or-v1-...      # OpenRouter (incl. free models)
# GOOGLE_API_KEY=AIza...               # Gemini
# (Ollama / LM Studio / local servers don't need a key)

# Optional: password-protect the web UI
# HERMES_PASSWORD=your_password
🧠 Local Models (Ollama, Atomic Chat, LM Studio, vLLM)
Hermes Workspace supports two modes with local models:
Portable Mode (Easiest)
Point the workspace directly at your local server — no Hermes Agent gateway needed.
Atomic Chat
# Start workspace pointed at Atomic Chat
HERMES_API_URL=http://127.0.0.1:1337/v1 pnpm dev
Download Atomic Chat, launch the desktop app, and make sure a model is loaded before starting Hermes Workspace.
Ollama
# Start Ollama
OLLAMA_ORIGINS=* ollama serve

# Start workspace pointed at Ollama
HERMES_API_URL=http://127.0.0.1:11434 pnpm dev
Chat works immediately. Sessions, memory, and skills show "Not Available" — that's expected in portable mode.
Enhanced Mode (Full Features)
Route through the Hermes Agent gateway for sessions, memory, skills, jobs, and tools.
Here are two explicit ~/.hermes/config.yaml examples for the local providers we support directly in the workspace:
Atomic Chat
provider: atomic-chat
model: your-model-name
custom_providers:
  - name: atomic-chat
    base_url: http://127.0.0.1:1337/v1
    api_key: atomic-chat
    api_mode: chat_completions
Ollama
provider: ollama
model: qwen3:32b
custom_providers:
  - name: ollama
    base_url: http://127.0.0.1:11434/v1
    api_key: ollama
    api_mode: chat_completions
You can adapt the same shape for other OpenAI-compatible local runners, but Atomic Chat and Ollama are the two built-in local paths documented in the workspace UI.
2. Enable the API server in ~/.hermes/.env:
API_SERVER_ENABLED=true
3. Start the gateway, dashboard, and workspace:
hermes gateway run          # Starts core APIs on :8642
hermes dashboard            # Starts dashboard APIs on :9119
HERMES_API_URL=http://127.0.0.1:8642 \
HERMES_DASHBOARD_URL=http://127.0.0.1:9119 \
pnpm dev
For authenticated gateways, also set HERMES_API_TOKEN in the workspace environment to the same value as API_SERVER_KEY.
All workspace features unlock automatically once both services are reachable — sessions persist, memory saves across chats, skills are available, and the dashboard shows real usage data.
Works with any OpenAI-compatible server — Atomic Chat, Ollama, LM Studio, vLLM, llama.cpp, LocalAI, etc. Just change the base_url and model in the config above.
🤝 Pair an Agent with the Workspace
Workspace is the UI. Hermes Agent is the brain. They talk over two HTTP services on localhost (or any reachable network).
┌───────────────┐         :8642 gateway          ┌────────────────┐
│   Workspace    │ ─────────────────────▶ │  Hermes Agent  │
│   :3000 (UI)   │ ◀───────────────────── │  CLI / brain   │
└───────────────┘         :9119 dashboard        └────────────────┘
Two services, three commands
hermes gateway run     # terminal 1 · :8642 · chat, models, streaming, jobs
hermes dashboard       # terminal 2 · :9119 · sessions, skills, config, MCP
cd ~/hermes-workspace && pnpm dev   # terminal 3 · :3000 · the UI
Tip: pnpm start:all starts gateway + dashboard + workspace in one shot if you've installed via the one-liner.
Windows (PowerShell + WSL) one-command startup
If you use Hermes Workspace from Windows with the agent running in WSL, use the helper script in this repo:
# from the repo root
.\scripts\start-hermes-workspace.ps1
To force a clean relaunch of the tmux session:
.\scripts\start-hermes-workspace.ps1 -Restart
Optional parameters:
-Distro <name> to target a non-default WSL distro-WorkspacePath </path/in/wsl> if your clone is not at ~/hermes-workspace-SessionName <name> to use a custom tmux session name
Verify the pairing
curl http://127.0.0.1:8642/health        # → {"status":"ok","platform":"hermes-agent"}
curl http://127.0.0.1:9119/api/status    # → {"status":"ok", ...}
Both must return 200. If either fails, the workspace will fall back to portable mode (chat works, sessions/skills/memory show "Not Available").
.env settings the workspace cares about
# Required: where the gateway is
HERMES_API_URL=http://127.0.0.1:8642

# Recommended: where the dashboard is (unlocks sessions/skills/config/MCP/jobs)
HERMES_DASHBOARD_URL=http://127.0.0.1:9119

# Only if your gateway was started with API_SERVER_KEY=... — paste the same value:
# HERMES_API_TOKEN=***

# Optional: password-protect the web UI itself
# HERMES_PASSWORD=***
Common pairing scenarios
| Scenario |
Set this |
| Workspace + gateway on the same machine |
HERMES_API_URL=http://127.0.0.1:8642, HERMES_DASHBOARD_URL=http://127.0.0.1:9119 |
| Gateway on a remote server (Tailscale / VPN) |
Set both URLs to the reachable IP (e.g. http://100.x.y.z:8642) and add API_SERVER_HOST=0.0.0.0 to the gateway's ~/.hermes/.env |
Already-running hermes-agent from upstream installer |
Just set HERMES_API_URL + HERMES_DASHBOARD_URL and skip the one-liner installer |
| Multiple agent profiles |
Profiles live under ~/.hermes/profiles/<name> — the dashboard switches between them at runtime; workspace follows automatically |
Live re-pairing (no restart)
If you've already started the workspace, change either URL from Settings → Connection without restarting. Values persist to ~/.hermes/workspace-overrides.json and gateway capabilities are reprobed on save.
Troubleshooting
Could not reach Hermes gateway on 8645, 8642, or 8643 — gateway isn't running, or HERMES_API_URL points somewhere unreachable. Run hermes gateway run and re-check.- Workspace shows "portable mode" / extended APIs missing — dashboard isn't running. Start
hermes dashboard in another terminal and refresh.
- Sessions probe says unavailable / UI claims Offline but pairing should be live — verify
curl http://localhost:3000/api/sessions before starting another gateway. If it returns sessions (or an empty array), the backend pairing is alive and the UI needs a refresh/reprobe.
- Chat send fails on
gpt-5.4 / Codex — Codex CLI auth is stale. Run codex login, then retry the chat without starting another gateway.
Unauthorized on every API call — gateway has API_SERVER_KEY set but workspace is missing HERMES_API_TOKEN. Match them.Could not connect from your phone over Tailscale — gateway is bound to loopback. Set API_SERVER_HOST=0.0.0.0 in ~/.hermes/.env and restart it.
🐳 Docker Quickstart

The Docker setup runs both the Hermes Agent gateway and Hermes Workspace together.
Prerequisites
- Docker
- Docker Compose
- A configured Hermes Agent model provider — run
hermes setup / hermes model, or provide a key for whichever provider you use. This workspace does not require Anthropic.
git clone https://github.com/outsourc-e/hermes-workspace.git
cd hermes-workspace
cp .env.example .env
Edit .env and add at least one LLM provider key — whichever provider you want hermes-agent to use:
# Pick one (or more). You do NOT need all of these.
# OPENAI_API_KEY=sk-...                # GPT / o-series / OpenAI-compatible
# OPENROUTER_API_KEY=sk-or-v1-...      # OpenRouter (free models available)
# GOOGLE_API_KEY=AIza...               # Gemini
Usi

 Hermes Workspace 是 Hermes Agent 的网页版指挥中心:它提供一个统一界面,可以聊天、管理文件、记忆、技能、MCP、终端,并查看实时的多智能体仪表盘,而不只是一个单纯的聊天窗口。