chatbot-ui README

The project's README from github.com/mckaywrigley/chatbot-ui. As one markdown file: README.md.

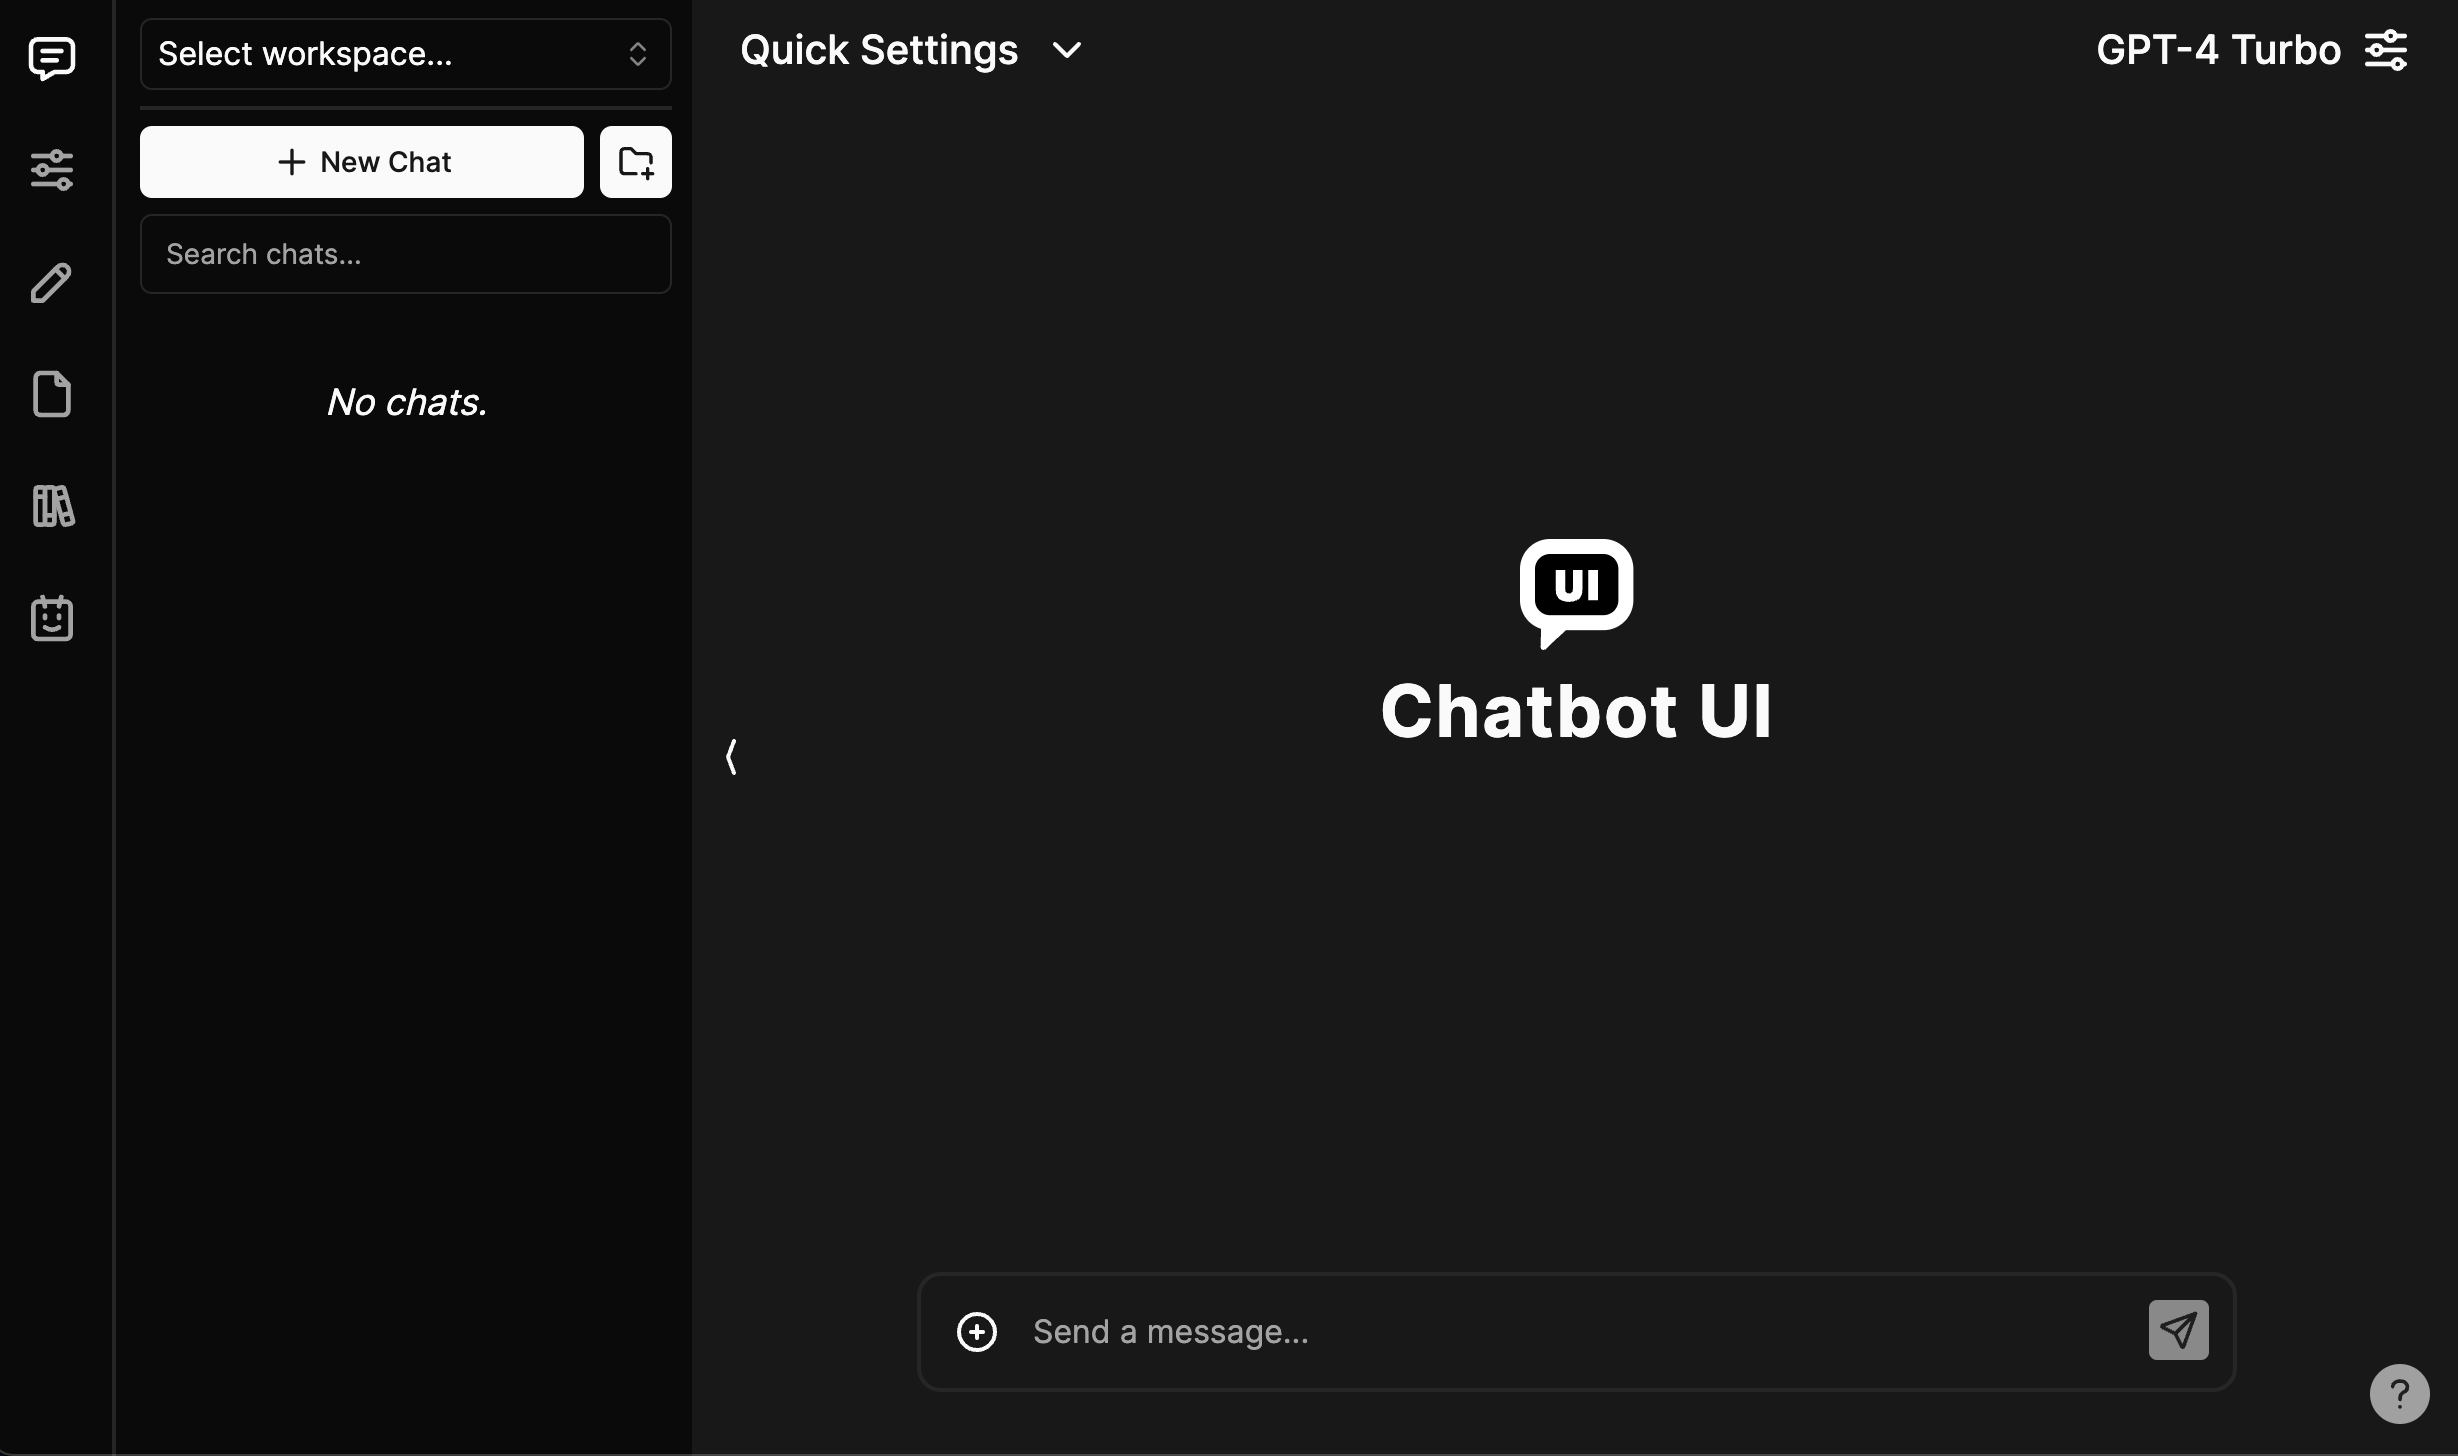
Chatbot UI

The open-source AI chat app for everyone.

Chatbot UI

Demo

View the latest demo here.

Updates

Hey everyone! I've heard your feedback and am working hard on a big update.

Things like simpler deployment, better backend compatibility, and improved mobile layouts are on their way.

Be back soon.

-- Mckay

Official Hosted Version

Use Chatbot UI without having to host it yourself!

Find the official hosted version of Chatbot UI here.

Sponsor

If you find Chatbot UI useful, please consider sponsoring me to support my open-source work :)

Issues

We restrict "Issues" to actual issues related to the codebase.

We're getting excessive amounts of issues that amount to things like feature requests, cloud provider issues, etc.

If you are having issues with things like setup, please refer to the "Help" section in the "Discussions" tab above.

Issues unrelated to the codebase will likely be closed immediately.

Discussions

We highly encourage you to participate in the "Discussions" tab above!

Discussions are a great place to ask questions, share ideas, and get help.

Odds are if you have a question, someone else has the same question.

Legacy Code

Chatbot UI was recently updated to its 2.0 version.

The code for 1.0 can be found on the legacy branch.

Updating

In your terminal at the root of your local Chatbot UI repository, run:

npm run update

If you run a hosted instance you'll also need to run:

npm run db-push

to apply the latest migrations to your live database.

Local Quickstart

Follow these steps to get your own Chatbot UI instance running locally.

You can watch the full video tutorial here.

1. Clone the Repo

git clone https://github.com/mckaywrigley/chatbot-ui.git

2. Install Dependencies

Open a terminal in the root directory of your local Chatbot UI repository and run:

npm install

3. Install Supabase & Run Locally

Why Supabase?

Previously, we used local browser storage to store data. However, this was not a good solution for a few reasons:

We now use Supabase because it's easy to use, it's open-source, it's Postgres, and it has a free tier for hosted instances.

We will support other providers in the future to give you more options.

1. Install Docker

You will need to install Docker to run Supabase locally. You can download it here for free.

2. Install Supabase CLI

MacOS/Linux

brew install supabase/tap/supabase

Windows

scoop bucket add supabase https://github.com/supabase/scoop-bucket.git
scoop install supabase

3. Start Supabase

In your terminal at the root of your local Chatbot UI repository, run:

supabase start

4. Fill in Secrets

1. Environment Variables

In your terminal at the root of your local Chatbot UI repository, run:

cp .env.local.example .env.local

Get the required values by running:

supabase status

Note: Use API URL from supabase status for NEXT_PUBLIC_SUPABASE_URL

Now go to your .env.local file and fill in the values.

If the environment variable is set, it will disable the input in the user settings.

2. SQL Setup

In the 1st migration file supabase/migrations/20240108234540_setup.sql you will need to replace 2 values with the values you got above:

This prevents issues with storage files not being deleted properly.

5. Install Ollama (optional for local models)

Follow the instructions here.

6. Run app locally

In your terminal at the root of your local Chatbot UI repository, run:

npm run chat

Your local instance of Chatbot UI should now be running at http://localhost:3000. Be sure to use a compatible node version (i.e. v18).

You can view your backend GUI at http://localhost:54323/project/default/editor.

Hosted Quickstart

Follow these steps to get your own Chatbot UI instance running in the cloud.

Video tutorial coming soon.

1. Follow Local Quickstart

Repeat steps 1-4 in "Local Quickstart" above.

You will want separate repositories for your local and hosted instances.

Create a new repository for your hosted instance of Chatbot UI on GitHub and push your code to it.

2. Setup Backend with Supabase

1. Create a new project

Go to Supabase and create a new project.

2. Get Project Values

Once you are in the project dashboard, click on the "Project Settings" icon tab on the far bottom left.

Here you will get the values for the following environment variables:

While still in "Settings" click on the "API" text tab on the left.

Here you will get the values for the following environment variables:

3. Configure Auth

Next, click on the "Authentication" icon tab on the far left.

In the text tabs, click on "Providers" and make sure "Email" is enabled.

We recommend turning off "Confirm email" for your own personal instance.

4. Connect to Hosted DB

Open up your repository for your hosted instance of Chatbot UI.

In the 1st migration file supabase/migrations/20240108234540_setup.sql you will need to replace 2 values with the values you got above:

Now, open a terminal in the root directory of your local Chatbot UI repository. We will execute a few commands here.

Login to Supabase by running:

supabase login

Next, link your project by running the following command with the "Project ID" you got above:

supabase link --project-ref <project-id>

Your project should now be linked.

Finally, push your database to Supabase by running:

supabase db push

Your hosted database should now be set up!

3. Setup Frontend with Vercel

Go to Vercel and create a new project.

In the setup page, import your GitHub repository for your hosted instance of Chatbot UI. Within the project Settings, in the "Build & Development Settings" section, switch Framework Preset to "Next.js".

In environment variables, add the following from the values you got above:

You can also add API keys as environment variables.

For the full list of environment variables, refer to the '.env.local.example' file. If the environment variables are set for API keys, it will disable the input in the user settings.

Click "Deploy" and wait for your frontend to deploy.

Once deployed, you should be able to use your hosted instance of Chatbot UI via the URL Vercel gives you.

Contributing

We are working on a guide for contributing.

Contact

Message Mckay on Twitter/X

chatbot-ui (mckaywrigley/chatbot-ui)

supabase
Searching Database…

What is this?An open-source AI chat web app — a ChatGPT-style interface you can self-host and point at different AI models.
Do I have to host it myself, or is there a hosted version?Both options exist: an official hosted version you can use without hosting anything, or your own instance running locally or in the cloud.
How do I get it running locally?Clone the repo, run npm install, start the local Supabase stack with the Supabase CLI (Docker required), fill in .env.local with the generated values, then launch the dev server.
What do I need installed before starting?Docker and the Supabase CLI power the local backend, a compatible Node (v18) runs the app, and you supply API keys for your providers — or use Ollama for local models with no key.
Is the setup painless?Not quite: it's a multi-step process — Docker, Supabase CLI, editing a migration SQL file and env vars. The author says simpler deployment is on the way.
Is it just for me, or can other people use my instance too?Instances have user accounts via Supabase email login; the guide suggests turning off 'Confirm email' for a personal instance, so it works solo or with multiple users.
Where do my conversations end up?Chats live in Supabase (Postgres) — either a local instance on your machine or your own cloud project, replacing the earlier browser-storage approach.
Which AI model providers can I chat with?The codebase bundles client SDKs for OpenAI, Azure OpenAI, Anthropic, Google Gemini and Mistral, plus Ollama support for local models.
Why does it need Supabase instead of just browser storage?Earlier versions saved chats in the browser, but the author moved to Supabase because of security issues, limited storage and limits on multi-modal use cases.
What happened to the old 1.0 version?The app was rewritten as version 2.0; the original code still lives on the legacy branch of the repo.
How do I update an existing install?Pull the latest code and run the repo's update script, which applies database migrations and regenerates DB types; hosted setups also push migrations to their live Supabase database.
What are similar projects?mike, sim, NextChat, ruflo, LibreChat, brigade, LangBot, G0DM0D3
Size
3.6 MB
Stars
33.3K
Updated
CommitJun 22
Age
3y
Commits · 90 Days
