Boilerplate and Starter for Next.js 16+, Tailwind CSS 4, and TypeScript.

🚀 Boilerplate and Starter for Next.js with App Router, Tailwind CSS, and TypeScript ⚡️ Prioritizing developer experience first: Next.js, TypeScript, ESLint, Prettier, Lefthook (replacing Husky), Lint-Staged, Vitest (replacing Jest), Testing Library, Playwright, Commitlint, VSCode, Tailwind CSS, Authentication with Clerk, Database with DrizzleORM (PostgreSQL, SQLite, and MySQL), Local database with PGlite and production with Neon, Error Monitoring with Sentry, Logging with LogTape (replacing Pino.js) and Log Management, Monitoring as Code, Storybook, Multi-language (i18n), AI-powered code reviews with CodeRabbit, Secure with Arcjet (Bot detection, Rate limiting, Attack protection, etc.), and more.
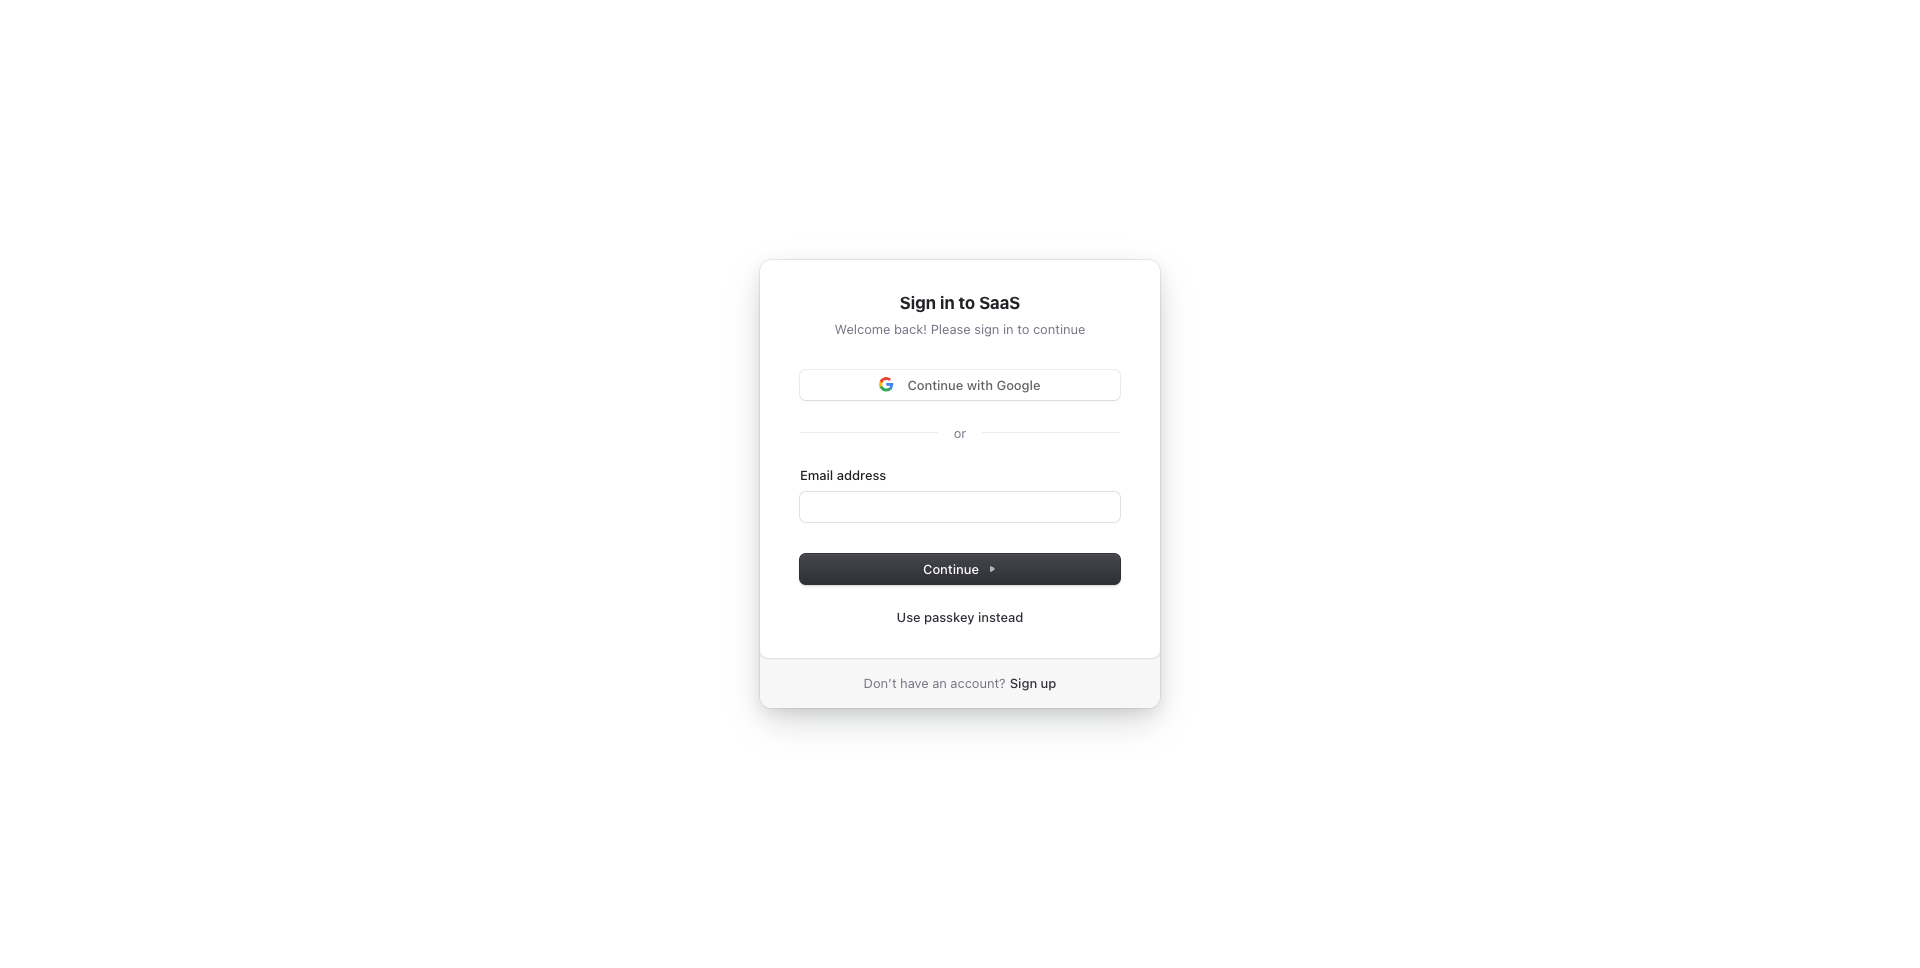
Clone this project and use it to create your own Next.js project. You can check out the live demo at Next.js Boilerplate, which includes a working authentication system.
Demo
Live demo: Next.js Boilerplate
| Sign Up |
Sign In |
 |
|
Features
Developer experience first, extremely flexible code structure and only keep what you need:
- ⚡ Next.js with App Router support
- 🔥 Type checking TypeScript
- 💎 Integrate with Tailwind CSS
- 🤖 AI coding agent instructions for Claude Code, Codex, Cursor, OpenCode, Copilot, and more
- ✅ Strict Mode for TypeScript and React 19
- 🔒 Authentication with Clerk: Sign up, Sign in, Sign out, Forgot password, Reset password, and more.
- 👤 Passwordless Authentication with Magic Links, Multi-Factor Auth (MFA), Social Auth (Google, Facebook, Twitter, GitHub, Apple, and more), Passwordless login with Passkeys, User Impersonation
- 📦 Type-safe ORM with DrizzleORM, compatible with PostgreSQL, SQLite, and MySQL
- 💽 Offline and local development database with PGlite
- ☁️ Remote and production database with Neon
- 🌐 Multi-language (i18n) with next-intl and Crowdin
- ♻️ Type-safe environment variables with T3 Env
- ⌨️ Form handling with React Hook Form
- 🔴 Validation library with Zod
- 📏 Linter with Oxlint with Ultracite preset (replacing ESLint)
- 💖 Code Formatter with Oxfmt (replacing Prettier)
- 🦊 Husky for Git Hooks (replaced by Lefthook)
- 🚫 Lint-staged for running linters on Git staged files
- 🚓 Lint git commit with Commitlint
- 📓 Write standard compliant commit messages with Commitizen
- 🔍 Unused files and dependencies detection with Knip
- 🌍 I18n validation and missing translation detection with i18n-check
- 🦺 Unit Testing with Vitest and Browser mode (replacing React Testing Library)
- 🧪 Integration and E2E Testing with Playwright
- 👷 Run tests on pull request with GitHub Actions
- 🎉 Storybook for UI development
- 🐰 AI-powered code reviews with CodeRabbit
- 🚨 Error Monitoring with Sentry
- 🔍 Local development error monitoring with Sentry Spotlight
- ☂️ Code coverage with Codecov
- 📝 Logging with LogTape and Log Management with Better Stack
- 🖥️ Monitoring as Code with Checkly
- 🔐 Security and bot protection (Arcjet)
- 📊 Analytics with PostHog
- 🎁 Automatic changelog generation with Semantic Release
- 🔍 Visual regression testing
- 💡 Absolute Imports using
@ prefix
- 🗂 VSCode configuration: Debug, Settings, Tasks and Extensions
- 🤖 SEO metadata, JSON-LD and Open Graph tags
- 🗺️ Sitemap.xml and robots.txt
- 👷 Automatic dependency updates with Dependabot
- ⌘ Database exploration with Drizzle Studio and CLI migration tool with Drizzle Kit
- ⚙️ Bundler Analyzer
- 🌈 Include a FREE minimalist theme
- 💯 Maximize lighthouse score
Built-in features from Next.js:
- ☕ Minify HTML & CSS
- 💨 Live reload
- ✅ Cache busting
Optional features (easy to add):
- 🔑 Multi-tenancy, Role-based access control (RBAC)
- 🔐 OAuth for Single Sign-On (SSO), Enterprise SSO, SAML, OpenID Connect (OIDC), EASIE
- 🔗 Web 3 (Base, MetaMask, Coinbase Wallet, OKX Wallet)
Philosophy
- Nothing is hidden from you, allowing you to make any necessary adjustments to suit your requirements and preferences.
- Dependencies are regularly updated on a monthly basis
- Start for free without upfront costs
- Easy to customize
- Minimal code
- Unstyled template
- SEO-friendly
- 🚀 Production-ready
Requirements
Getting started
Run the following command on your local environment:
git clone --depth=1 https://github.com/ixartz/Next-js-Boilerplate.git my-project-name
cd my-project-name
npm install
For your information, all dependencies are updated every month.
Then, you can run the project locally in development mode with live reload by executing:
npm run dev
Open http://localhost:3000 with your favorite browser to see your project. For your information, the project is already pre-configured with a local database using PGlite. No extra setup is required to run the project locally.
Need advanced features? Multi-tenancy & Teams, Roles & Permissions, Shadcn UI, End-to-End Typesafety with oRPC, Stripe Payment, Light / Dark mode. Try Next.js Boilerplate Pro.
Or, need a Self-hosted auth stack (Better Auth)? Try Next.js Boilerplate Plus
Set up authentication
To get started, create a Clerk account at Clerk.com and create a new application in the Clerk Dashboard. Then copy the NEXT_PUBLIC_CLERK_PUBLISHABLE_KEY and CLERK_SECRET_KEY values and add them to your .env.local file (not tracked by Git):
NEXT_PUBLIC_CLERK_PUBLISHABLE_KEY=your_clerk_pub_key
CLERK_SECRET_KEY=your_clerk_secret_key
You now have a fully functional authentication system with Next.js, including features such as sign up, sign in, sign out, forgot password, reset password, update profile, update password, update email, delete account, and more.
Set up remote database
The project uses DrizzleORM, a type-safe ORM that is compatible with PostgreSQL, SQLite, and MySQL databases. By default, the project is configured to seamlessly work with PostgreSQL, and you have the flexibility to choose any PostgreSQL database provider of your choice.
When you launch the project locally for the first time, it automatically creates a PostgreSQL database on your local machine. This allows you to work with a PostgreSQL database without Docker or any additional setup.
To set up a remote and production database, you need to create a PostgreSQL database and obtain the connection string. One recommended option is to use Neon, which provides a free PostgreSQL database. This database is compatible and has been tested with Next.js Boilerplate.
After creating your Neon account, you can get the connection string and copy it to the DATABASE_URL variable in your .env.production file.
:warning: This project works out of the box with any PostgreSQL provider. Neon is mentioned here because it offers a free tier, and the link is an affiliate link. Feel free to use any PostgreSQL provider that fits your needs.
Create a fresh and empty database
If you want to create a fresh and empty database, you just need to remove the folder local.db from the root of the project. The next time you run the project, a new database will be created automatically.
Translation (i18n) setup
For translation, the project uses next-intl combined with Crowdin. As a developer, you only need to take care of the English (or another default language) version. Translations for other languages are automatically generated and handled by Crowdin. You can use Crowdin to collaborate with your translation team or translate the messages yourself with the help of machine translation.
To set up translation (i18n), create an account at Crowdin.com and create a new project. In the newly created project, you will be able to find the project ID. You will also need to create a new Personal Access Token by going to Account Settings > API. Then, in your GitHub Actions, you need to define the following environment variables: CROWDIN_PROJECT_ID and CROWDIN_PERSONAL_TOKEN.
After defining the environment variables in your GitHub Actions, your localization files will be synchronized with Crowdin every time you push a new commit to the main branch.
Project structure
.
├── README.md                       # README file
├── .github                         # GitHub folder
│   ├── actions                     # Reusable actions
│   └── workflows                   # GitHub Actions workflows
├── .storybook                      # Storybook folder
├── .vscode                         # VSCode configuration
├── migrations                      # Database migrations
├── public                          # Public assets folder
├── src
│   ├── app                         # Next JS App (App Router)
│   ├── components                  # React components
│   ├── libs                        # 3rd party libraries configuration
│   ├── locales                     # Locales folder (i18n messages)
│   ├── models                      # Database models
│   ├── styles                      # Styles folder
│   ├── templates                   # Templates folder
│   ├── types                       # Type definitions
│   ├── utils                       # Utilities folder
│   └── validations                 # Validation schemas
├── tests
│   ├── e2e                         # E2E tests, also includes Monitoring as Code
│   └── integration                 # Integration tests
├── drizzle.config.ts               # Drizzle ORM configuration
├── eslint.config.mjs               # ESLint configuration
├── next.config.ts                  # Next JS configuration
├── package.json                    # NPM dependencies and scripts
├── playwright.config.ts            # Playwright configuration
├── tsconfig.json                   # TypeScript configuration
└── vitest.config.ts                # Vitest configuration
Customization
You can easily configure Next js Boilerplate by searching the entire project for FIXME: to make quick customizations. Here are some of the most important files to customize:
public/apple-touch-icon.png, public/favicon.ico, public/favicon-16x16.png and public/favicon-32x32.png: your website faviconsrc/utils/AppConfig.ts: configuration filesrc/templates/BaseTemplate.tsx: default themenext.config.ts: Next.js configuration.env: default environment variables
You have full access to the source code for further customization. The provided code is just an example to help you start your project. The sky's the limit 🚀.
Change database schema
To modify the database schema in the project, you can update the schema file located at ./src/models/Schema.ts. This file defines the structure of your database tables using the Drizzle ORM library.
After making changes to the schema, generate a migration by running the following command:
npm run db:generate
This will create a migration file that reflects your schema changes.
After making sure your database is running, you can apply the generated migration using:
npm run db:migrate
There is no need to restart the Next.js server for the changes to take effect.
The project follows the Conventional Commits specification, meaning all commit messages must be formatted accordingly. To help you write commit messages, the project provides an interactive CLI that guides you through the commit process. To use it, run the following command:
npm run commit
One of the benefits of using Conventional Commits is the ability to automatically generate GitHub releases. It also allows us to automatically determine the next version number based on the types of commits that are included in a release.
Commit Types
Every commit message follows Conventional Commits and must begin with a type prefix (e.g., feat: add login page). The table below lists the available types:
| Type |
Description |
feat |
New feature or functionality |
fix |
Bug fix |
docs |
Documentation only |
style |
Code formatting without logic changes |
refactor |
Code restructuring without behavior changes |
perf |
Performance improvement |
test |
Adding or updating tests |
build |
Build system |
ci |
CI configuration and scripts |
chore |
Maintenance tasks (dependencies, config) |
revert |
Reverts a previous commit |
CodeRabbit AI Code Reviews
The project uses CodeRabbit, an AI-powered code reviewer. CodeRabbit monitors your repository and automatically provides intelligent code reviews on all new pull requests using its powerful AI engine.
Setting up CodeRabbit is simple, visit coderabbit.ai, sign in with your GitHub account, and add your repository from the dashboard. That's it!
Testing
All unit tests are located alongside the source code in the same directory, making them easier to find. The unit test files follow this format: *.test.ts or *.test.tsx. The project uses Vitest and React Testing Library for unit testing. You can run the tests with the following command:
npm run test
Integration & E2E Testing
The project uses Playwright for integration and end-to-end (E2E) testing. Integration test files use the *.integ.ts extension, while E2E test files u





 A production-ready boilerplate and starter kit for building Next.js 16 apps with App Router, TypeScript, and Tailwind CSS 4, pre-wired with authentication, a database, testing, and other dev-experience tooling.