
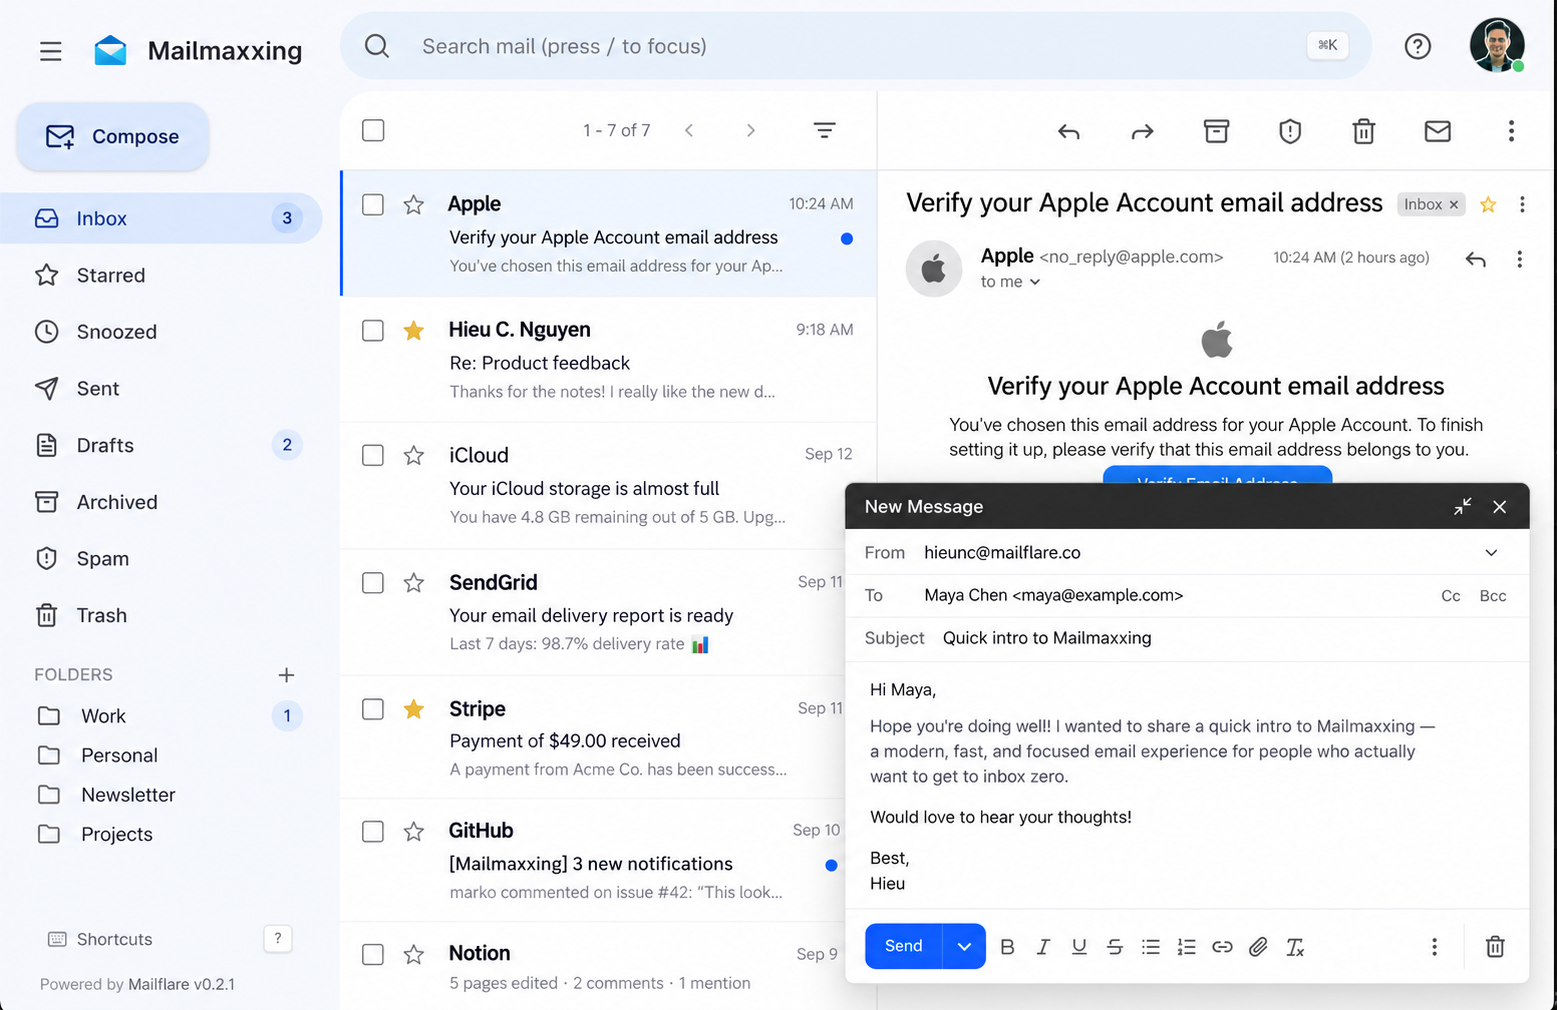
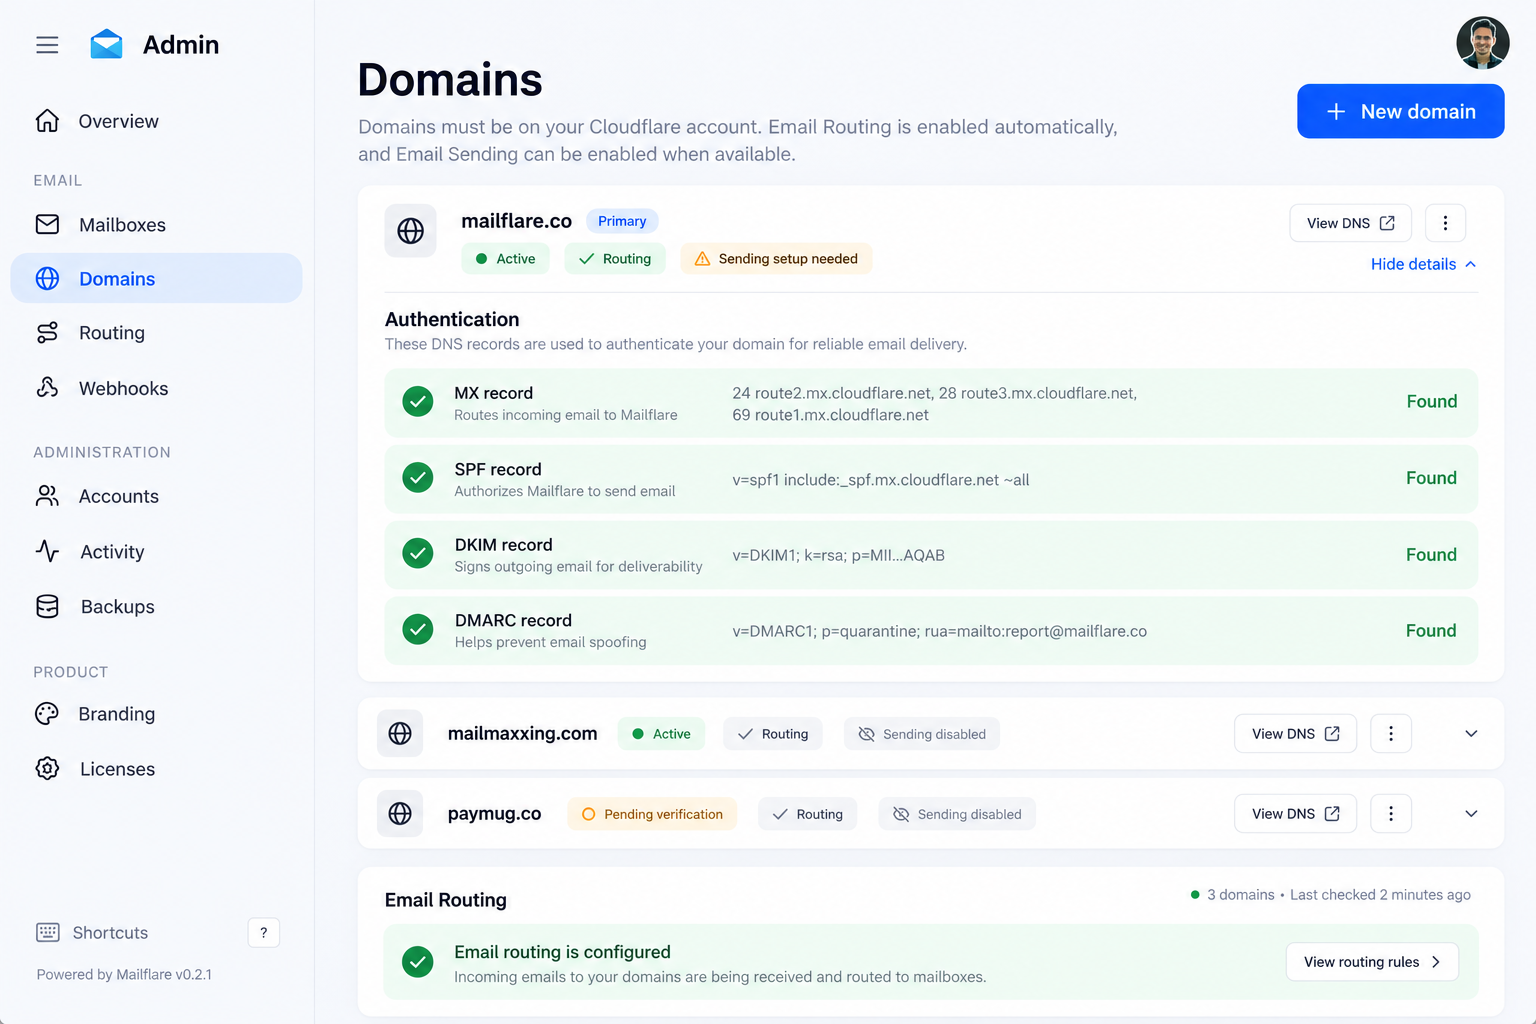
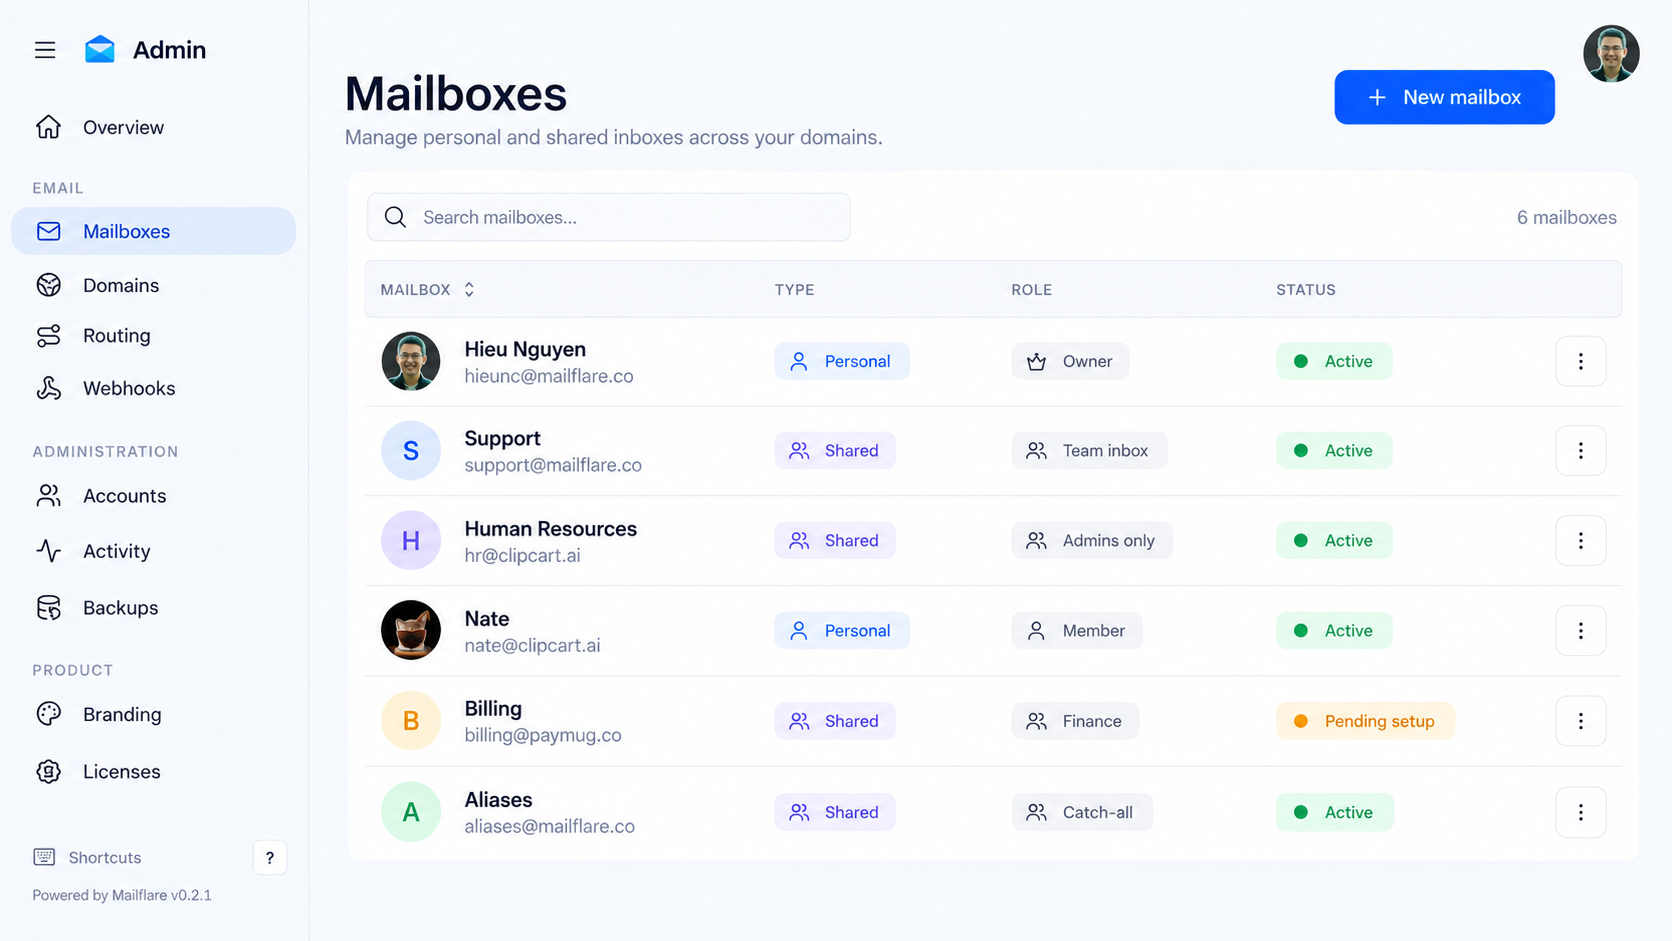


What is this?
 Mailflare is a self-hosted email inbox for custom domains, built on Cloudflare, with support for sending/receiving through Cloudflare, Resend, or Amazon SES.
Mailflare is a self-hosted email inbox for custom domains, built on Cloudflare, with support for sending/receiving through Cloudflare, Resend, or Amazon SES.Is this a Cloudflare Worker app or a Docker container I run on my own server?Both: it deploys as a Cloudflare Worker using D1 and R2, or it runs as a single Docker container on any server using SQLite and local files instead.
Both: it deploys as a Cloudflare Worker using D1 and R2, or it runs as a single Docker container on any server using SQLite and local files instead.How do I deploy it?Click 'Deploy to Cloudflare' (keep the app name 'mailflare'), open the deployed app and follow /setup to create your admin account, then connect a domain and create your first mailbox.
Click 'Deploy to Cloudflare' (keep the app name 'mailflare'), open the deployed app and follow /setup to create your admin account, then connect a domain and create your first mailbox.What do I need from Cloudflare before deploying?You need a Cloudflare account with a domain, and a scoped CFTOKEN API token with Email Sending, DNS Settings, Email Routing Addresses, DNS, Email Routing Rules, and Zone Settings edit permissions.
You need a Cloudflare account with a domain, and a scoped CFTOKEN API token with Email Sending, DNS Settings, Email Routing Addresses, DNS, Email Routing Rules, and Zone Settings edit permissions.Any catch with the Worker deployment name or sending costs?You must keep the deployed Worker named 'mailflare' or the app breaks, and sending mail through Cloudflare's own email service requires a paid Worker plan ($5/month) since there's no free tier for it.
You must keep the deployed Worker named 'mailflare' or the app breaks, and sending mail through Cloudflare's own email service requires a paid Worker plan ($5/month) since there's no free tier for it.Can I run it on a VPS instead of Cloudflare Workers?Yes, the Docker version runs as a single container on any server using SQLite and local files, with a built-in SMTP listener for inbound mail.
Yes, the Docker version runs as a single container on any server using SQLite and local files, with a built-in SMTP listener for inbound mail.Where does my mail and attachments actually get stored?Your mail stays in your own Cloudflare D1 database and attachments stay in your own R2 bucket (or local SQLite/files in the Docker self-hosted version), regardless of which sending provider you use.
Your mail stays in your own Cloudflare D1 database and attachments stay in your own R2 bucket (or local SQLite/files in the Docker self-hosted version), regardless of which sending provider you use.What's included besides email: does it have a calendar?Yes, Mailflare includes a calendar for scheduling recurring events with time zones and attendees, plus public booking pages so others can book free slots.
Yes, Mailflare includes a calendar for scheduling recurring events with time zones and attendees, plus public booking pages so others can book free slots.Can AI tools interact with my inbox?Yes, there's a built-in AI assistant to search mail, draft replies, and manage calendar events, plus MCP access so external AI clients can connect with scoped API key permissions.
Yes, there's a built-in AI assistant to search mail, draft replies, and manage calendar events, plus MCP access so external AI clients can connect with scoped API key permissions.How much does it actually cost to run?Receiving mail via Cloudflare Email Routing is free; sending is free using Resend's (3,000 emails/month) or Amazon SES's free tiers, while Cloudflare's own sending needs a $5/month paid Worker plan.
Receiving mail via Cloudflare Email Routing is free; sending is free using Resend's (3,000 emails/month) or Amazon SES's free tiers, while Cloudflare's own sending needs a $5/month paid Worker plan.What admin controls are available?Admins can manage users, permissions, API keys, webhooks, audit logs, and backups, plus set routing rules to store, forward, reject, or sort incoming mail automatically.
Admins can manage users, permissions, API keys, webhooks, audit logs, and backups, plus set routing rules to store, forward, reject, or sort incoming mail automatically.What are similar projects?cloudflare_temp_email, nodewarden, mail2telegram, edgeever, ResolveHQ, DoulorCloud, open-compute, cloud-mail
cloudflare_temp_email, nodewarden, mail2telegram, edgeever, ResolveHQ, DoulorCloud, open-compute, cloud-mailWhich topics is it in?cloudflare-r2, cloudflare-d1, smtp, self-hosted-ai, webhooks, cloudflare-workers, serverless, backup, email, cloudflare, agent-memory, nextjs
cloudflare-r2, cloudflare-d1, smtp, self-hosted-ai, webhooks, cloudflare-workers, serverless, backup, email, cloudflare, agent-memory, nextjs