



What is this?
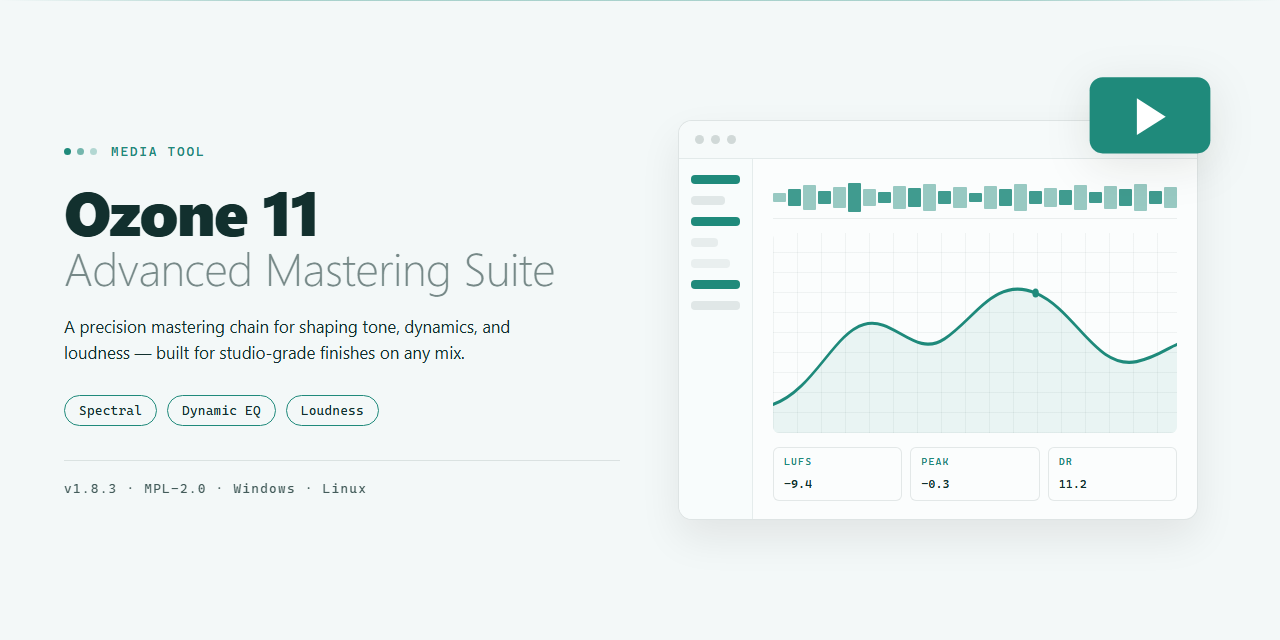
 A Windows mastering suite that the README calls an iZotope Ozone 11 Advanced Mastering Suite. It puts an assistant-proposed starting chain, a spectral shaper, a maximizer and codec preview in one visual signal path. The README does not show any link to iZotope.
Is it a standalone app or a plugin inside my DAW?The README calls it plugin-ready inside a DAW, but it names no plugin format (such as VST or AU) and no supported DAWs. It does not clearly say whether it also runs standalone.
The README calls it plugin-ready inside a DAW, but it names no plugin format (such as VST or AU) and no supported DAWs. It does not clearly say whether it also runs standalone.What do I need before installing?Windows 10 or 11, PowerShell 5.1+ or PowerShell 7+, internet access for the setup script, and a standard user account. The README lists nothing else.
Windows 10 or 11, PowerShell 5.1+ or PowerShell 7+, internet access for the setup script, and a standard user account. The README lists nothing else.Any install or licensing concerns?Yes. The README gives no publisher, source code or checksum for the setup script, and it reads as marketing copy rather than technical docs. The license forbids reselling, redistributing or repackaging the suite, which conflicts with the MIT license in the repo metadata.
Yes. The README gives no publisher, source code or checksum for the setup script, and it reads as marketing copy rather than technical docs. The license forbids reselling, redistributing or repackaging the suite, which conflicts with the MIT license in the repo metadata.Does my audio leave my PC after setup?The README says everything runs locally after setup, so the workflow does not need the internet. It does not describe any telemetry or data handling.
The README says everything runs locally after setup, so the workflow does not need the internet. It does not describe any telemetry or data handling.What does the spectral shaper show?A real-time tonal-balance curve you can see and reshape. Problem areas show as bulges you carve down, and you can lift the air end.
A real-time tonal-balance curve you can see and reshape. Problem areas show as bulges you carve down, and you can lift the air end.What does codec preview do?It lets you hear how the master will hold up after lossy encoding before you export. The README does not name the codecs it simulates.
It lets you hear how the master will hold up after lossy encoding before you export. The README does not name the codecs it simulates.Does it fix a rough mix?No. The README says the assistant's starting point is only a sketch, and Master Rebalance is for polish, not rescue. Fix big balance problems in the mix first.
No. The README says the assistant's starting point is only a sketch, and Master Rebalance is for polish, not rescue. Fix big balance problems in the mix first.What do the Advanced features add?The README says the Advanced tier adds low-end focus, a Stabilizer and Master Rebalance on top of the core chain. It does not state what the tier costs.
The README says the Advanced tier adds low-end focus, a Stabilizer and Master Rebalance on top of the core chain. It does not state what the tier costs.What are similar projects?ableton-live-11-desktop, pro-tools-desktop, reason-14-installer, LYNX-SHARE, soundpad-audio-suite, musicmakerunlimited, music-maker-unlimited, kontakt-8-desktop
ableton-live-11-desktop, pro-tools-desktop, reason-14-installer, LYNX-SHARE, soundpad-audio-suite, musicmakerunlimited, music-maker-unlimited, kontakt-8-desktopWhich topics is it in?music-production, creative-tools, ai-assistant, audio-processing, music, windows-11, visualization, audio, windows-app, offline, html, desktop
music-production, creative-tools, ai-assistant, audio-processing, music, windows-11, visualization, audio, windows-app, offline, html, desktop