VoltOps ConsoleCloudSelf-Hosted – Observability, Automation, Deployment, Evals, Guardrails, Prompts, and more.
Build agents with full code control and ship them with production-ready visibility and operations.
Core TypeScript Framework
With the open-source framework, you can build intelligent agents with memory, tools, and multi-step workflows while connecting to any AI provider. Create sophisticated multi-agent systems where specialized agents work together under supervisor coordination.
Core Runtime (@voltagent/core): Define agents with typed roles, tools, memory, and model providers in one place so everything stays organized.
Workflow Engine: Describe multi-step automations declaratively rather than stitching together custom control flow.
Supervisors & Sub-Agents: Run teams of specialized agents under a supervisor runtime that routes tasks and keeps them in sync.
LLM Compatibility: Swap between OpenAI, Anthropic, Google, or other providers by changing config, not rewriting agent logic.
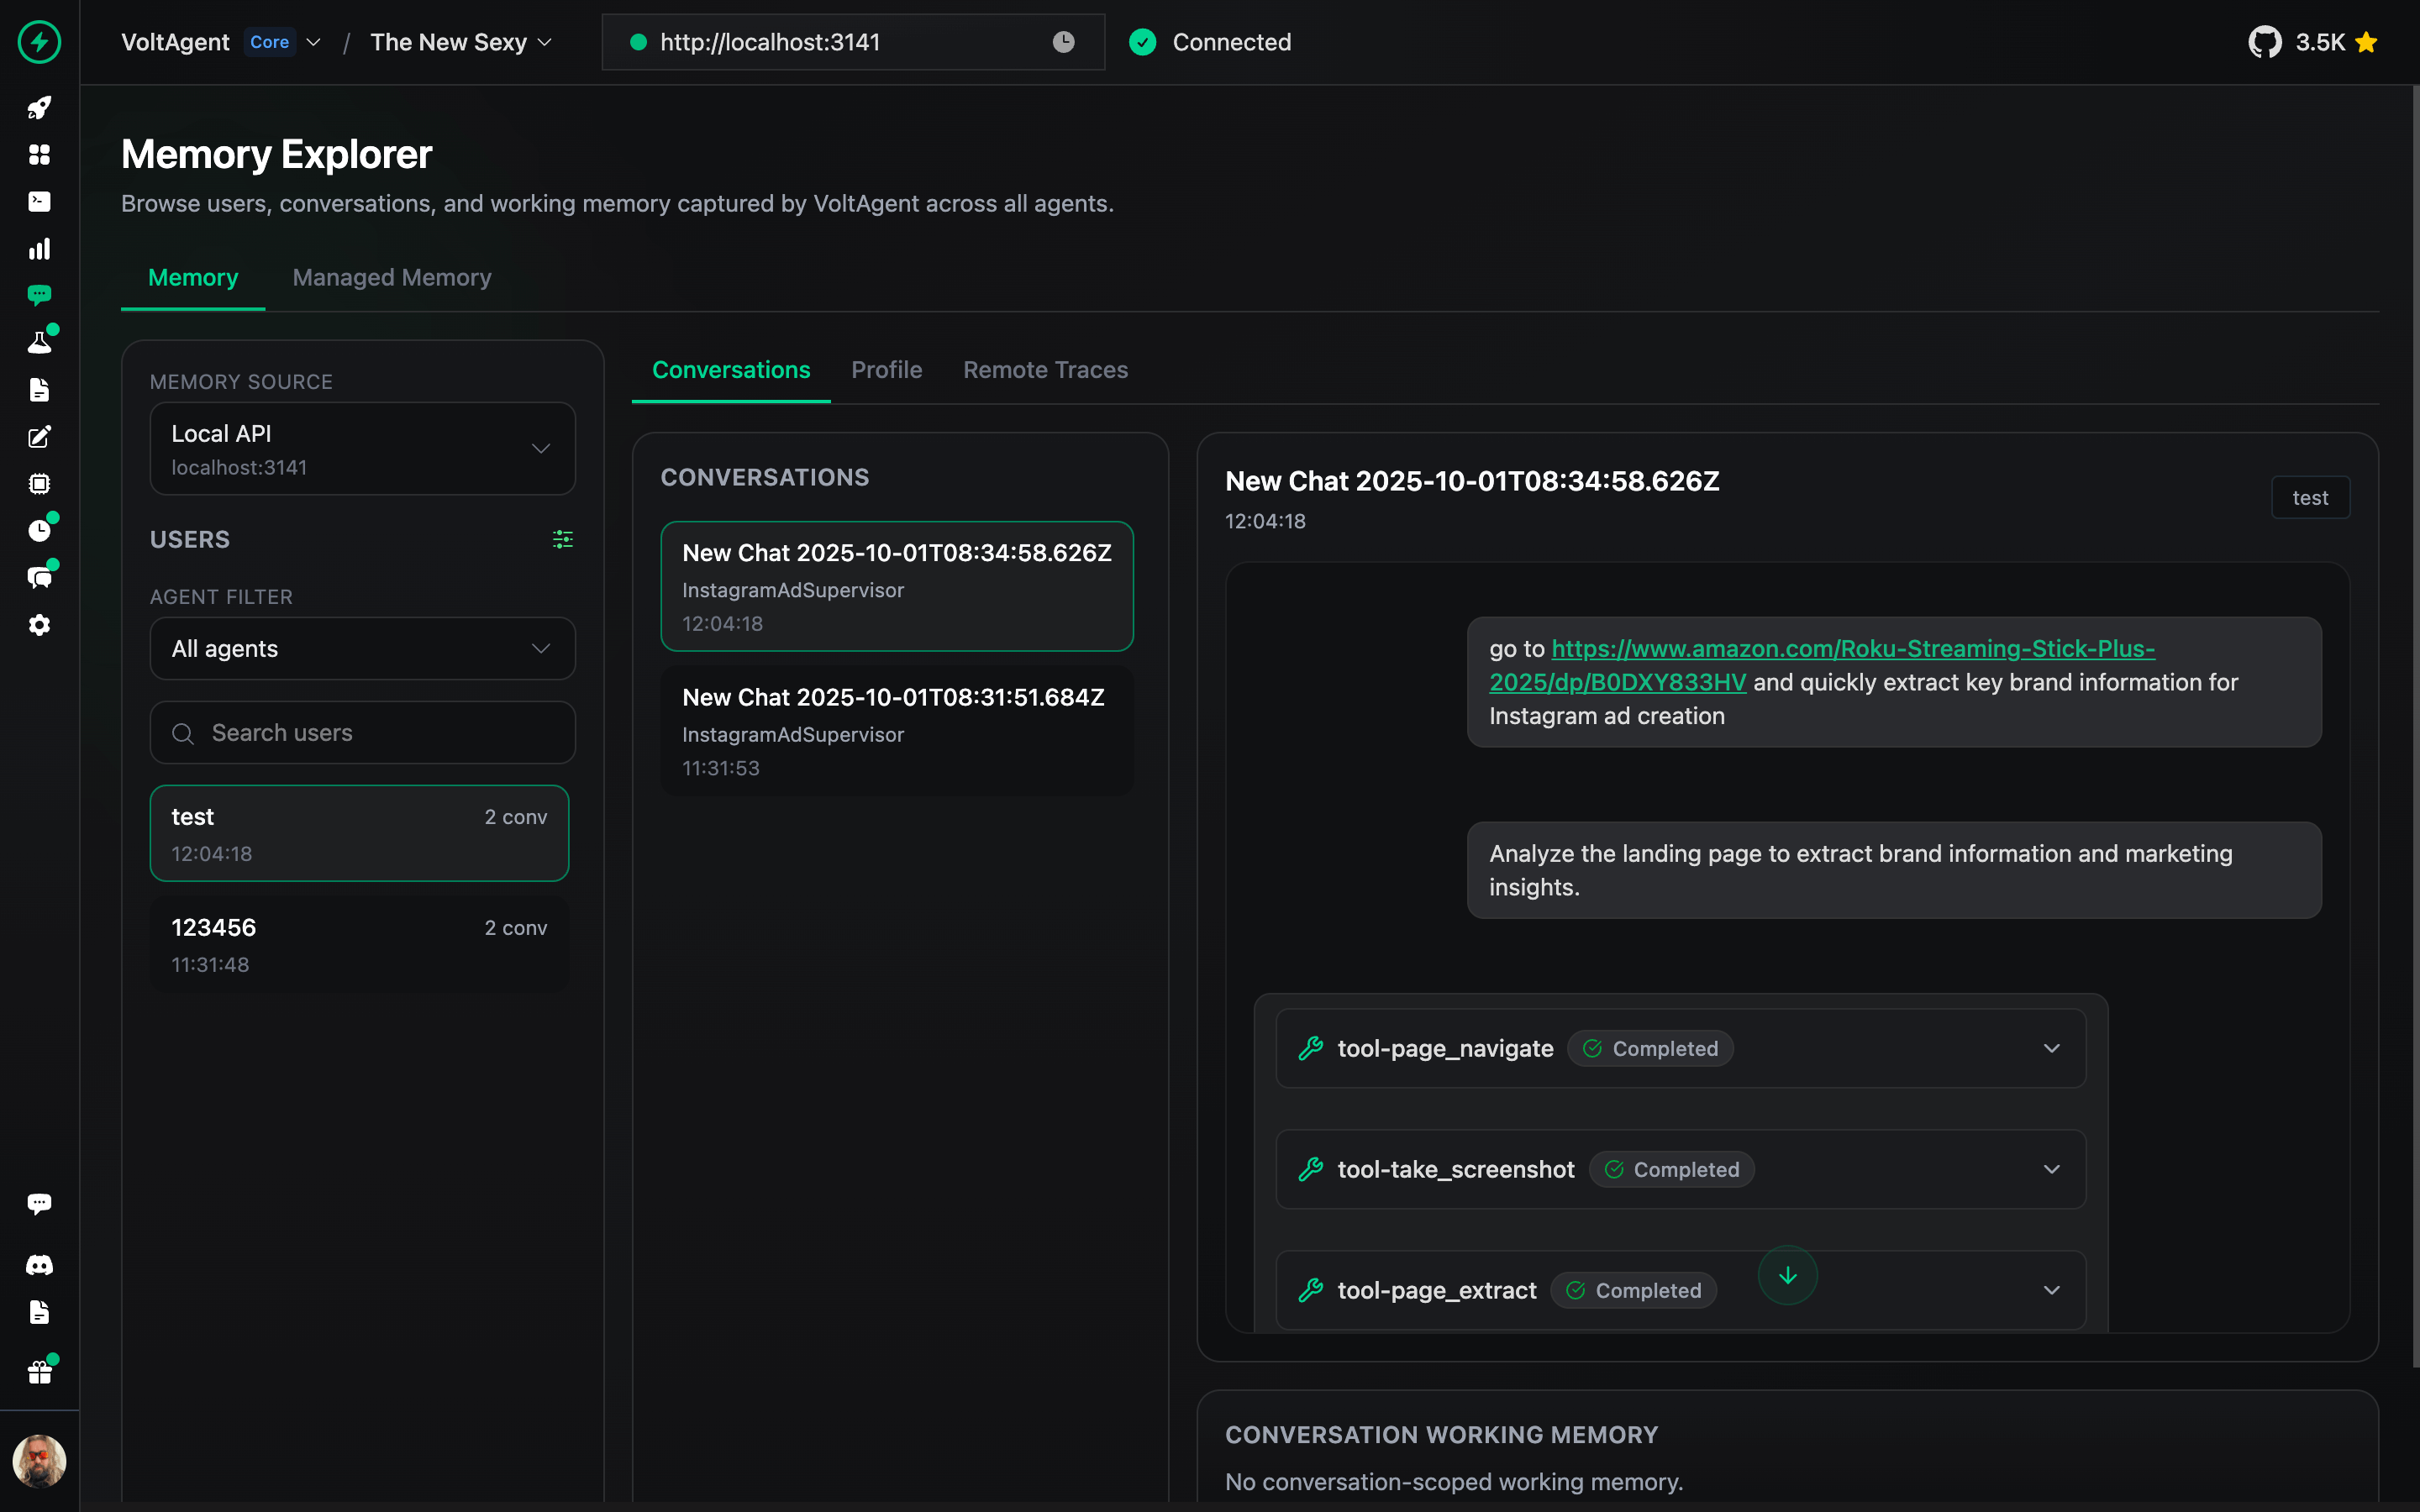
Memory: Attach durable memory adapters so agents remember important context across runs.
Resumable Streaming: Let clients reconnect to in-flight streams after refresh and continue receiving the same response.
Retrieval & RAG: Plug in retriever agents to pull facts from your data sources and ground responses (RAG) before the model answers.
VoltAgent Knowledge Base: Use the managed RAG service for document ingestion, chunking, embeddings, and search.
Voice: Add text-to-speech and speech-to-text capabilities with OpenAI, ElevenLabs, or custom voice providers.
Guardrails: Intercept and validate agent input or output at runtime to enforce content policies and safety rules.
Evals: Run agent eval suites alongside your workflows to measure and improve agent behavior.
MCP Server (@voltagent/mcp-docs-server)
You can use the MCP server @voltagent/mcp-docs-server to teach your LLM how to use VoltAgent for AI-powered coding assistants like Claude, Cursor, or Windsurf. This allows AI assistants to access VoltAgent documentation, examples, and changelogs directly while you code.
TestMu AI (formerly LambdaTest) is an AI-native testing cloud platform built for modern engineering teams. Covering everything from autonomous test creation and fast execution to testing AI agents, chatbots and voice assistants.
⚡ Quick Start
Create a new VoltAgent project in seconds using the create-voltagent-app CLI tool:
npm create voltagent-app@latest
This command guides you through setup.
You'll see the starter code in src/index.ts, which now registers both an agent and a comprehensive workflow example found in src/workflows/index.ts.
import { VoltAgent, Agent, Memory } from "@voltagent/core";
import { LibSQLMemoryAdapter } from "@voltagent/libsql";
import { createPinoLogger } from "@voltagent/logger";
import { honoServer } from "@voltagent/server-hono";
import { openai } from "@ai-sdk/openai";
import { expenseApprovalWorkflow } from "./workflows";
import { weatherTool } from "./tools";

// Create a logger instance
const logger = createPinoLogger({
  name: "my-agent-app",
  level: "info",
});

// Optional persistent memory (remove to use default in-memory)
const memory = new Memory({
  storage: new LibSQLMemoryAdapter({ url: "file:./.voltagent/memory.db" }),
});

// A simple, general-purpose agent for the project.
const agent = new Agent({
  name: "my-agent",
  instructions: "A helpful assistant that can check weather and help with various tasks",
  model: openai("gpt-4o-mini"),
  tools: [weatherTool],
  memory,
});

// Initialize VoltAgent with your agent(s) and workflow(s)
new VoltAgent({
  agents: {
    agent,
  },
  workflows: {
    expenseApprovalWorkflow,
  },
  server: honoServer(),
  logger,
});
Afterwards, navigate to your project and run:
npm run dev
When you run the dev command, tsx will compile and run your code. You should see the VoltAgent server startup message in your terminal:
══════════════════════════════════════════════════
VOLTAGENT SERVER STARTED SUCCESSFULLY
══════════════════════════════════════════════════
✓ HTTP Server: http://localhost:3141

Test your agents with VoltOps Console: https://console.voltagent.dev
══════════════════════════════════════════════════
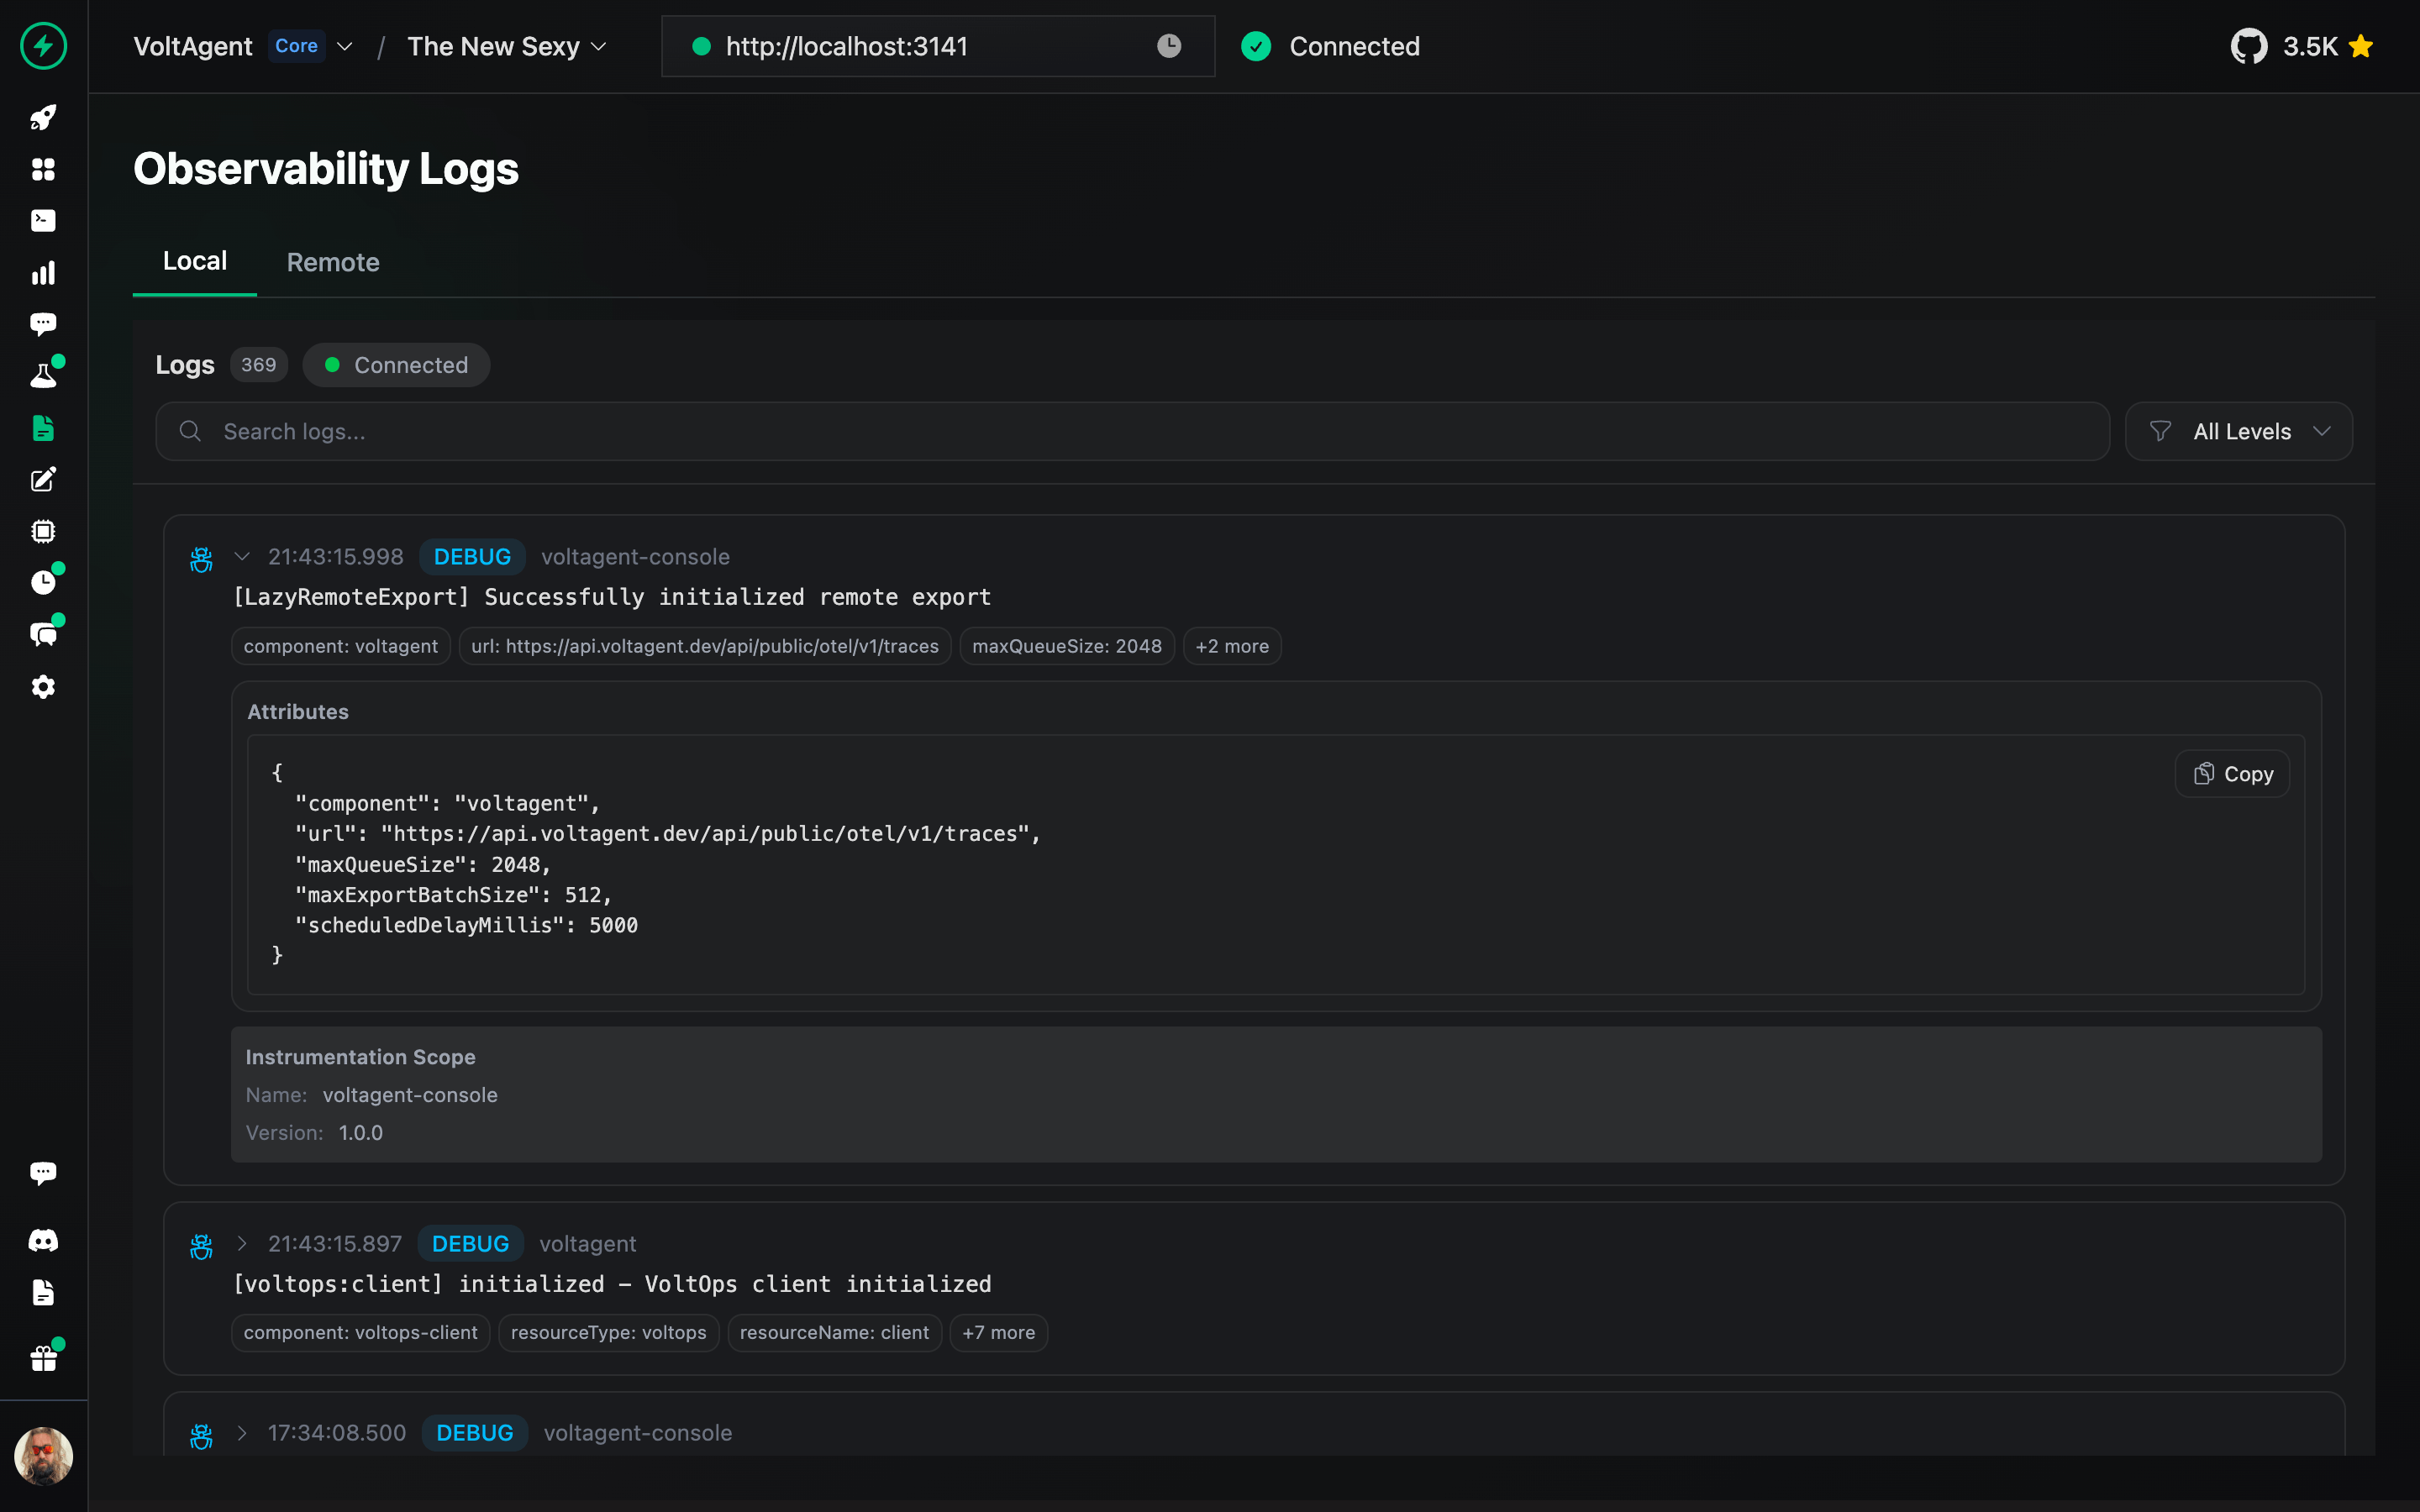
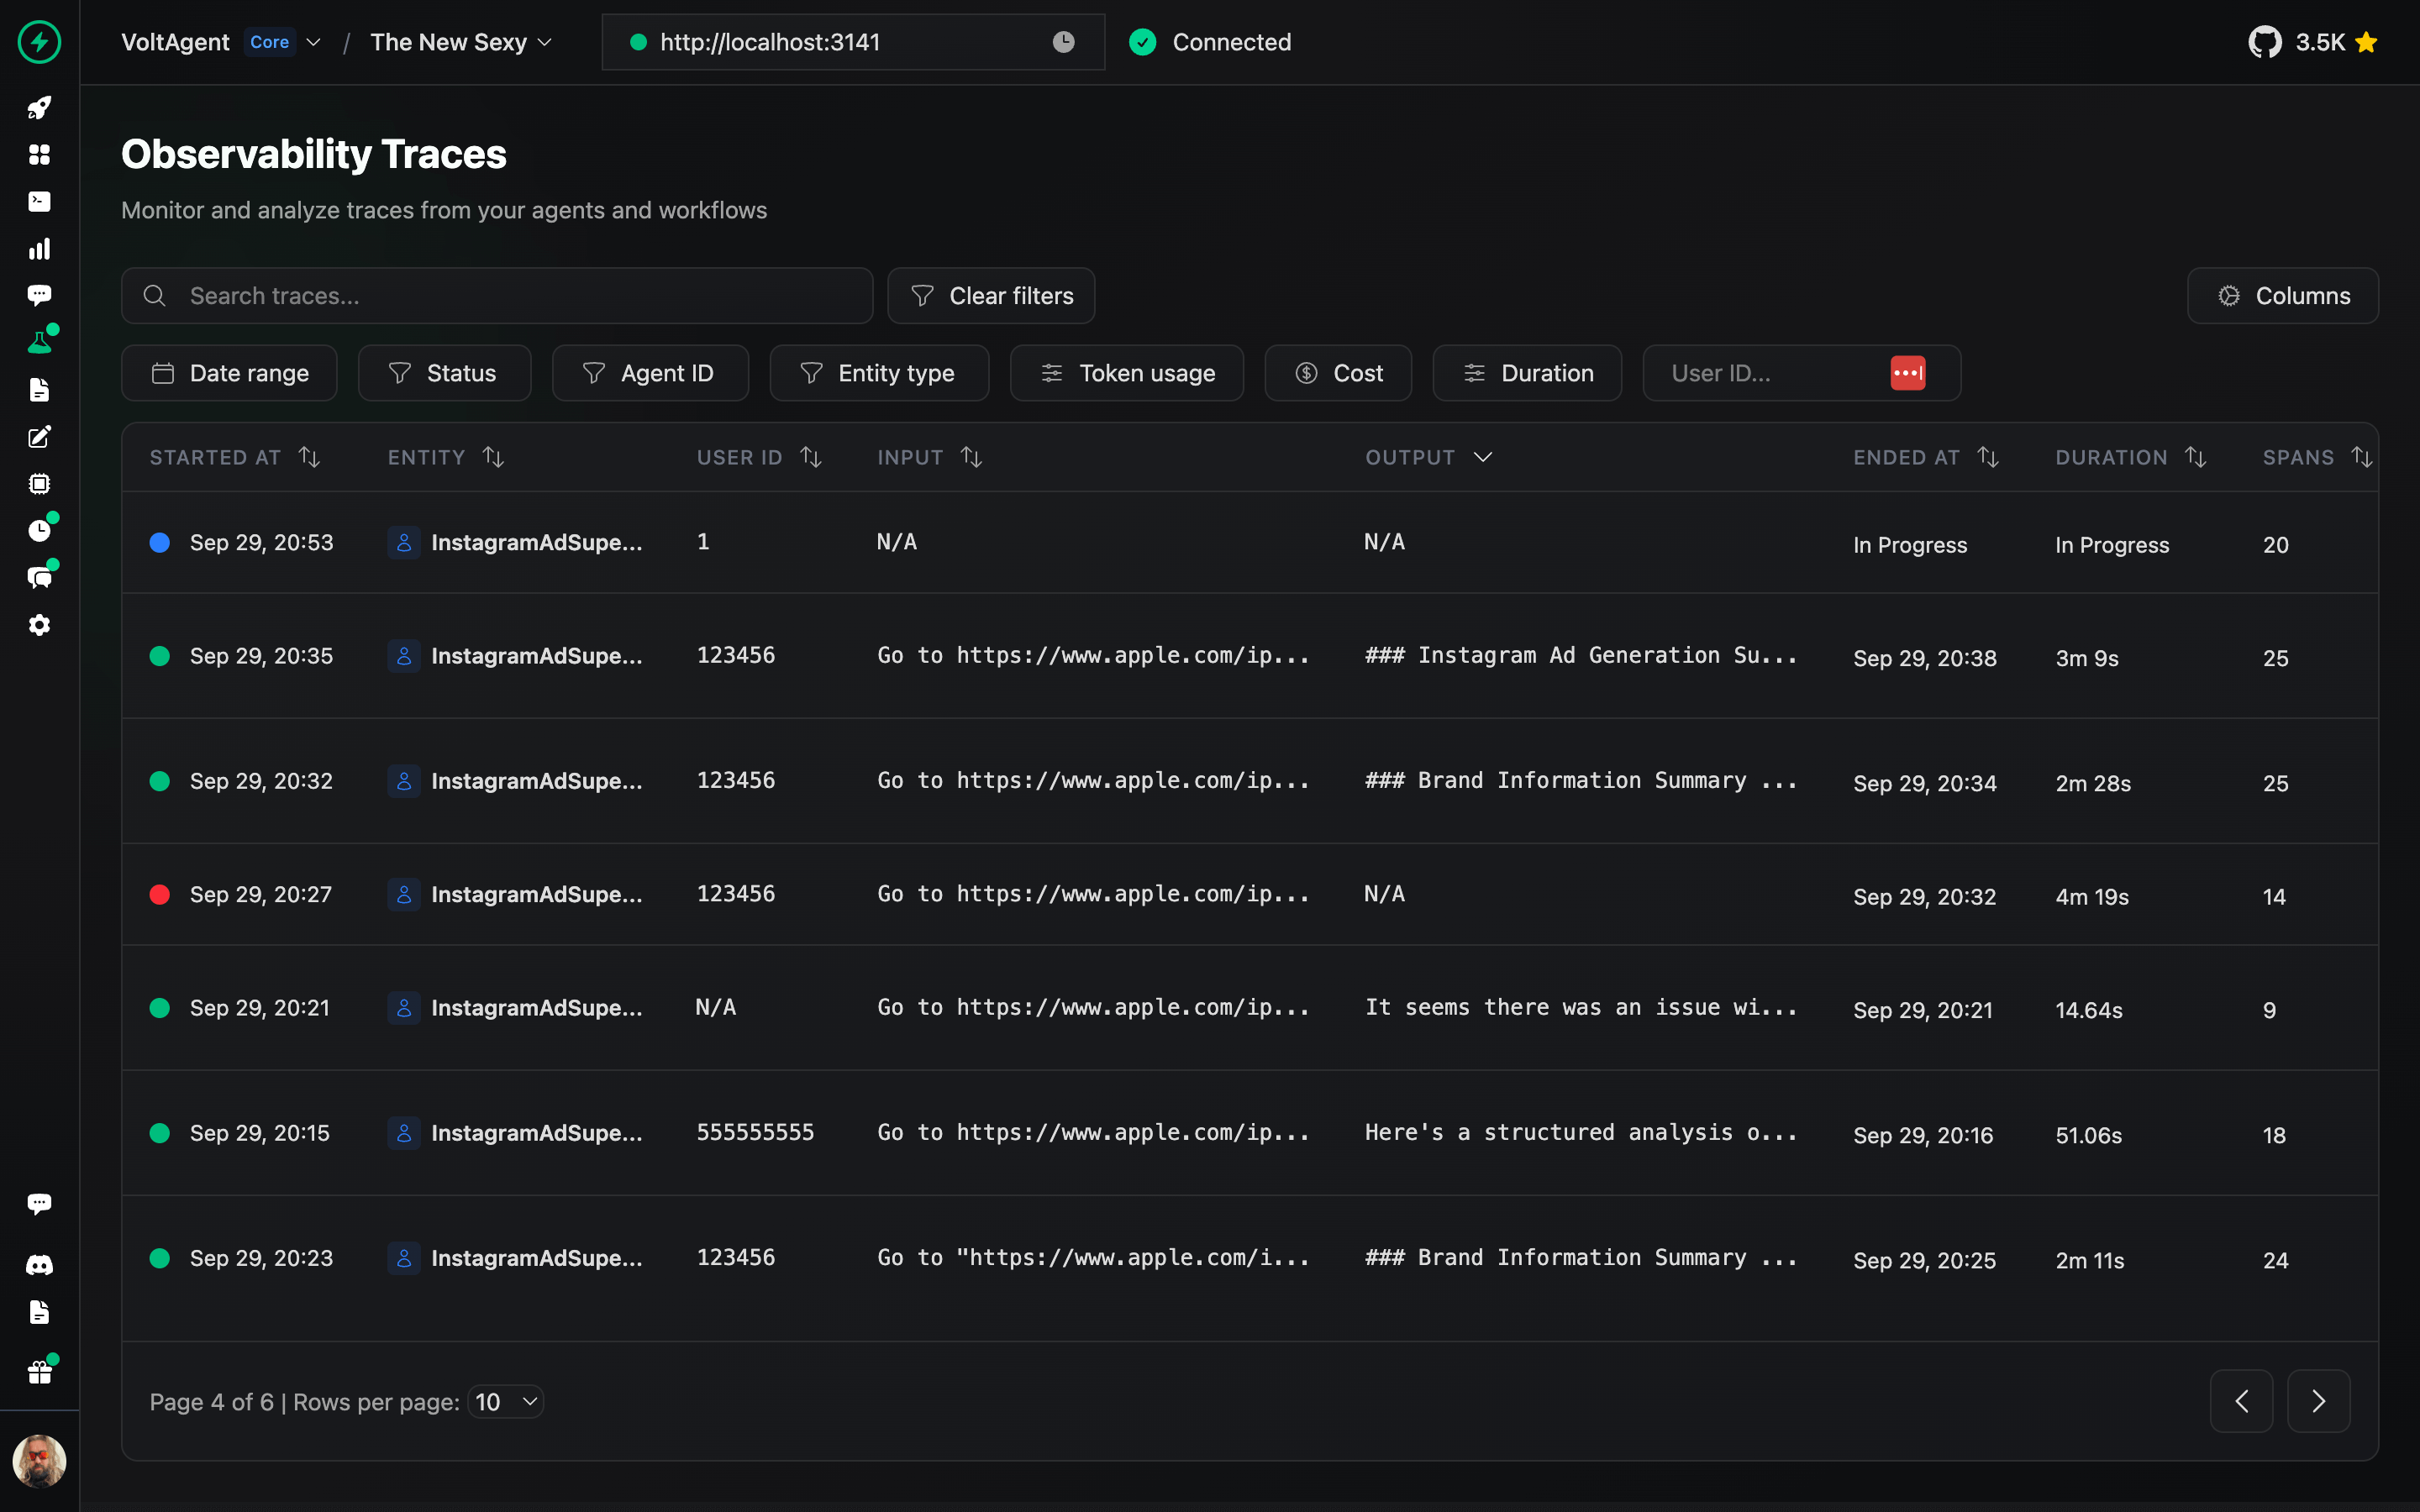
VoltOps Console is the platform side of VoltAgent, providing observability, automation, and deployment so you can monitor and debug agents in production with real-time execution traces, performance metrics, and visual dashboards.
Blog: Read more about technical insights, and best practices.
Contribution
We welcome contributions! Please refer to the contribution guidelines (link needed if available). Join our Discord server for questions and discussions.
Contributor ♥️ Thanks
Big thanks to everyone who's been part of the VoltAgent journey, whether you've built a plugin, opened an issue, dropped a pull request, or just helped someone out on Discord or GitHub Discussions.
VoltAgent is a community effort, and it keeps getting better because of people like you.











 VoltAgent 是一个端到端的 AI 智能体开发平台:它是一个开源的 TypeScript 框架,用来构建具备记忆、工具、RAG、工作流和语音能力的智能体,同时提供用于可观测性和运维的 VoltOps 控制台。